Roasted Tomatoes for the Rest of Us

I am taking no extra credit for this exceptionally simple and lovely recipe which was inspired by, and based on blog posts by Deb Perelman of Smitten Kitchen and Heidi Swanson of 101 Cookbooks.  They do everything so beautifully–perfect food styling, perfect lighting and in the case of Deb Perelman, self-depreciating, humorous prose.  No wonder they’re getting cookbook deals left and right.  I’m posting this because I just want to make sure that all the rest of us have a recipe for roasted tomatoes. 

This slideshow requires JavaScript.

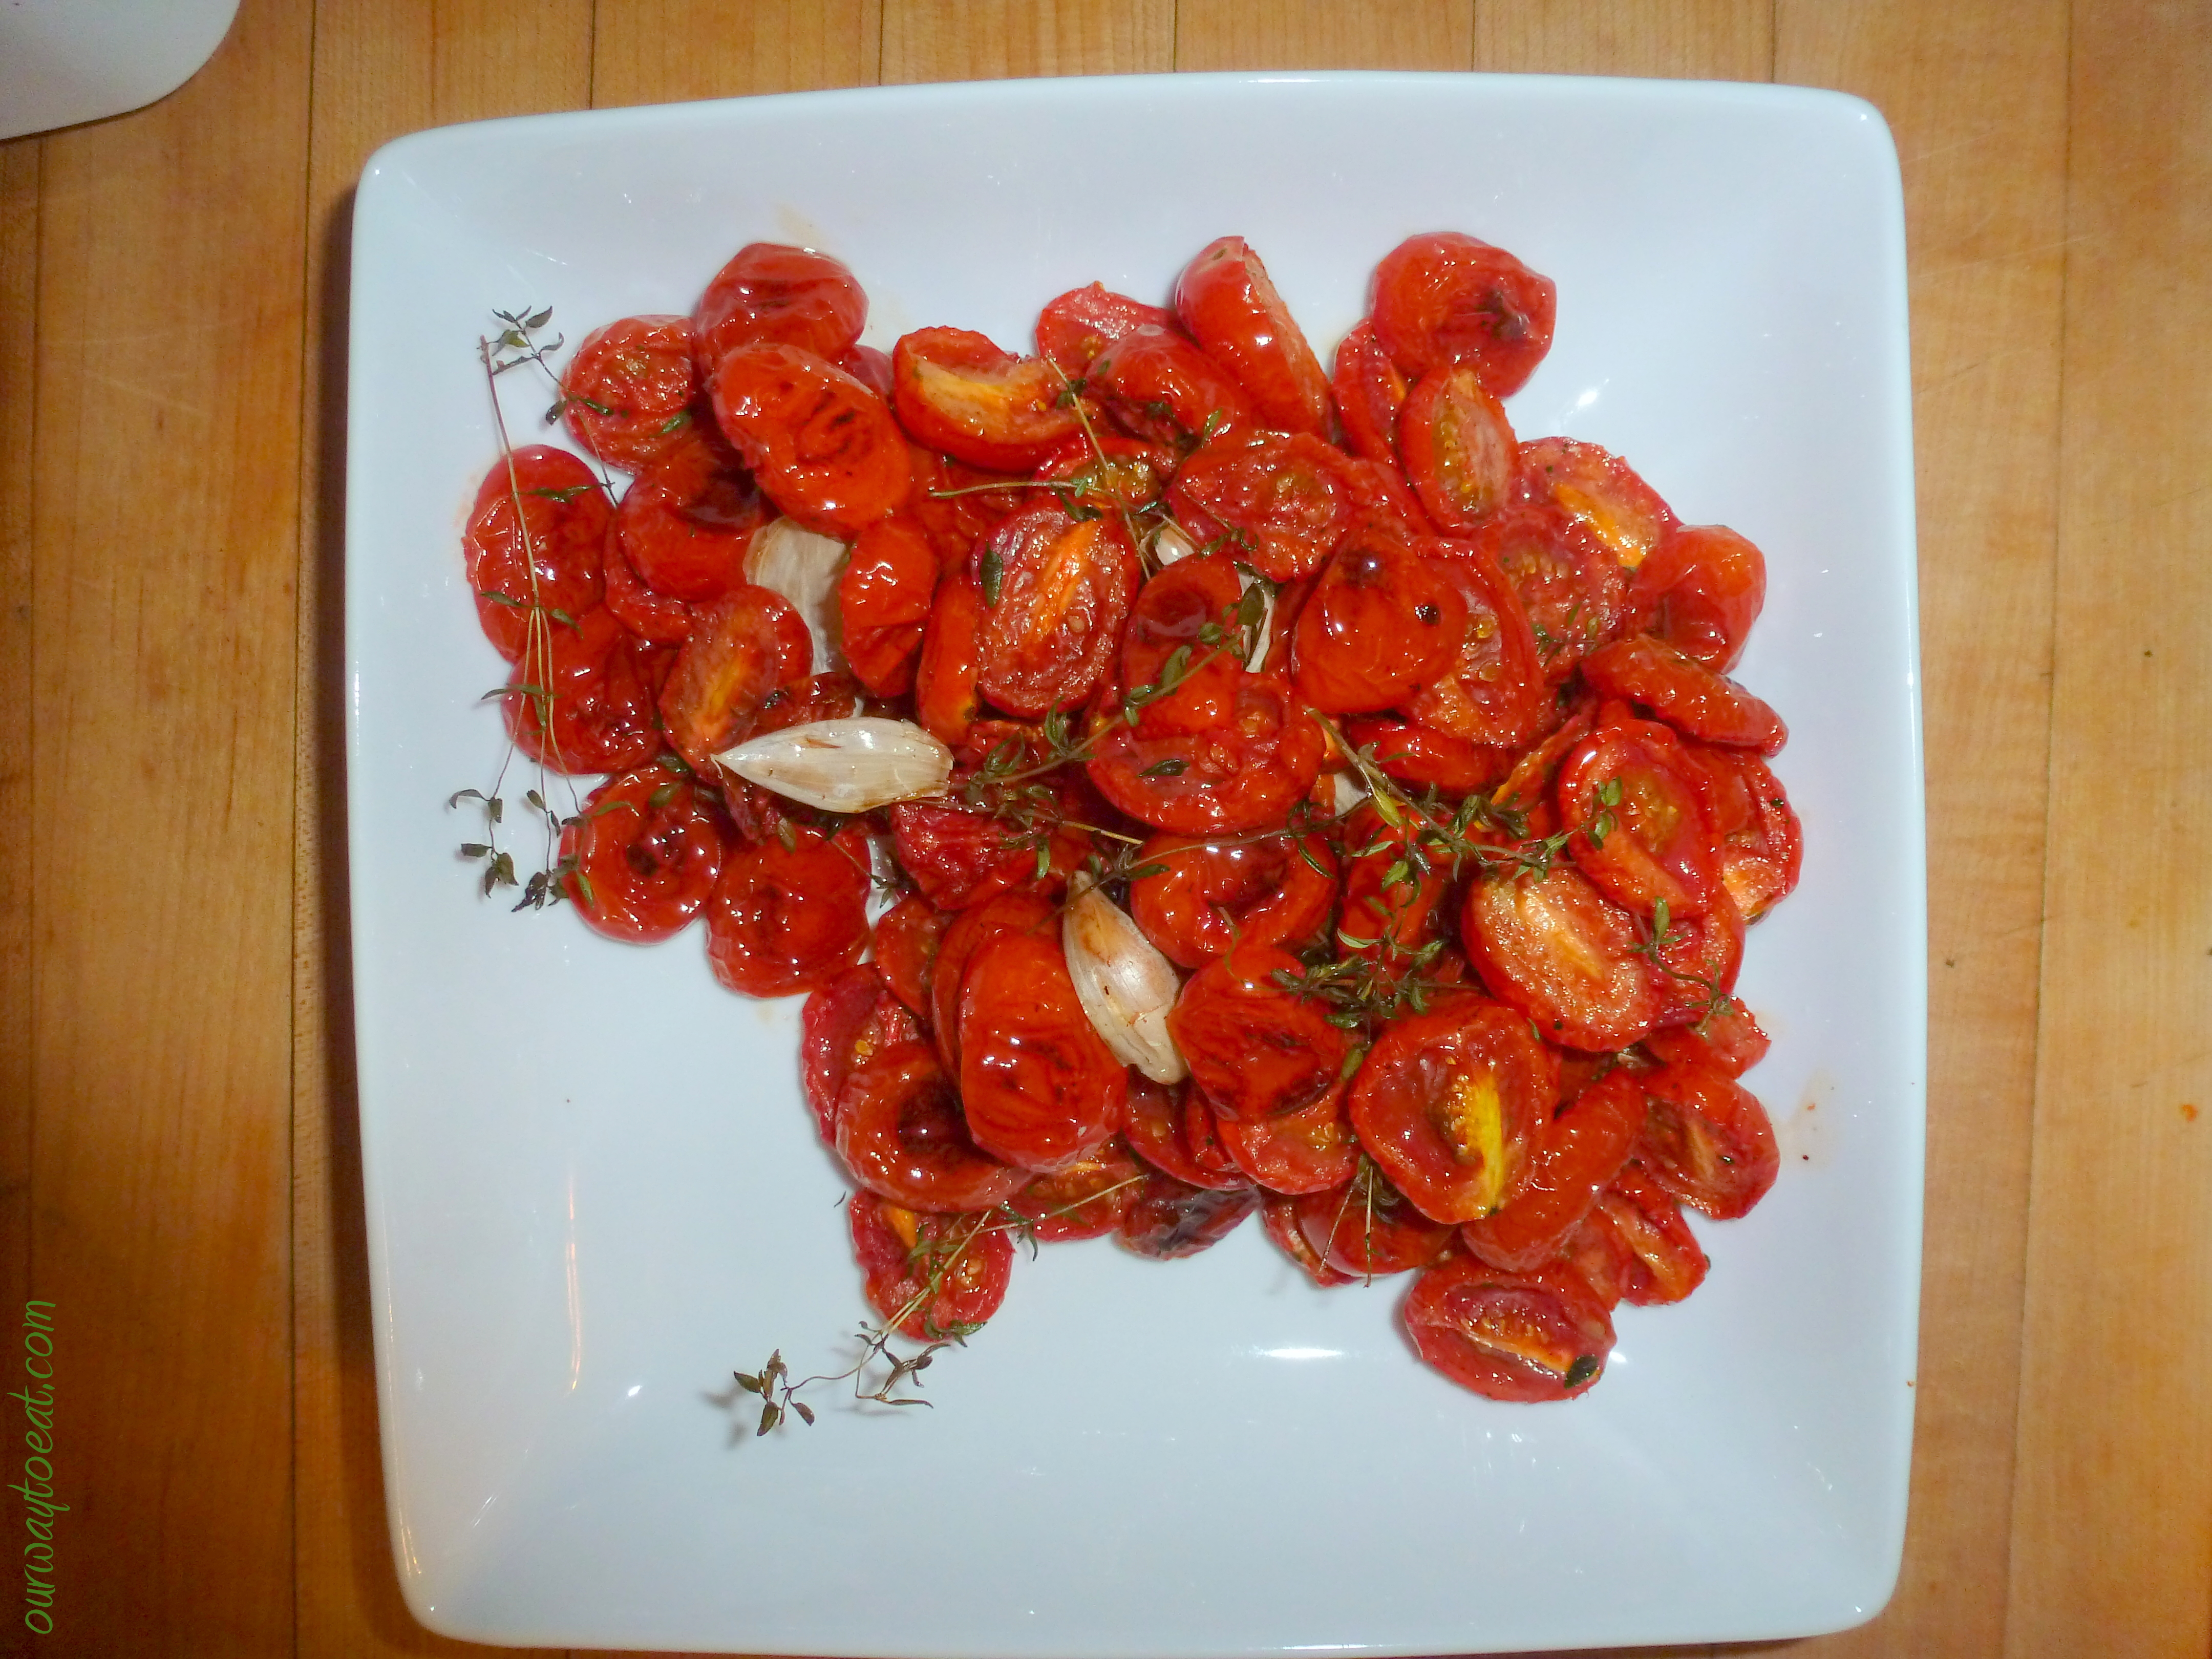
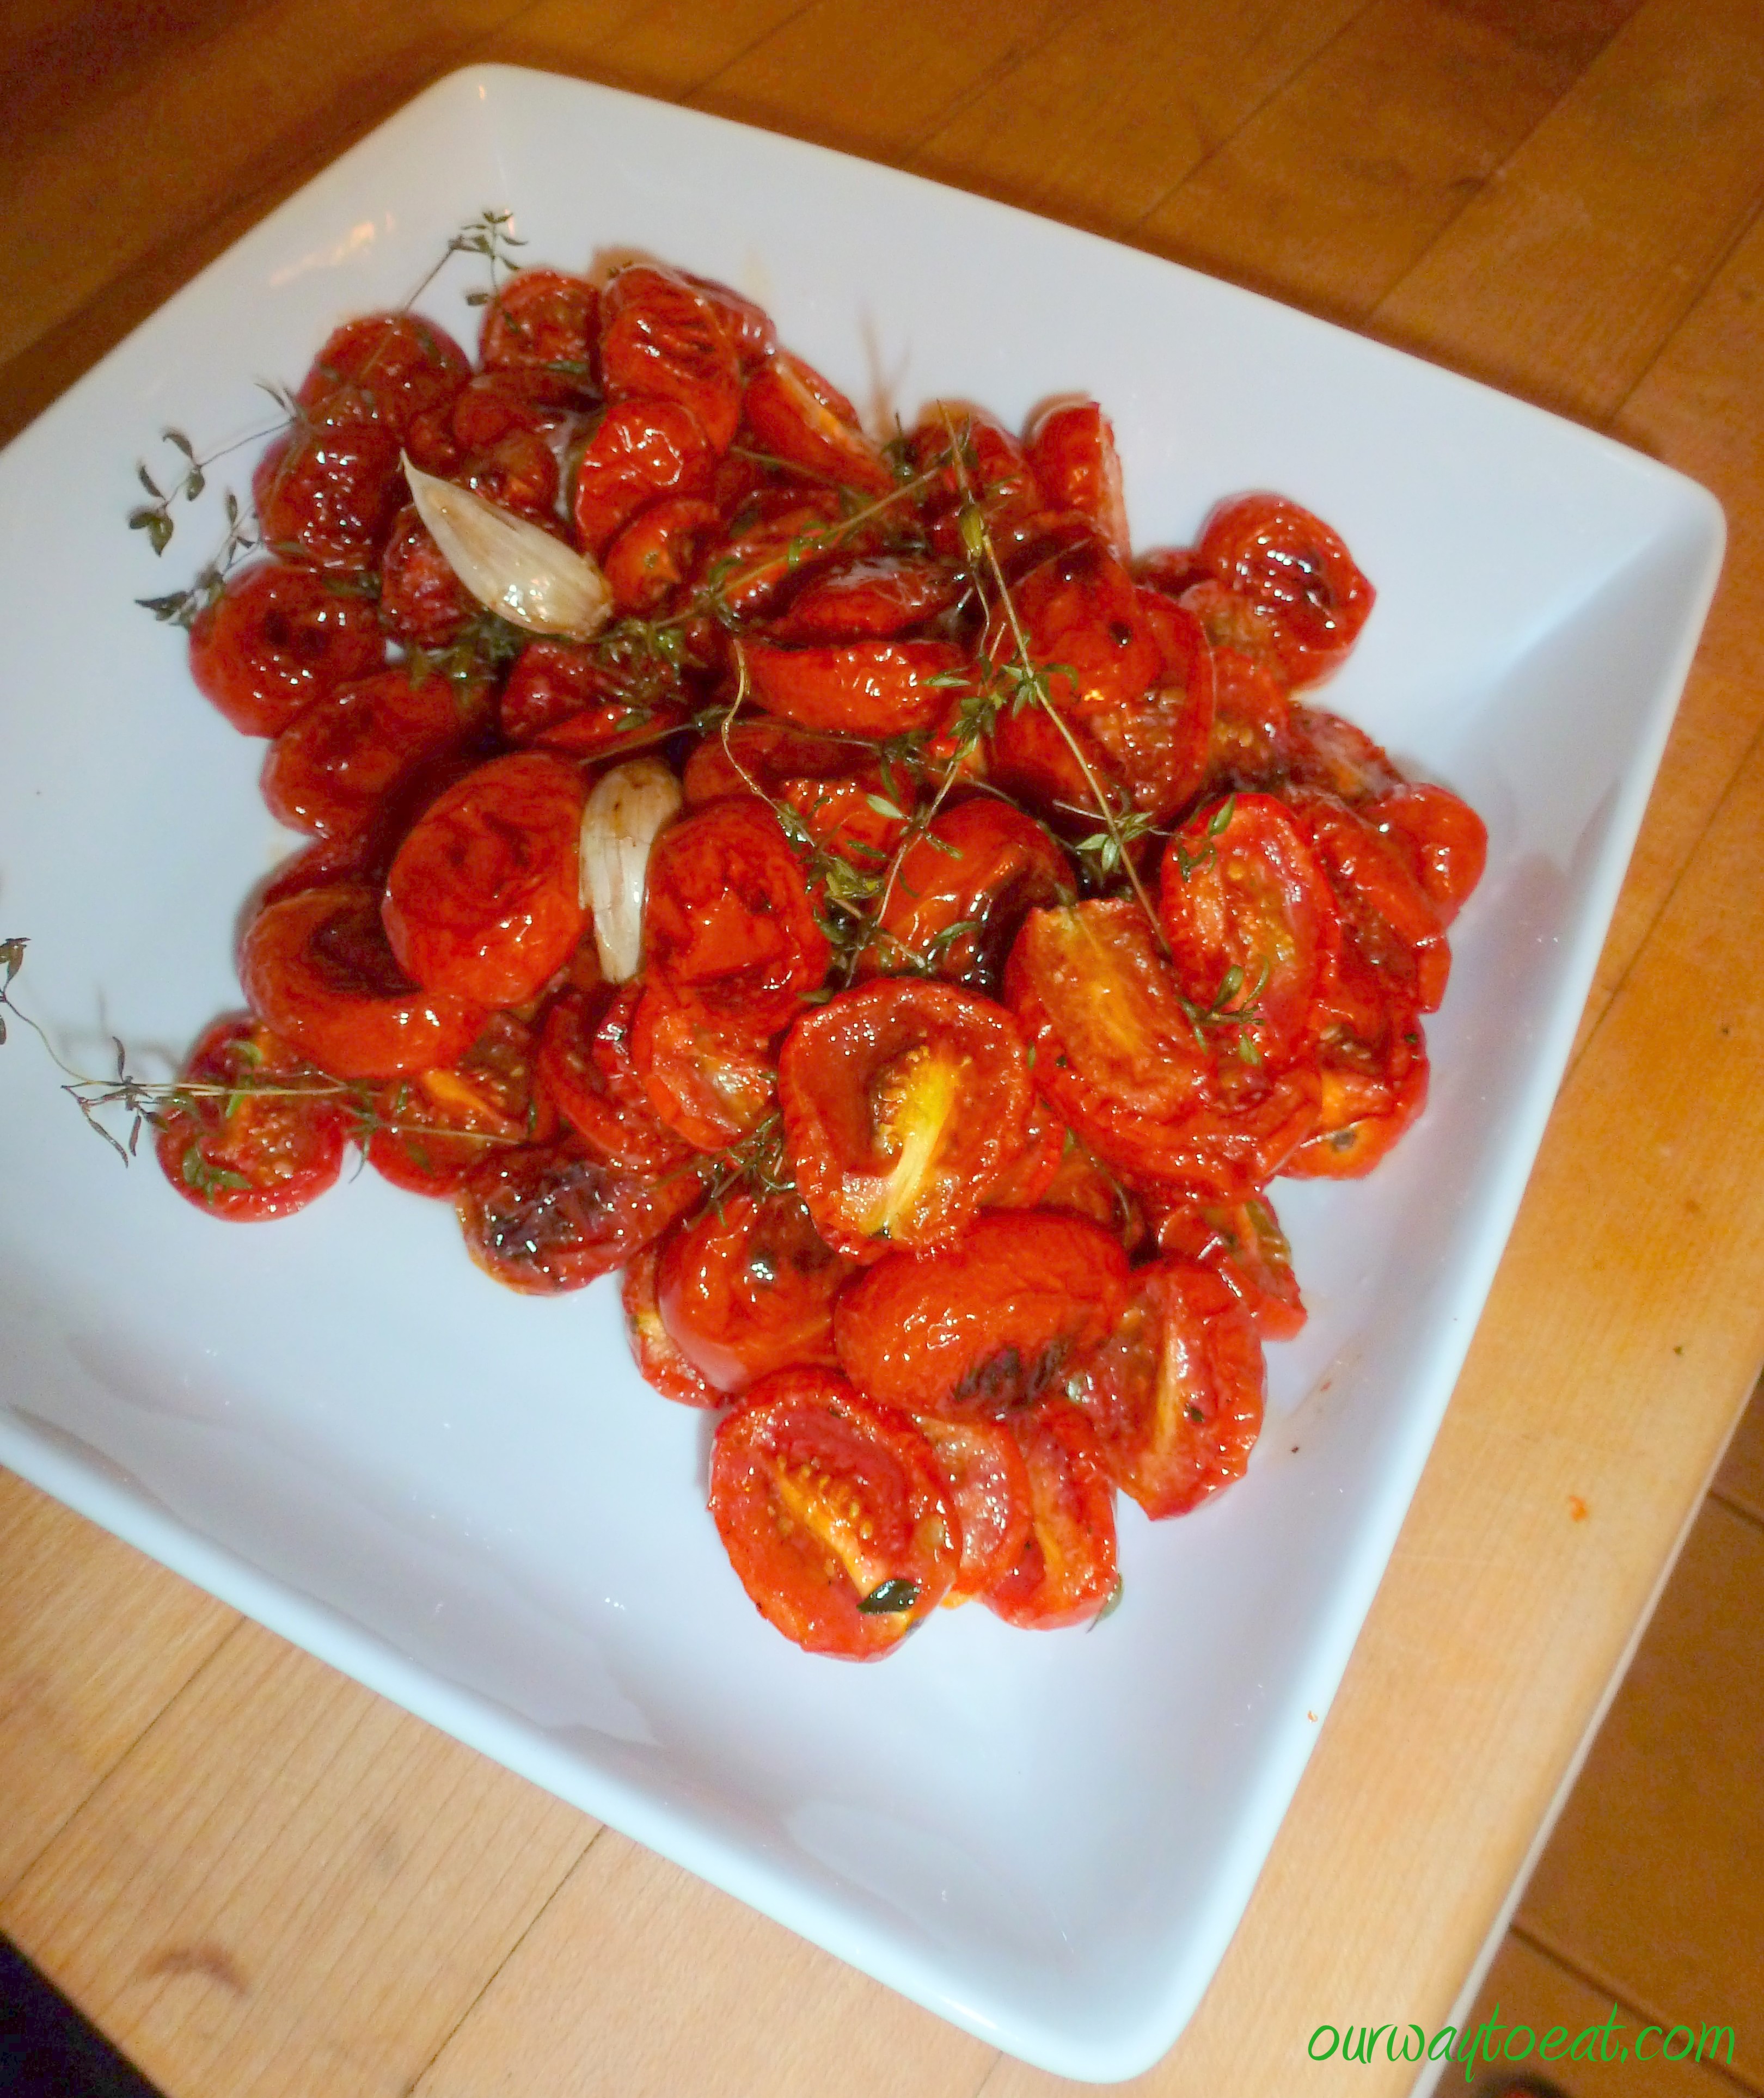
 My requirements?  It has to be simple and just as good as the big-time food blogger versions, but accessible.  For most of us, 2 pounds of heirloom tomatoes are basically unavailable.  That would cost about $45, wouldn’t it? So, that is my main adjustment to Heidi Swanson’s recipe.  Deb Perlman roasted her tomatoes for 4 hours. The low heat was a good thing, keeps the house cool, and all.  But the 4 hours is not workable—I get home from work about 6 and I’m not up for hitting the kitchen immediately, not to hunker down for supper at 10 p.m.  Whether you have heirloom tomatoes from your own back yard [we would, if the squirrels weren’t eating them all], some organic grower, or, like me today, 2 pints of Minnesota grown grape tomatoes in clear cubic plastic boxes from the closest grocery, purchased for less than $2 a pop– you can and you should be roasting tomatoes.  So good.  So easy.  No spendy fruit or 4-hour cooking window required.  These babies go wonderfully on burgers, in sandwiches, on pizza, in salads or pasta, or on their own.  

Roasted Tomatoes –  1 hour, 350 degrees

Wonderful on Salads, Pasta, Pizza, Sandwiches and on their own.

Ingredients:

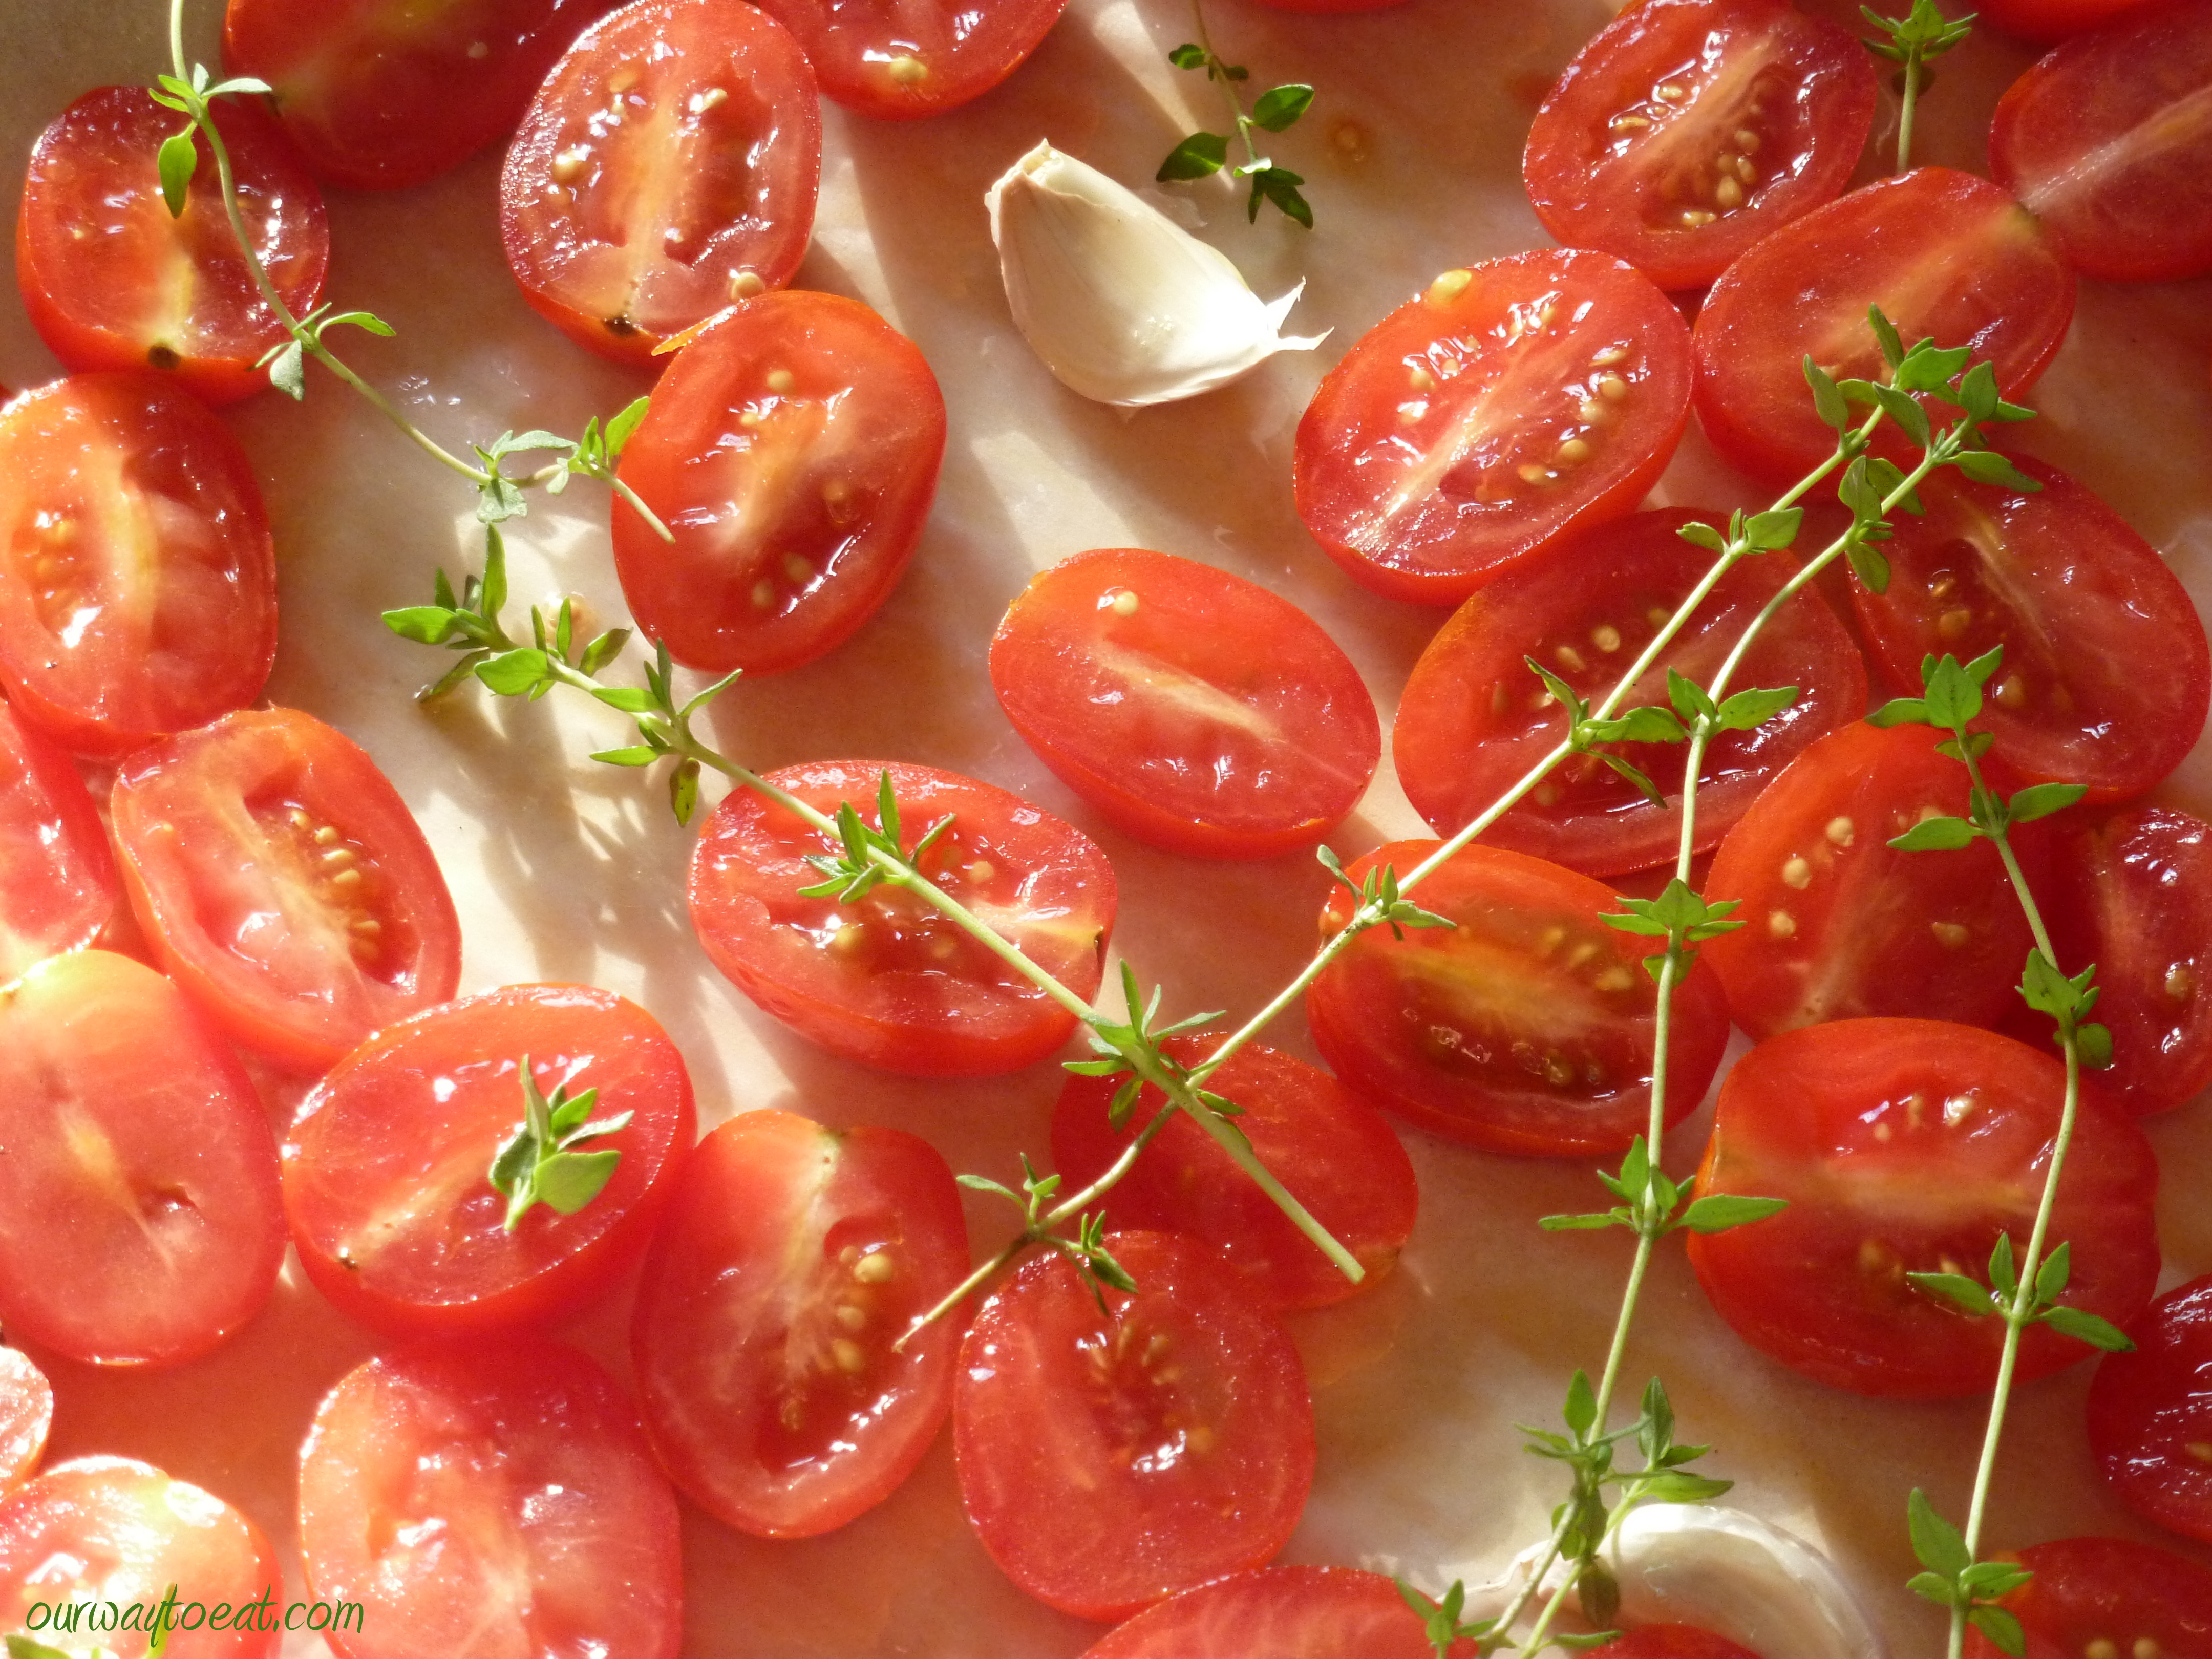
2 pints of Grape or Cherry Tomatoes, halved top to bottom

A few tablespoons of olive oil

Salt and Pepper

Optional:

Sprigs of fresh Thyme or Rosemary, Parsley or Basil

4-5 cloves of Garlic, unpeeled

Method:

Place oven rack in top 2/3 of oven and preheat to 350 degrees Fahrenheit.

Half the tomatoes and toss lightly in oil until just glistening.

Arrange tomatoes cut-side up on a baking sheet lined with parchment paper.

Season tomatoes and add herbs, aromatics and whole, unpeeled cloves as desired.

Roast for 45 minutes to 1 hour, until partly dried out, sweet, juicy and tender.  Store extra roasted tomatoes for 3 or 4 days in the refrigerator, covered in olive oil.

Saving Summer

I often mention the Saint Paul Farmer’s Market.  It has become a destination for us every weekend.  We have a garden of our own, and so we have a daily supply of tomatoes, lettuces, peppers and many herbs throughout the summer and into the fall.  Still, there are so many summer and autumn vegetables we don’t grow that we pick up in our weekly excursions to the Saint Paul Farmer’s Market.  It is our source for corn, leeks, squash, melons, green onions, garlic and new species of vegetables to try for the first time.  I had aspired to start canning this year, but by the time I had a free weekend, I was a week too late to do pickles, and just not as excited to make the effort for canning Dilly Beans.  Salsa or pasta sauce would be fun, but I didn’t want to worry about pH levels in my first canning project.  Pickled items just seem like a safer place to start.  So, I gave up on the idea of preserving summer produce for winter.  Then, as the summer wore on, I noticed that prices started to drop on large quantities of produce from $18 to $16 to $10 for a huge box and I couldn’t resist.  I bought a crate of local tomatoes*, and planned to preserve them in the easiest way I know:  blanche, chop and freeze them without seasoning to be used in sauces, chili and soups.  I bought the crate of tomatoes on a late summer Saturday.  My parents were visiting, so I didn’t get around to starting the blanching and freezing project until Tuesday evening.

I set up my blanching station on my handy kitchen table.**  My essential list of tools included quart size freezer bags, 2 very clean plastic dish pans, one to be used for rinsing, and one for the ice water bath; 2 colanders; 2 cutting boards; a sharp paring knife; a bamboo-handled wire strainer (not pictured)  and a large amount of ice for the ice water bath.

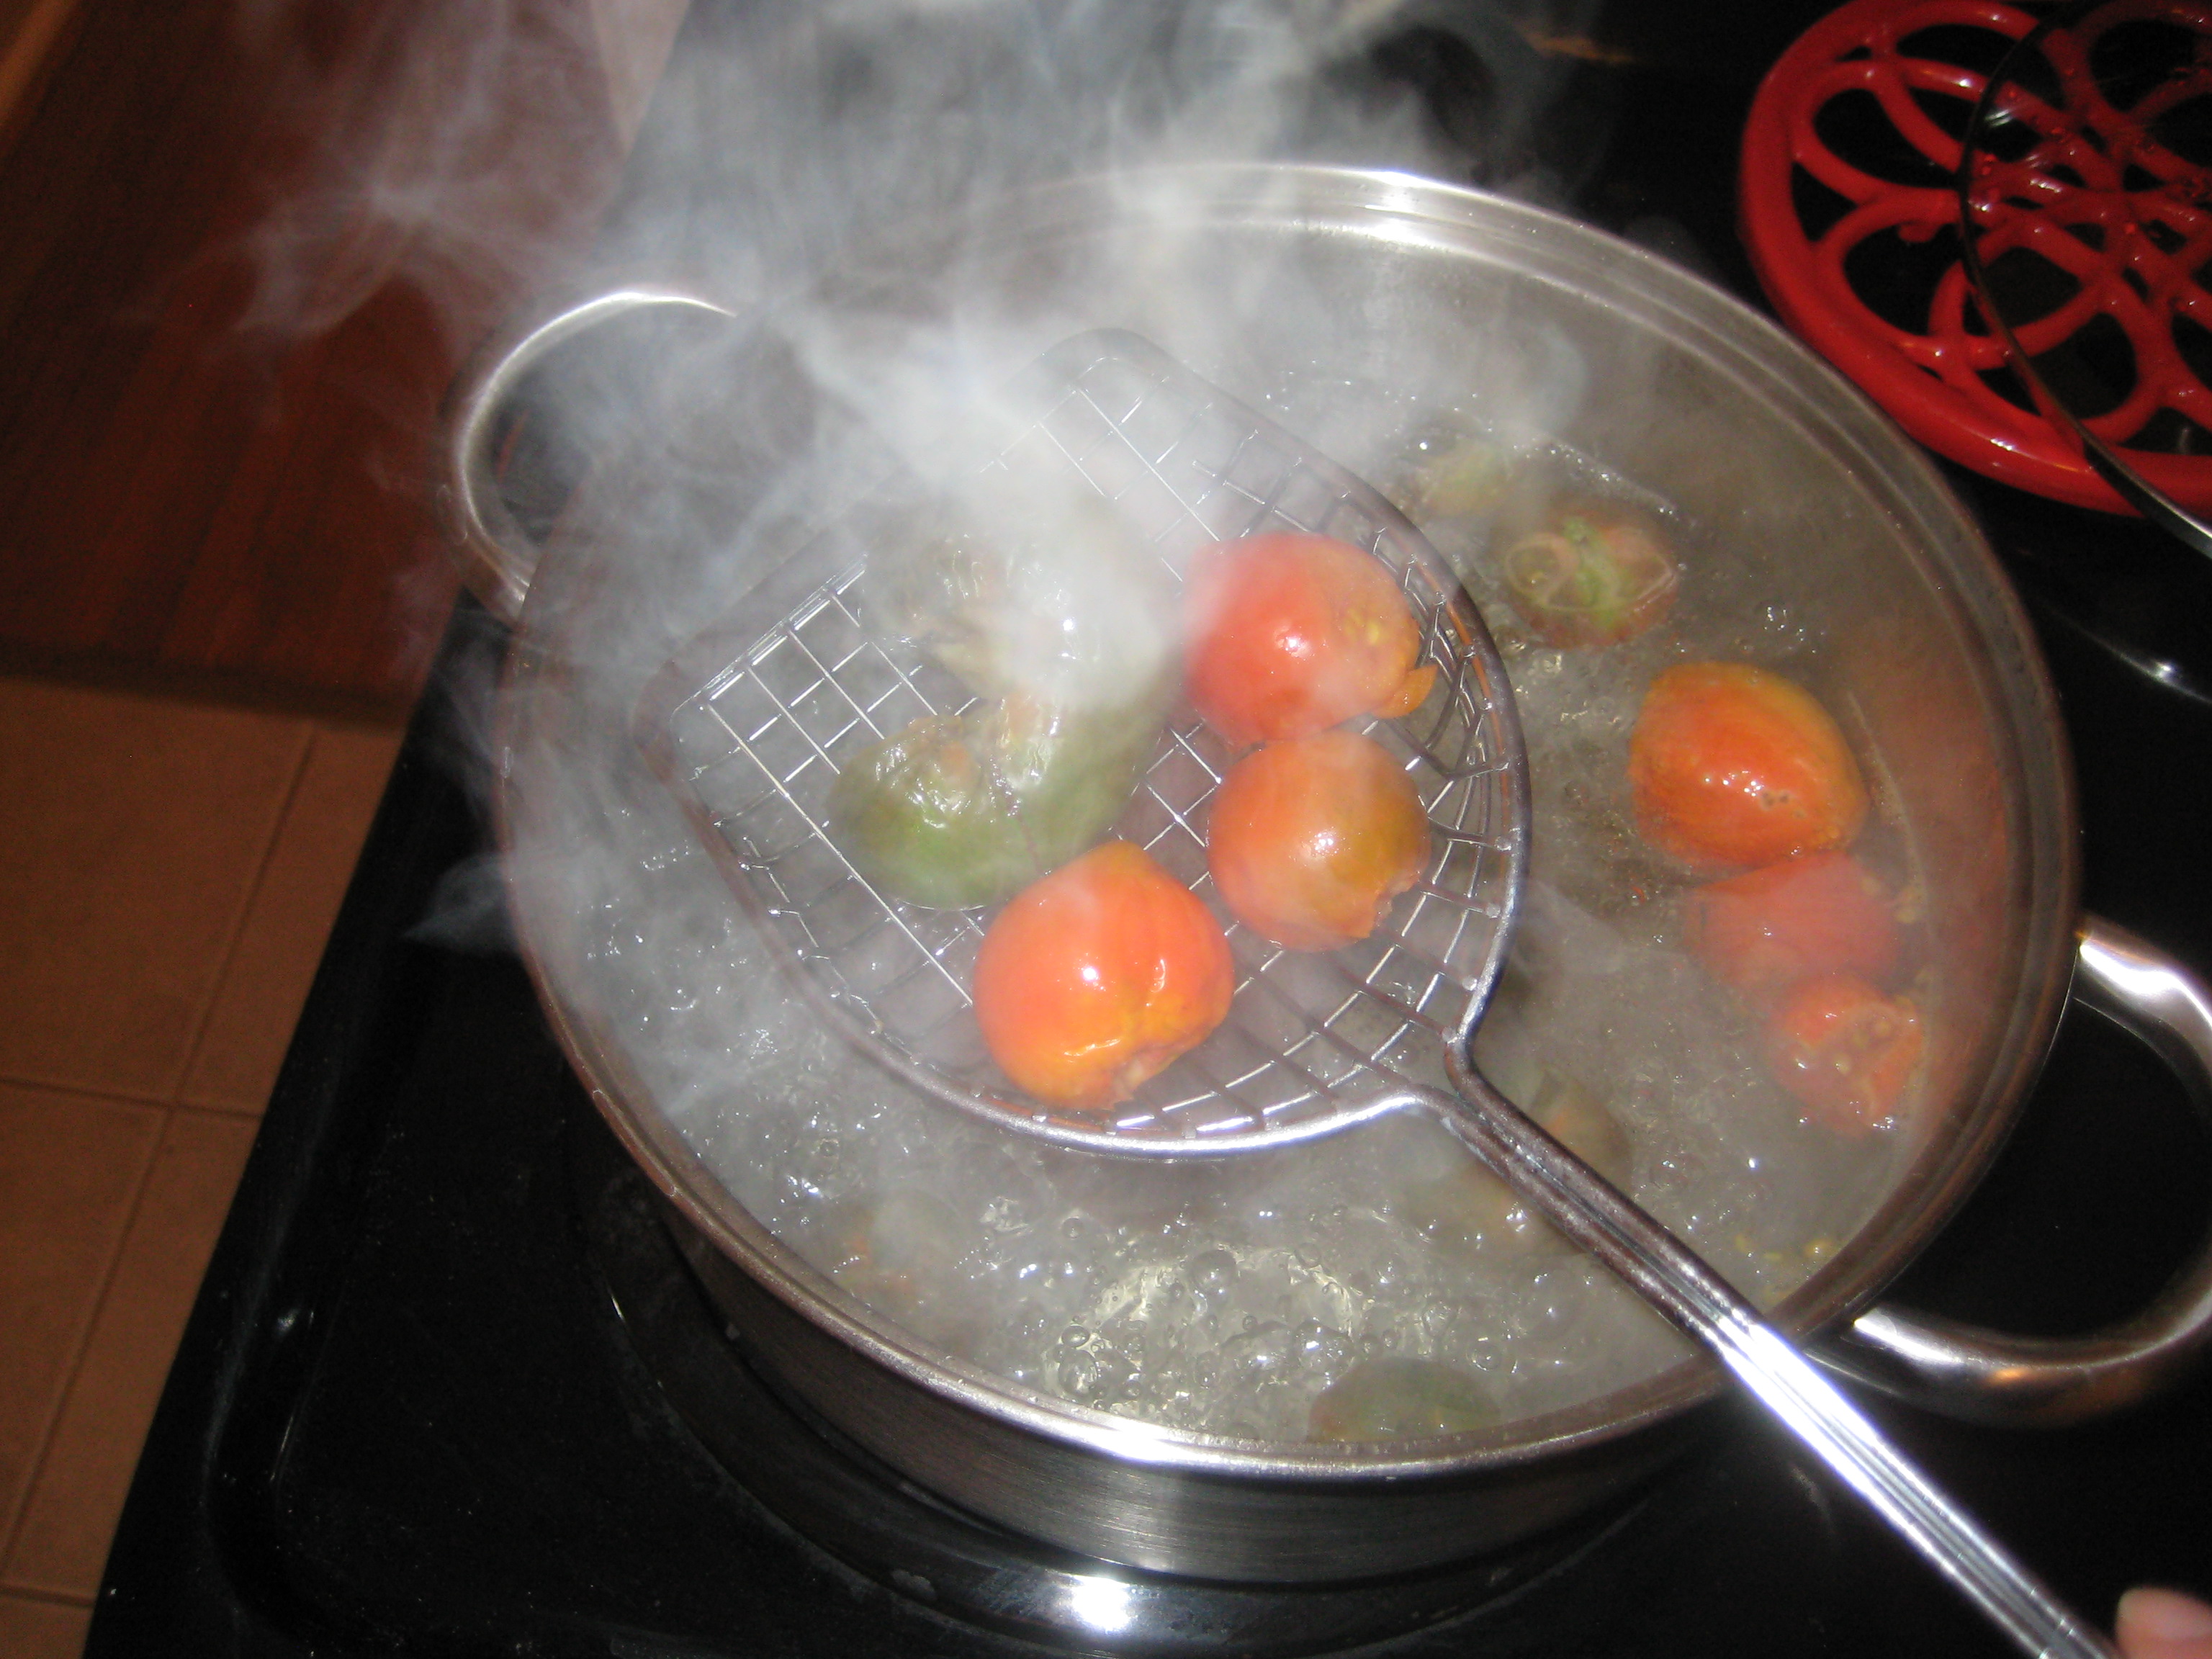
To begin, I washed the tomatoes and placed them in water in a plastic dish pan.  I cleaned them up as needed with the paring knife, and cut a small X in the bottom of each clean tomato.  When I had a colander full of cleaned up, scored-bottom tomatoes, I put them in a pot of boiling water on the stove, and left them there for 30 seconds.  I initially set up two pots of  boiling water on the stove, but soon realized that one pan of boiling tomatoes was all that could be tackled at a time with my small operation and two hands.

I removed the tomatoes from the boiling water with a wire scoop, and put them directly into the ice water bath.  The hot to cold transition made the skins easy to slip off.  I let them soak in the bath until they were cool enough to handle, removed the skins by hand and core quickly with a knife.  I thought that cores came out more easily after the tomatoes were blanched.

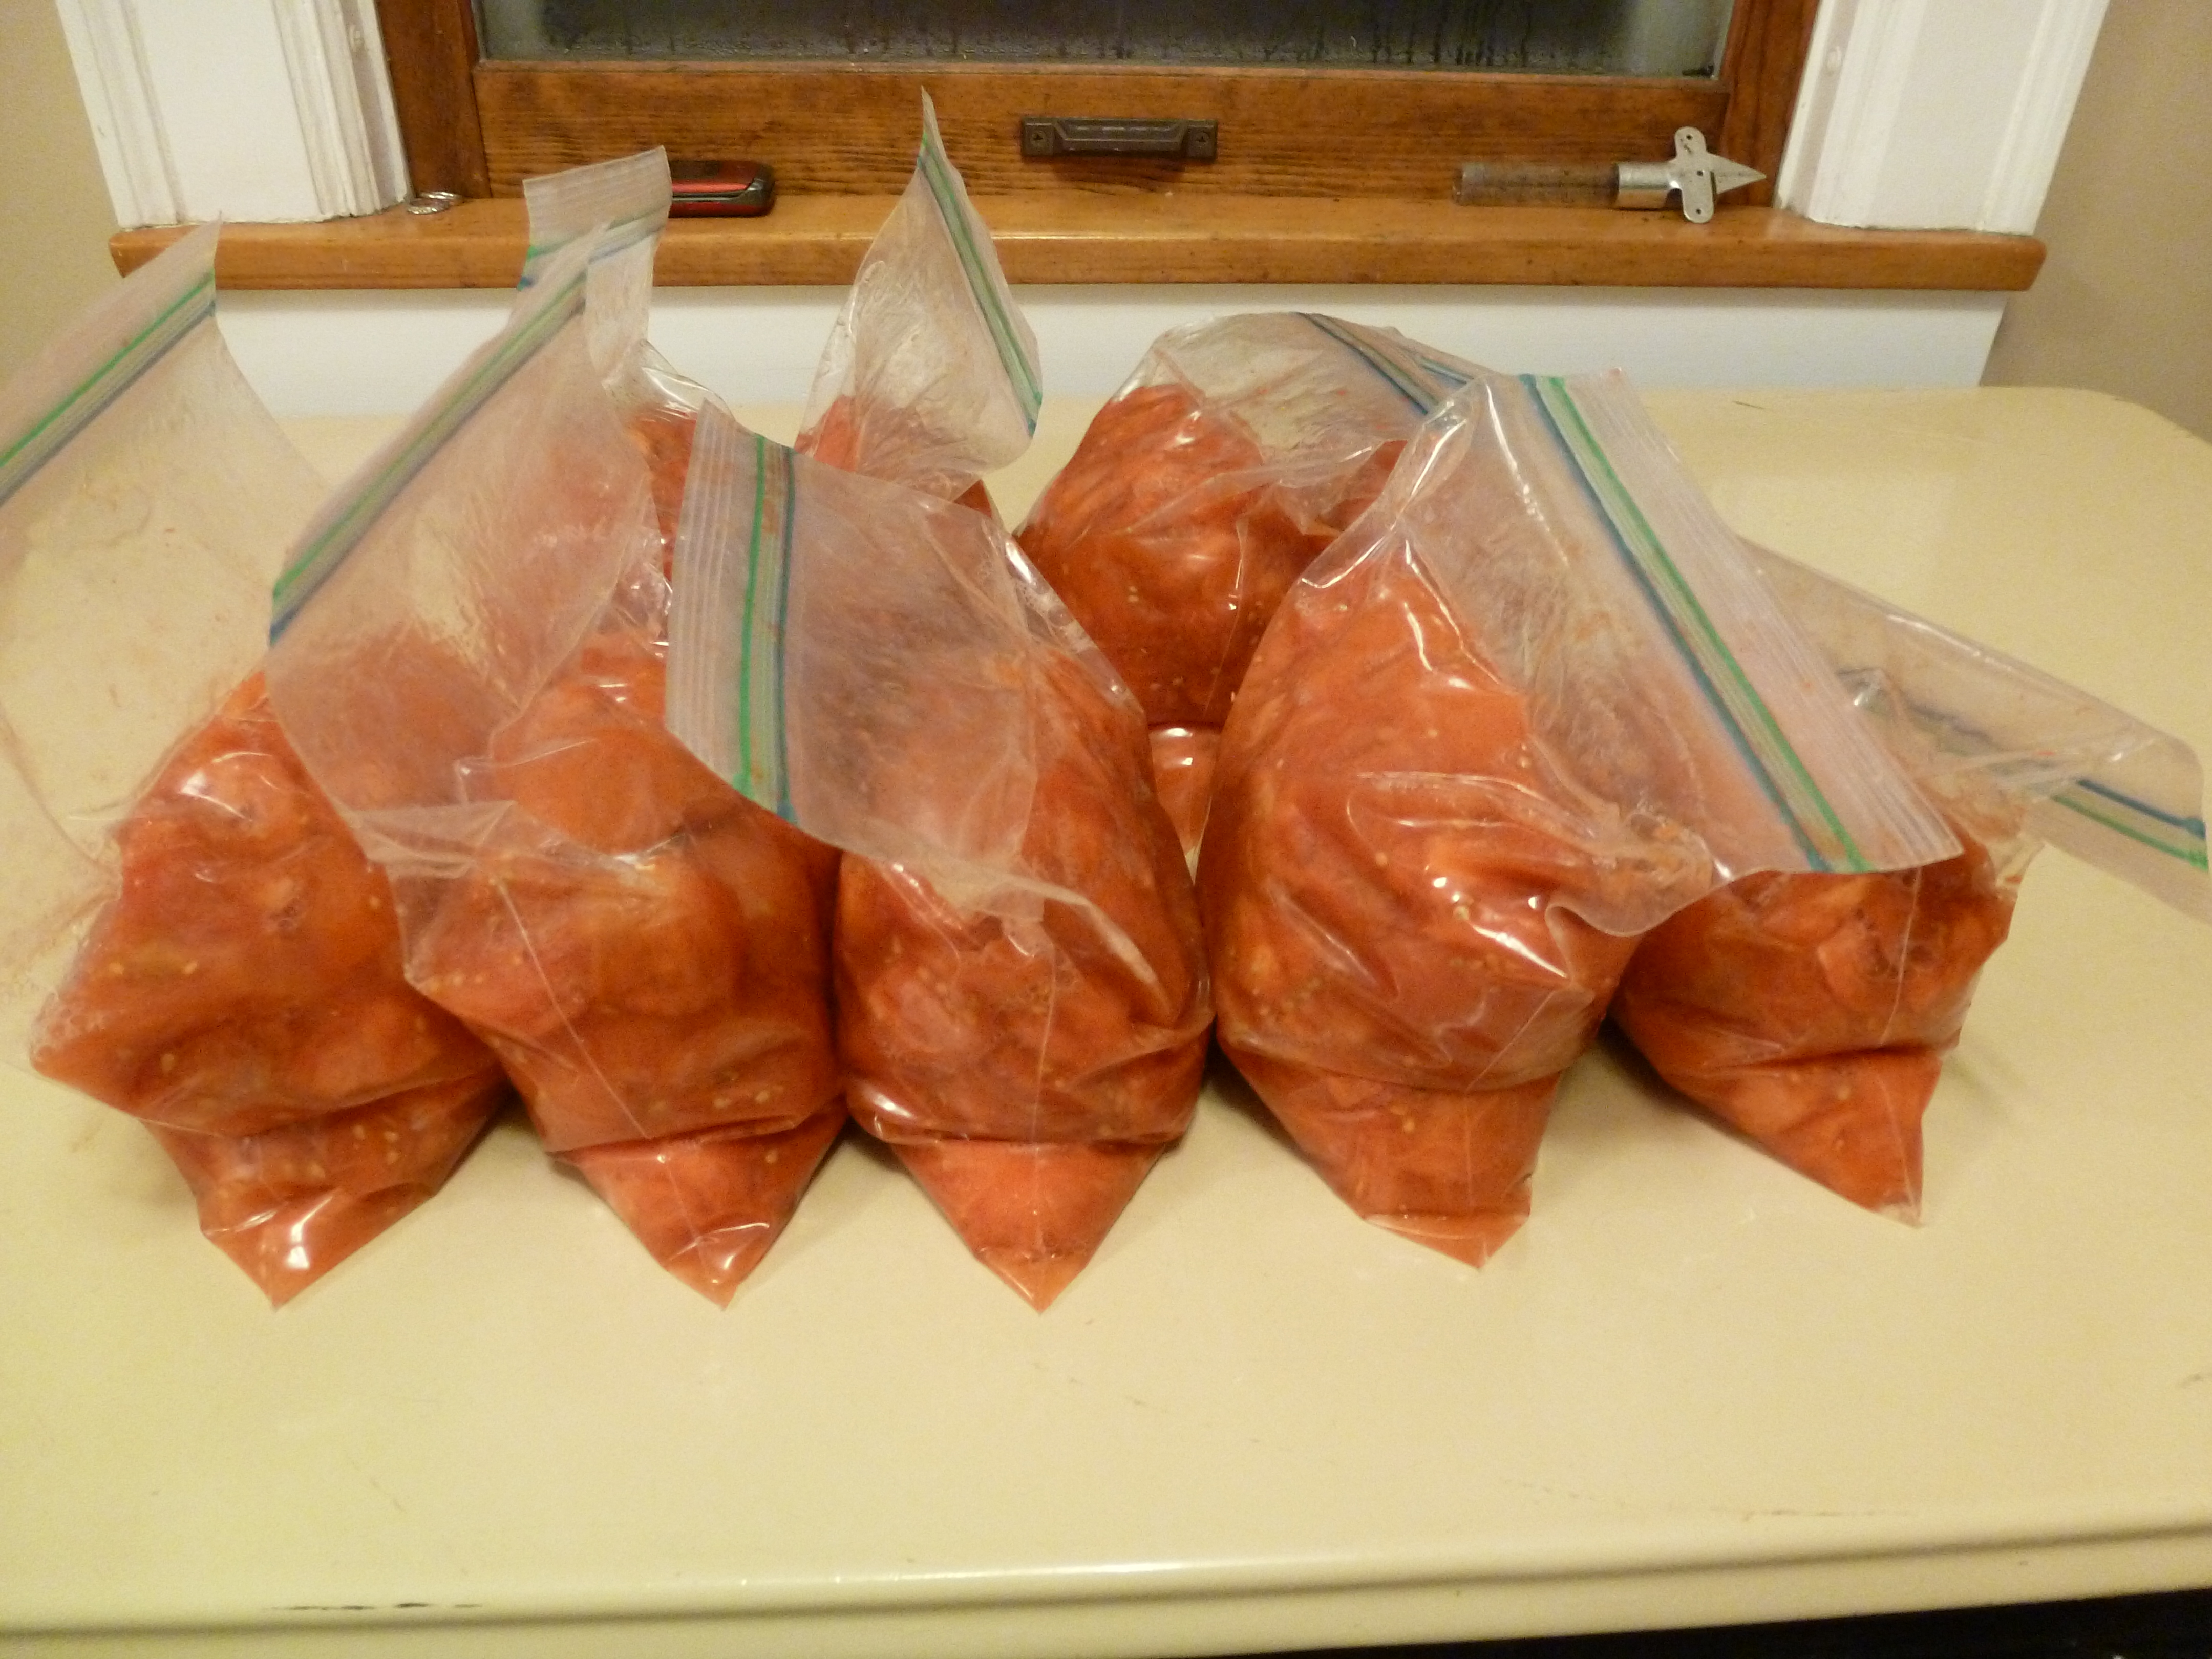
Since most sauces are better with more of a tomato’s flesh than its liquid and seeds, I chopped the tomatoes and removed most of the seeds, and let the chopped tomatoes drain for a minute over the sink in a second colander so that my frozen tomatoes would be less liquid-y when thawed.  The last step was to scoop the drained, chopped tomatoes into a quart-size freezer bag, and to remove as much of the air as possible before sealing the bag.  Each colander-full batch of raw tomatoes yields a quart-size freezer bag filled about ¾ full.  In total, I repeated this process for more than 2 hours and ended up with 9 quart freezer bags of tomatoes.  It was some work, but 9 quarts of locally grown tomatoes frozen at the peak of freshness for $10 is a pretty good deal for the enjoyable effort that is involved.

Toward the end of the project, I got exhausted and I had to call in backup.  Bjorn jumped right in and helped me see the project through to its close.  I think it was the first time I’ve ever gotten wrinkled fingers from cutting up vegetables.  Even though my Tuesday evening turned into a tomato-y marathon, the process of putting up food for the winter was rewarding.  I’m certain that we’ll savor our favorite summer flavor preserved for the cold months to come.

*N.B., readers and self:  this quantity is plenty for one person to handle in one evening.

**My kitchen table is a vintage enamel-topped table that I bought about 9 years ago.  Through law school it served as a computer desk and work station.  Last year we moved it into the kitchen for Thanksgiving preparations and discovered how nice it was to have some additional workspace in our tiny kitchen.  I painted the table base flat black and Bjorn added casters.  We use it constantly for cooking and baking projects, painting, sorting mail, as a place to sit for breakfast or have a guest sit while we cook a meal for them.  I just love it.

A Tale of Three Salads…

I like making a foods that are a concept more than a recipe.  A concept dish has a central idea to it, that you can run with in any direction that you please.  Dishes in this category include pizza, many pasta dishes, a stir fry, a sandwich, many soups and stews, pasta salad, or any salad for that matter.  The structure of a concept dish is based on a few central and necessary components.  For a pizza, this would include a crust and toppings.  It can go anywhere from a traditional tomato sauce/cheese/pepperoni to topping a gluten free pizza crust, vegan “renotta*” and roasted red peppers.   Foods like these accommodate my cooking style.  They allow for imprecision, experimentation, and using whatever is fresh from the garden or farmer’s market.  A conceptual recipe can be influenced by a certain cuisine, or an ingredient in the fridge that needs to get used up.  They can even have multiple influences, such as the salad I’m about to share; one of the most enjoyed meals of the summer which had no less than 3 sources of inspiration.   The first inspiration is the Cobb Salad at Salut in Saint Paul.  I ate this salad several times a week in the count-down days leading up to our wedding when our nightly meal had an agenda and was a business meeting more than a relaxing al fresco dinner at a bustling brassiere across the street from my apartment.  The Salut Cobb salad was a great supper for me in the days leading up to our wedding.  It was a salad, but it was hearty, and it was huge.  I ordered the Cobb with the chicken and bacon on the side, which we took home and added to Bjorn’s lunch the next day.  I also had enough salad left over for my own lunch at work even after being totally satisfied by my supper**.  The Salut Cobb is was a pretty standard Cobb, ingredients-wise:  romaine lettuce, grape tomatoes, avocado, hard-cooked egg, blue cheese and garnished with toasted parmesan crisps.  The salad comes dressed, but the dressing is light.  Still, the salad is rich because of the avocado, blue cheese and eggs.  The salad I made contained the tomato, avocado and egg elements, but the Salut’s main influence on my salad was the fact that I made a salad for supper.  After living on the salad for 2 meals a day for the months of May and June 2009, I became a believer that a salad can be supper.  The second source of inspiration for my salad was a traditional Salad Niçoise.  I don’t eat tuna and anchovy which are central elements of this salad, but I planned to use green beans, eggs, and potatoes (in addition to the already mentioned tomato) and the Niçoise is a salad that says “yes you can” to these ingredients in a cold salad.  The third and most influential inspiration for my salad was the Ensalada Mixta pictured in Summer Made Easy Special Issue of Everyday Food Magazine in an article called Bask Country with food prepared by Aran Goyoaga.  I have already mentioned, this article inspired me to return to blogging after 3 month hiatus earlier this summer.  Aran Goyoaga prepared an Ensalada Mixta for a tapas party featured in the article.  An Ensalada Mixta is a traditional Spanish salad.  Aran Goyoaga served hers stylishly deconstructed, and allured me with its casual elegance and its peeled, soft cooked eggs with their tops cut off.  A behind the scenes photo-journal appears on Aran’s blog, and the salad is pictured, in the center of the first photo, and then again, larger, toward the end of article.  With elements of all of these salads in mind, I made a salad supper we loved with veggies from our backyard square foot garden and the Saint Paul Farmer’s Market which were fresh and lovely and crying to be a part of an uncomplicated summer meal.

I arranged all of the elements of the of Cobb/Niçoise/Ensalada Mixta-influenced salad deconstructed, on a large platter that we were given as a wedding present.  The preparation was extremely simple.  I boiled and then roasted fingerling potatoes from the farmer’s market with olive oil, crushed garlic and chopped rosemary from our garden and sprinkled a little champagne vinegar at the end to make their flavor bright***.  I boiled and peeled eggs, but didn’t manage to get them off of heat in time to make the lovely soft-cooked eggs from the Ensalada Mixta.  I picked and rinsed green and Bibb lettuces and frisée from the garden, and sliced garden tomatoes and fresh mozzarella.  I sprinkled a little salt and fresh-ground pepper to the potatoes, eggs and tomatoes.

I blanched green beans from our garden and corn from the farmer’s market corn and cut it off the cob.

For a dressing, I blended avocado with parsley, salt and pepper and light mayonnaise in the food processor.

I was aiming for a Green Goddess-type dressing.  The avocado concoction began with great ingredients, but turned out heavy with too much mayo, and missed the mark.  I put Olive Oil, Balsamic Vinegar, salt and pepper on the table to allow us to dress our salads to taste on our plates.

There are great salads that contain a set list of vegetables and proteins that are dressed in a particular way, such as a Cobb, a Niçoise, or a Caesar.  My salad was a concept; a sum of it parts –the ideas and ingredients that influenced its creation.  In spite of a less than exceptional dressing, and hard, instead of soft-boiled eggs, it worked out.  We enjoyed its simplicity, and were satisfied by it because so many of its elements were hearty.  Bjorn commented that the meal had a European feel to it, which makes sense in light of elements being inspired by salads native to France and Spain, both cuisines that prize great ingredients, and prepare them without excess complication.   It has its American note to it also, in the Cobb ingredients, avocado and square foot garden-raised vegetables.  I am slowly learning that great ingredients, prepared without unnecessary complication and served simply have such a refreshing and satisfying result.

*I don’t think I can be convinced that a pizza is a Pizza without cheese.  I guess if it became medically necessary for me to eat pizza without cheese due to sudden, extreme lactose intolerance, a pizza like the one I recently read about on the Food in my Beard could perhaps, fill the sad, cheeseless void in my belly.

**I won’t lie.  I always ate the salad with a hunk of Salut’s bread and some cold salty butter that they bring out to start your meal.  This was totally justified, by my choice of a salad as entree, right?  I’m sure the chewy bread and butter helped make a salad so satisfying.

***Thank you to our friends Jenny and Ben for introducing us to this wonderful way to prepare potatoes, based on a recipe by Jamie Oliver.
First Home Grown Tomatoes

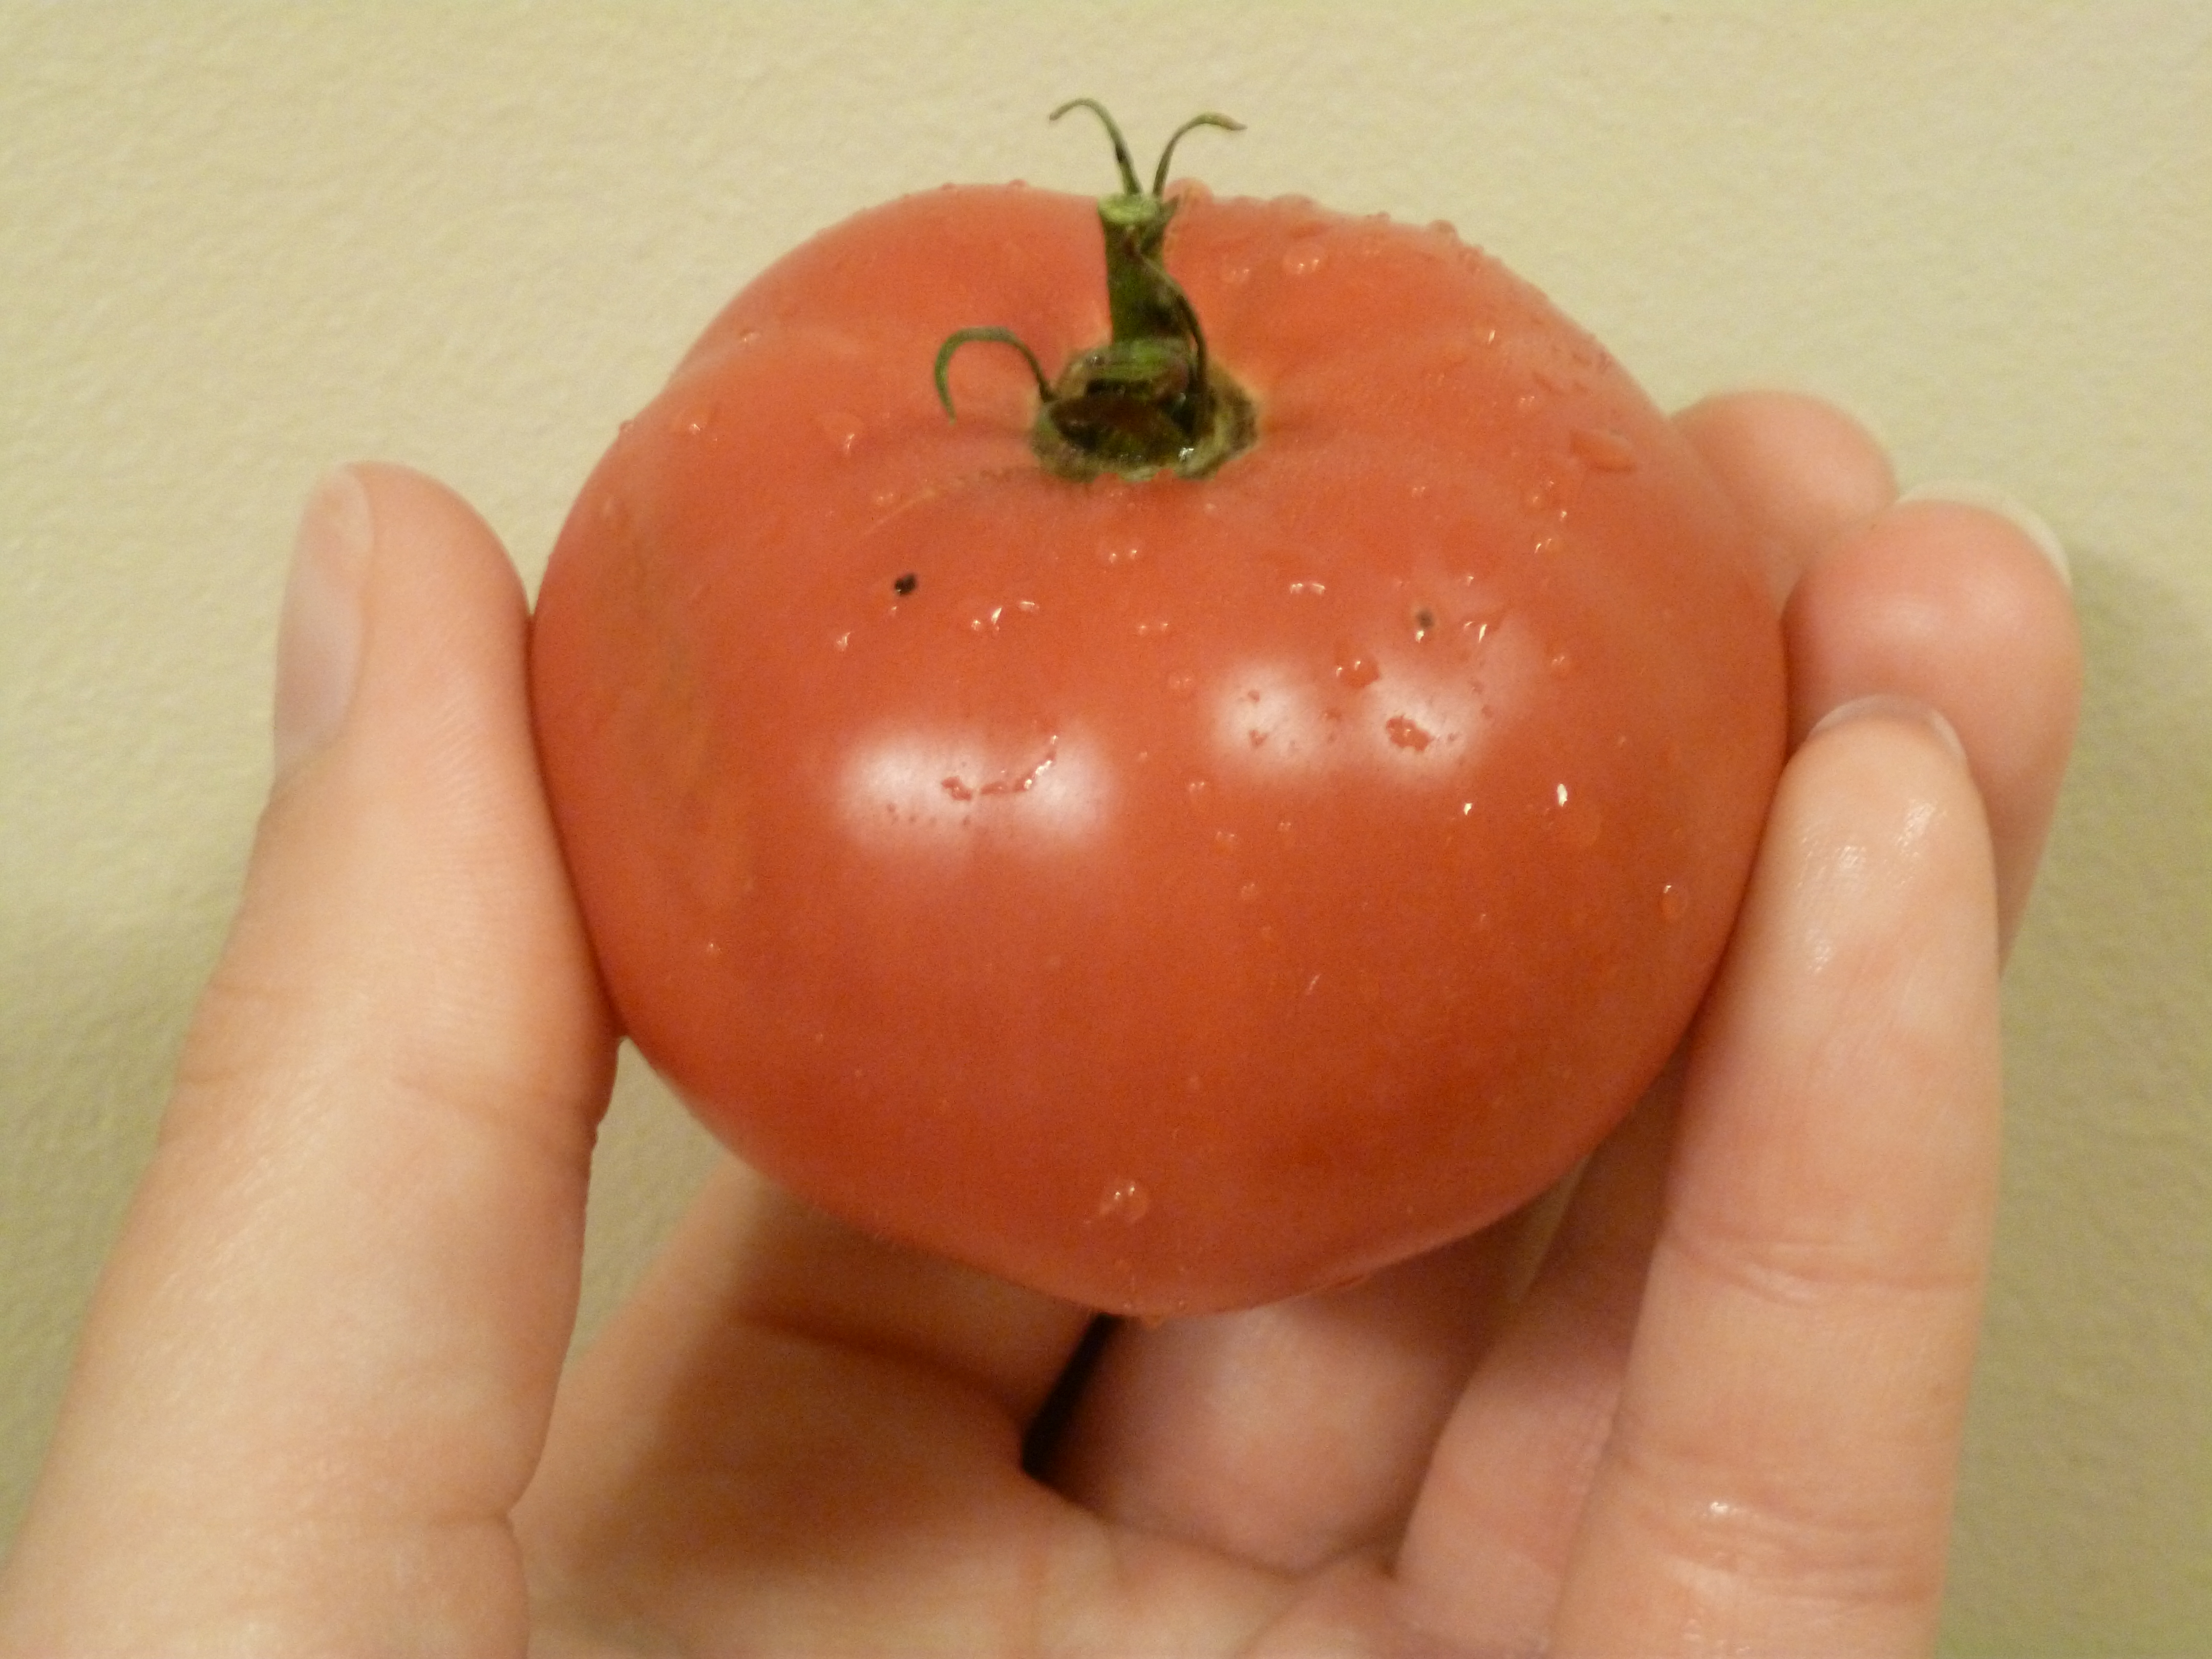
Last year was my first year with a back yard vegetable garden.  Tomatoes were one of the most successful vegetables.  With the hot summer and the mild, long fall we ended up having good gardening weather until October.  I still had tomatoes ripening in the front window in December when I decided it was time to call it a year and preserve them.

I have canned only jam.  Only once.  It was still the ’90’s and I was a college student with lots of vacation time at home to pick fresh strawberries, collect and sterilize jars, create customized labels and deliver gifts of the finished product to friends and neighbours.   I hope to get into other more ambitious canning in the future when time permits.  In the meantime, for my first year as a gardener I decided blanching and freezing was going to be good enough, especially with only the random leftovers from 3 tomato plants to deal with.   To prepare for blanching, the above tomatoes were washed in cold water, and the bad spots and top stems removed.

After about one minute in the pot of gently boiling water the skins split.  Then it is time to plunge the tomatoes into a bath of ice water.  After about a minute in the ice water bath, the tomatoes are cool, and their skins slip off easily.   Drain the water in a colander and throw them in a freezer bag.  Pretty simple.

I gave the bag a detailed, dated label, along with suggestions for use of this late growing batch since things can get lost and forgotten so easily in the freezer.  Then I threw it in the freezer and called it a day.