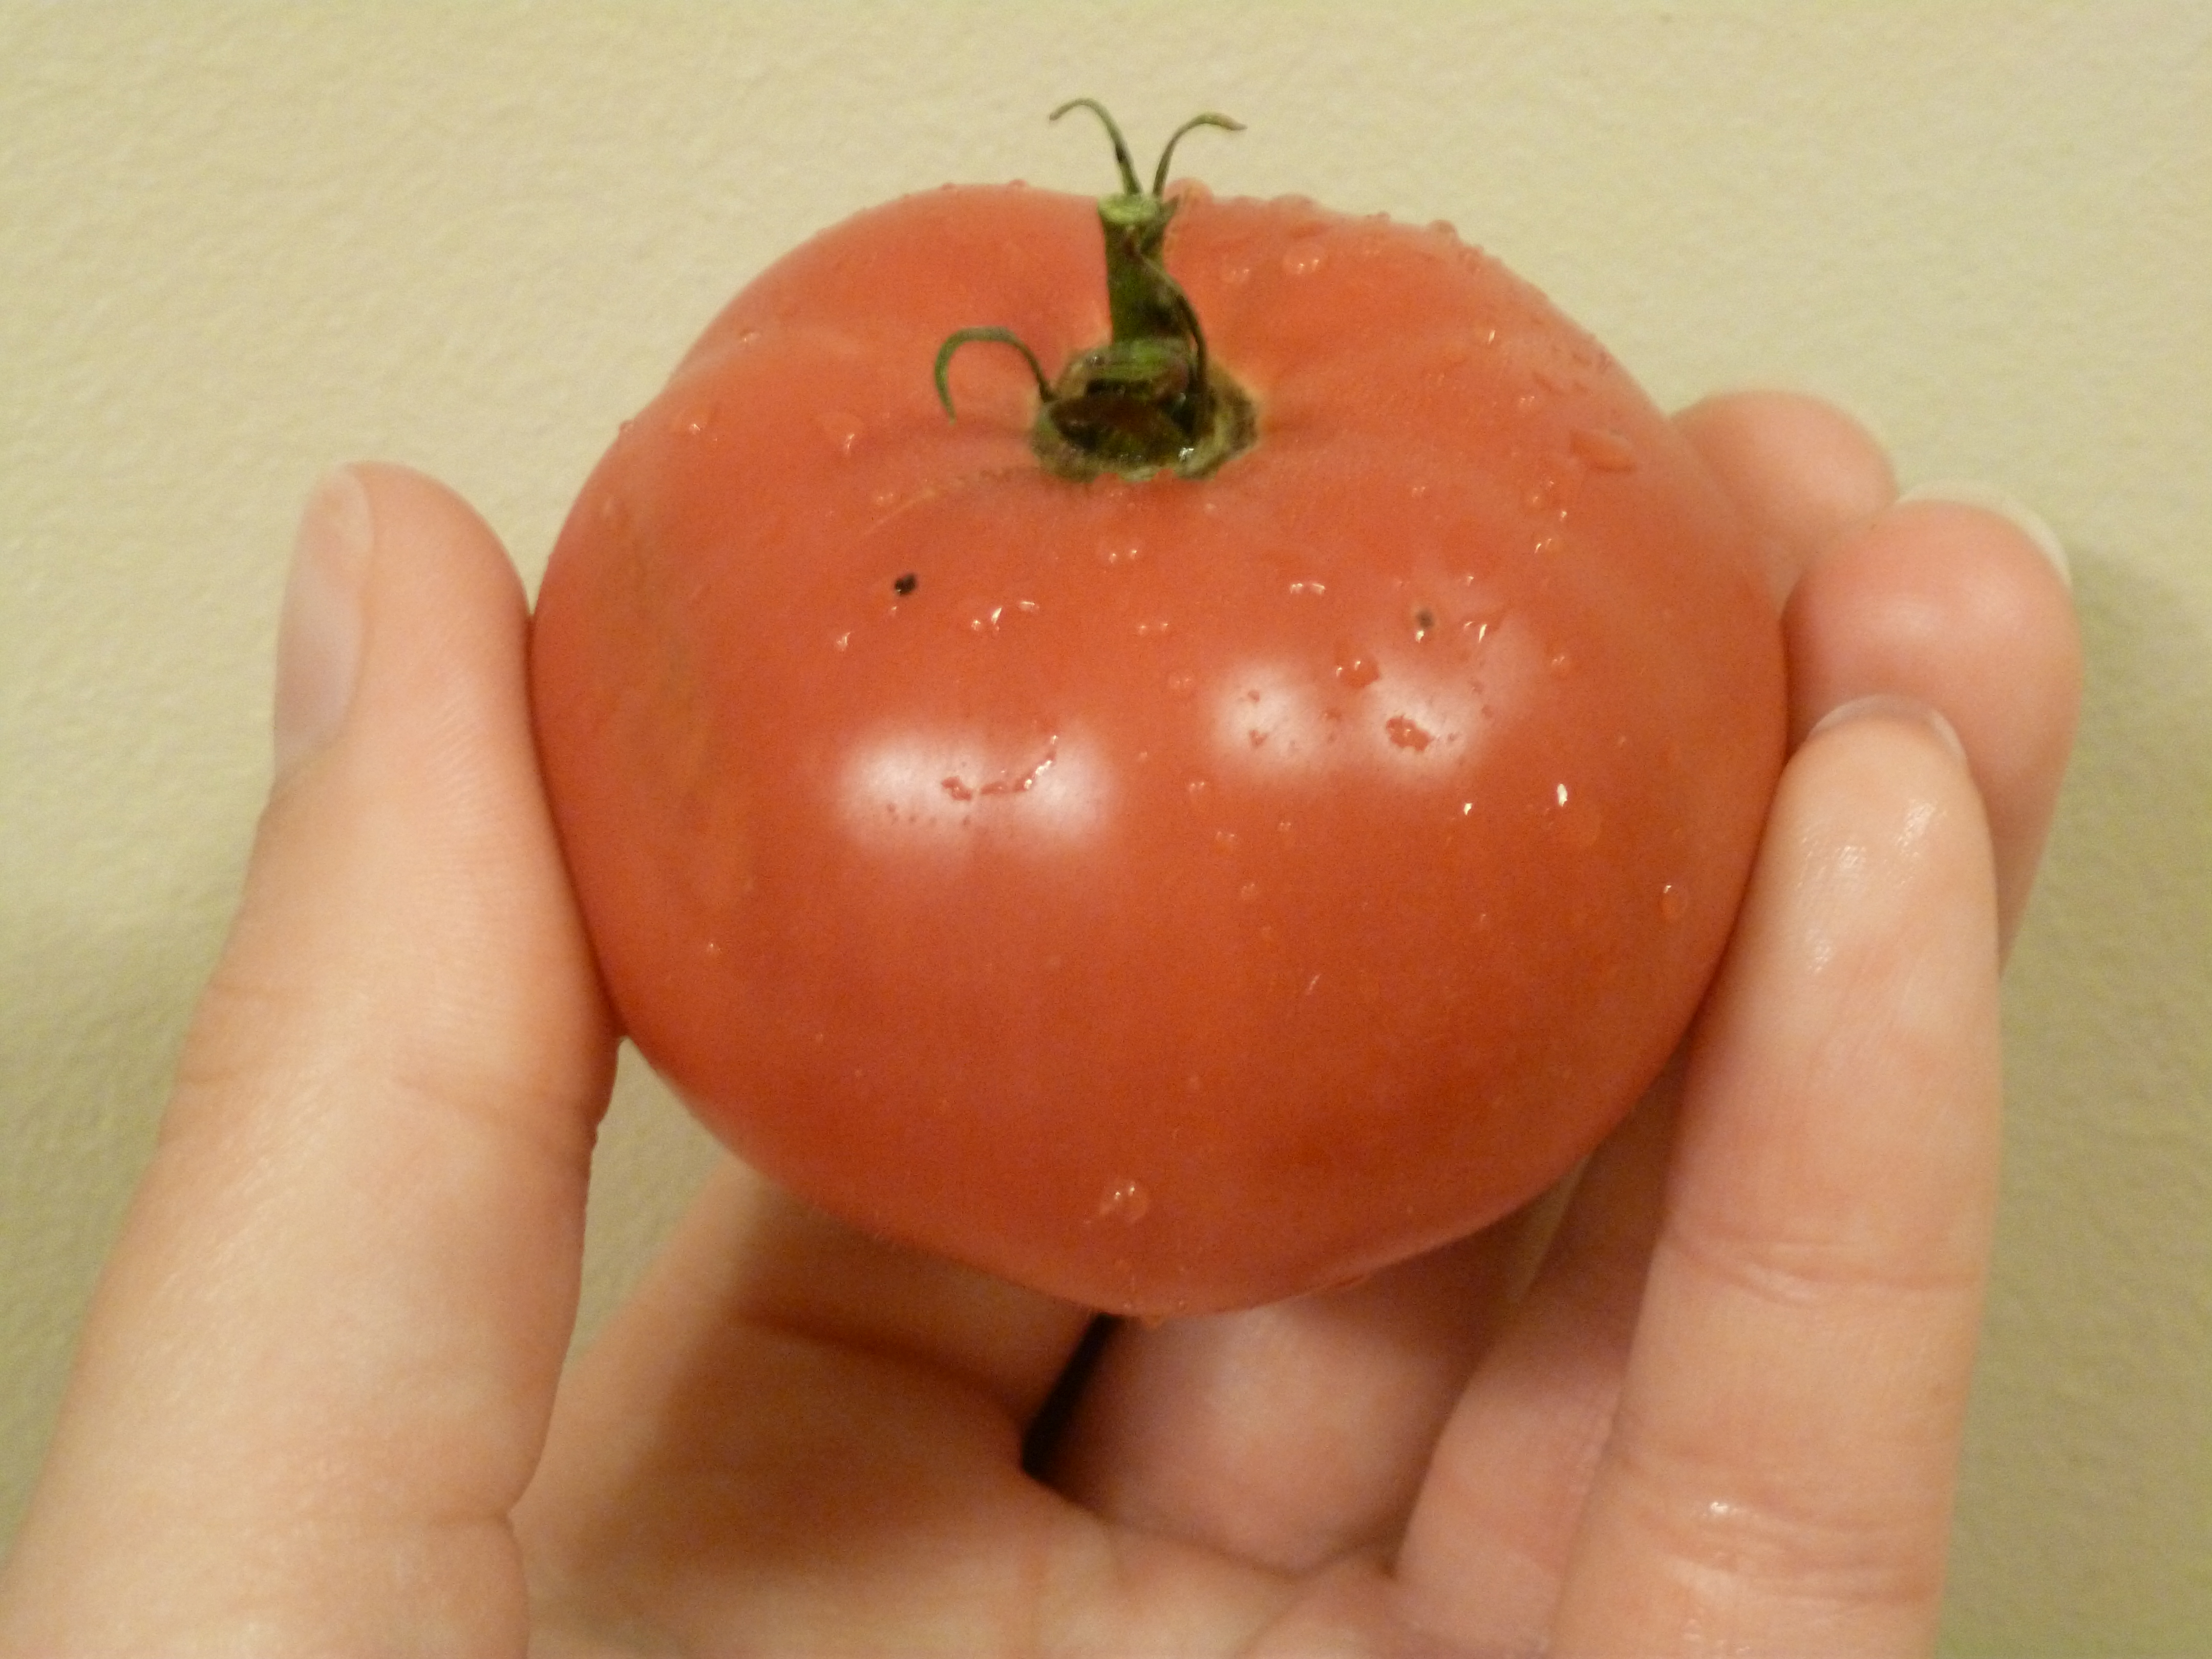
I often mention the Saint Paul Farmer’s Market. It has become a destination for us every weekend. We have a garden of our own, and so we have a daily supply of tomatoes, lettuces, peppers and many herbs throughout the summer and into the fall. Still, there are so many summer and autumn vegetables we don’t grow that we pick up in our weekly excursions to the Saint Paul Farmer’s Market. It is our source for corn, leeks, squash, melons, green onions, garlic and new species of vegetables to try for the first time. I had aspired to start canning this year, but by the time I had a free weekend, I was a week too late to do pickles, and just not as excited to make the effort for canning Dilly Beans. Salsa or pasta sauce would be fun, but I didn’t want to worry about pH levels in my first canning project. Pickled items just seem like a safer place to start. So, I gave up on the idea of preserving summer produce for winter. Then, as the summer wore on, I noticed that prices started to drop on large quantities of produce from $18 to $16 to $10 for a huge box and I couldn’t resist. I bought a crate of local tomatoes*, and planned to preserve them in the easiest way I know: blanche, chop and freeze them without seasoning to be used in sauces, chili and soups. I bought the crate of tomatoes on a late summer Saturday. My parents were visiting, so I didn’t get around to starting the blanching and freezing project until Tuesday evening.
I set up my blanching station on my handy kitchen table.** My essential list of tools included quart size freezer bags, 2 very clean plastic dish pans, one to be used for rinsing, and one for the ice water bath; 2 colanders; 2 cutting boards; a sharp paring knife; a bamboo-handled wire strainer (not pictured) and a large amount of ice for the ice water bath.
To begin, I washed the tomatoes and placed them in water in a plastic dish pan. I cleaned them up as needed with the paring knife, and cut a small X in the bottom of each clean tomato. When I had a colander full of cleaned up, scored-bottom tomatoes, I put them in a pot of boiling water on the stove, and left them there for 30 seconds. I initially set up two pots of boiling water on the stove, but soon realized that one pan of boiling tomatoes was all that could be tackled at a time with my small operation and two hands.
I removed the tomatoes from the boiling water with a wire scoop, and put them directly into the ice water bath. The hot to cold transition made the skins easy to slip off. I let them soak in the bath until they were cool enough to handle, removed the skins by hand and core quickly with a knife. I thought that cores came out more easily after the tomatoes were blanched.
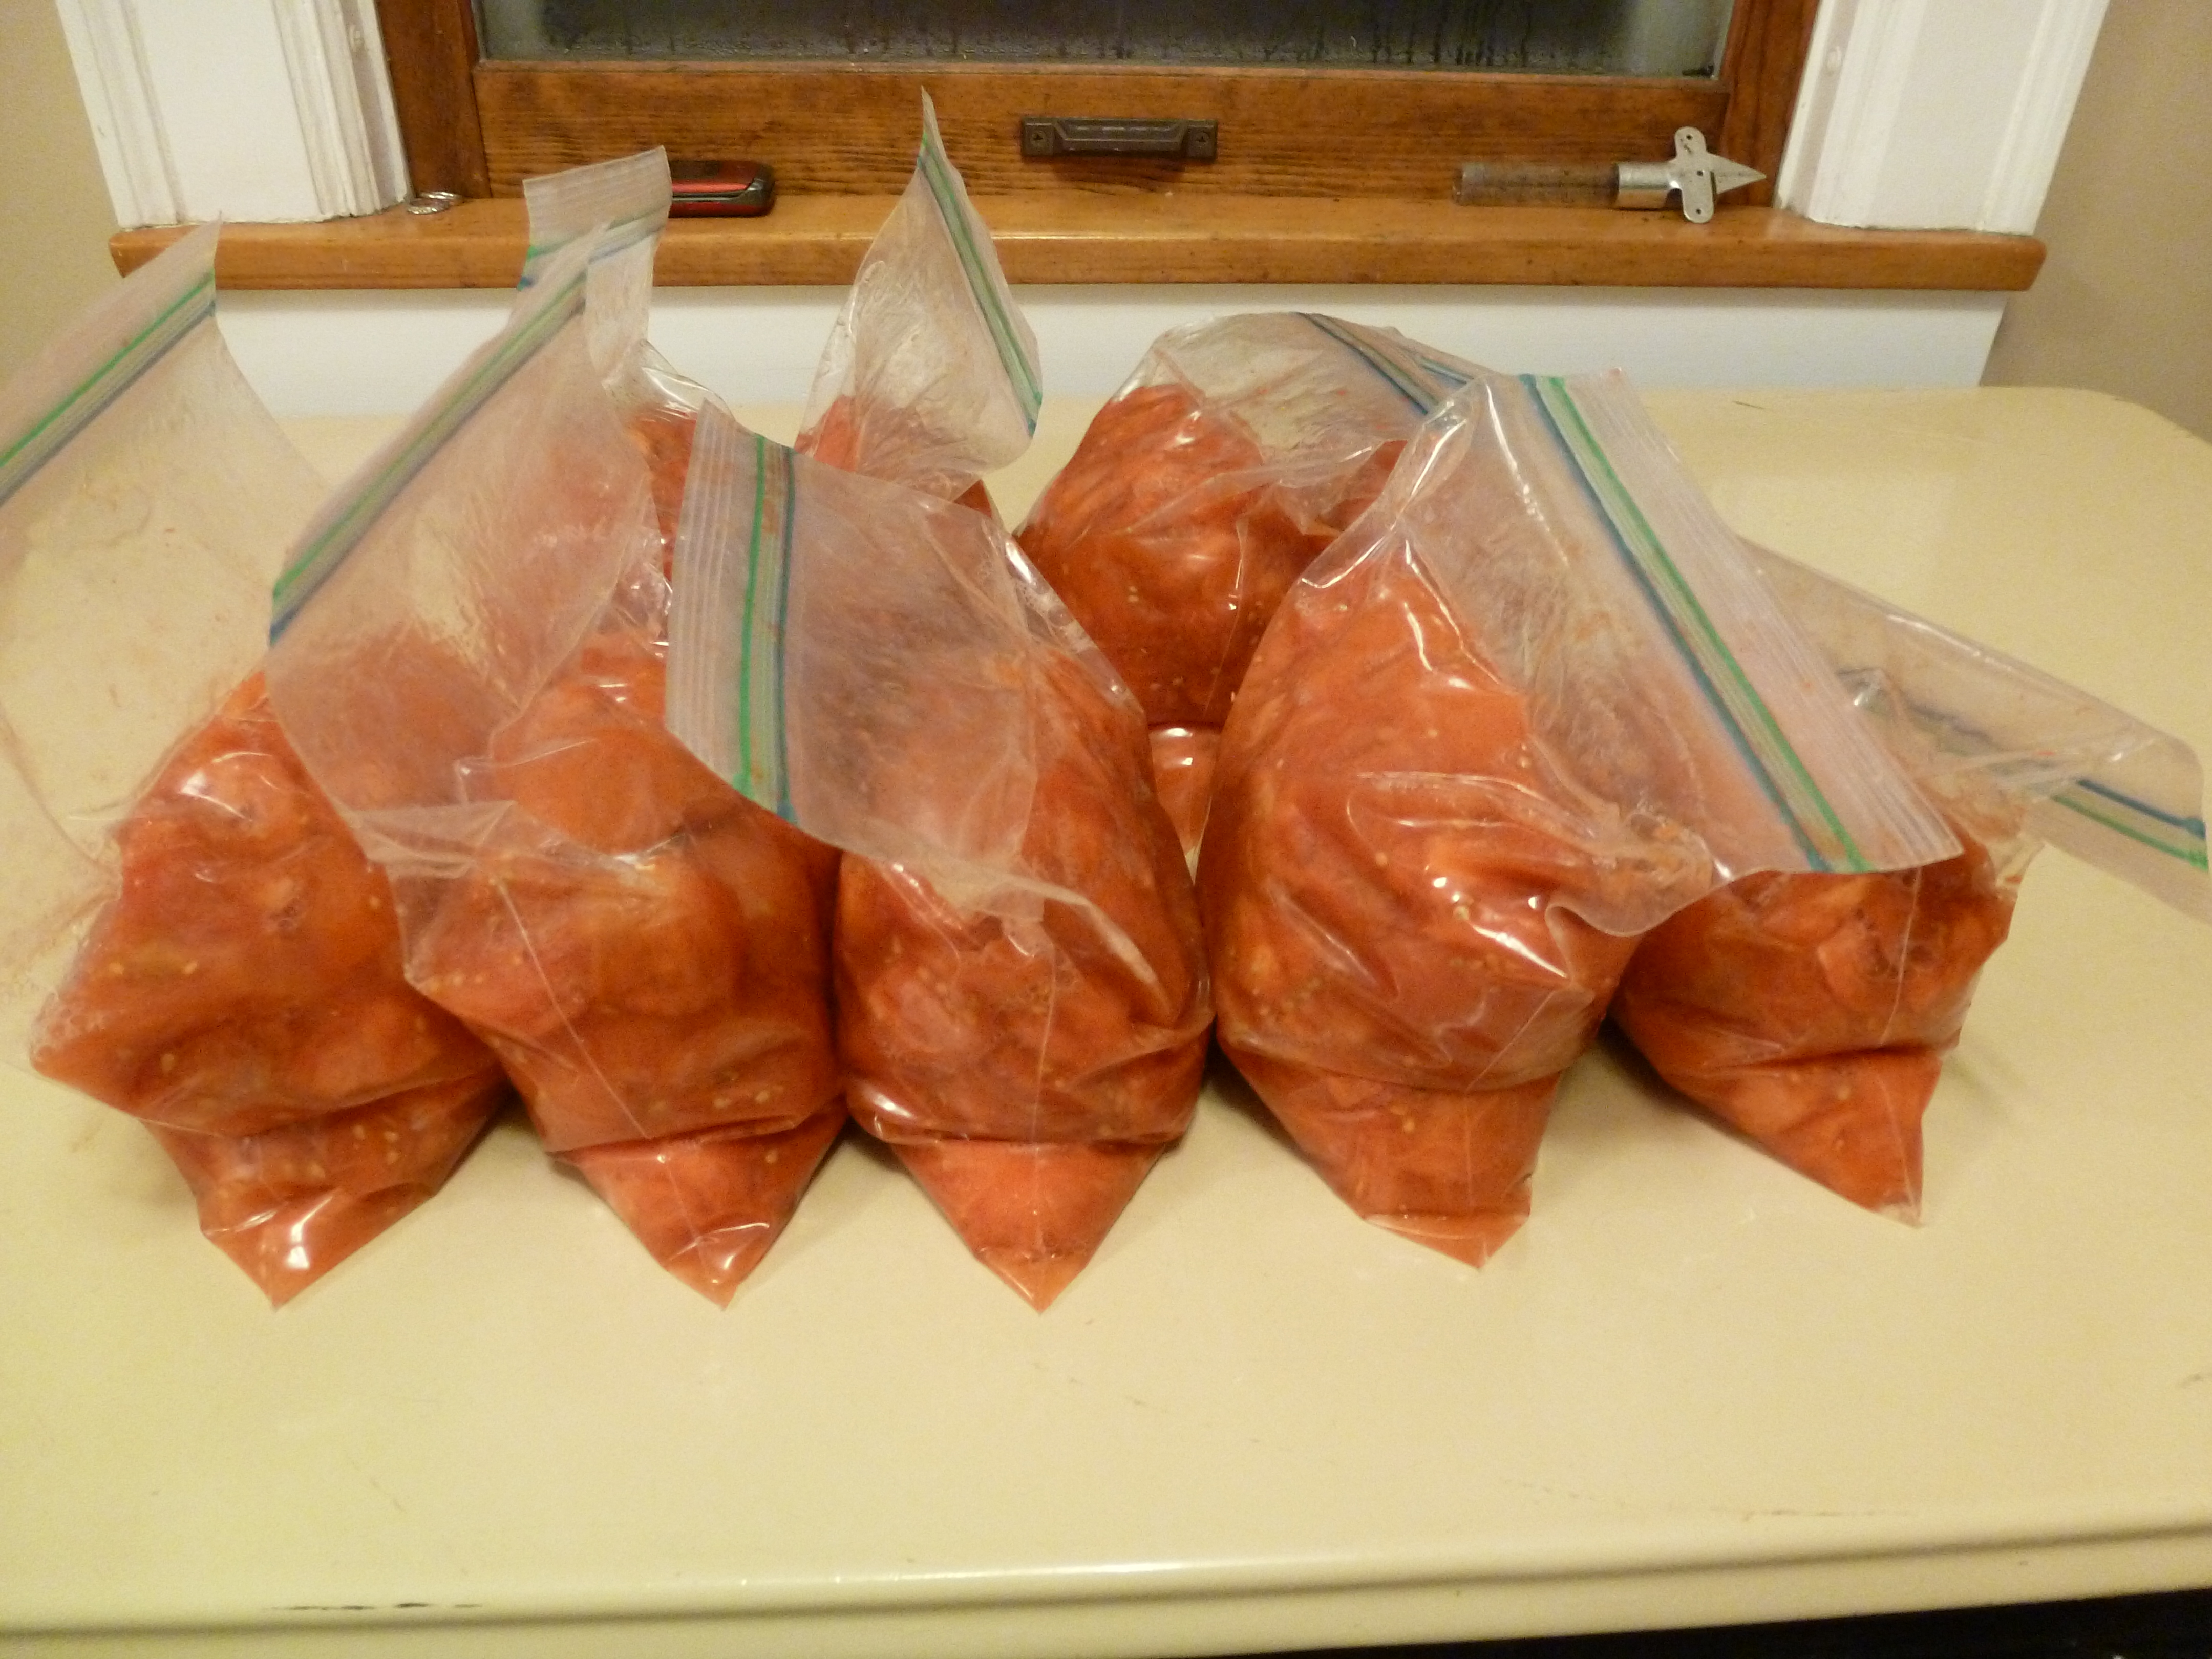
Since most sauces are better with more of a tomato’s flesh than its liquid and seeds, I chopped the tomatoes and removed most of the seeds, and let the chopped tomatoes drain for a minute over the sink in a second colander so that my frozen tomatoes would be less liquid-y when thawed. The last step was to scoop the drained, chopped tomatoes into a quart-size freezer bag, and to remove as much of the air as possible before sealing the bag. Each colander-full batch of raw tomatoes yields a quart-size freezer bag filled about ¾ full. In total, I repeated this process for more than 2 hours and ended up with 9 quart freezer bags of tomatoes. It was some work, but 9 quarts of locally grown tomatoes frozen at the peak of freshness for $10 is a pretty good deal for the enjoyable effort that is involved.
 Toward the end of the project, I got exhausted and I had to call in backup. Bjorn jumped right in and helped me see the project through to its close. I think it was the first time I’ve ever gotten wrinkled fingers from cutting up vegetables. Even though my Tuesday evening turned into a tomato-y marathon, the process of putting up food for the winter was rewarding. I’m certain that we’ll savor our favorite summer flavor preserved for the cold months to come.
*N.B., readers and self: this quantity is plenty for one person to handle in one evening.
**My kitchen table is a vintage enamel-topped table that I bought about 9 years ago. Through law school it served as a computer desk and work station. Last year we moved it into the kitchen for Thanksgiving preparations and discovered how nice it was to have some additional workspace in our tiny kitchen. I painted the table base flat black and Bjorn added casters. We use it constantly for cooking and baking projects, painting, sorting mail, as a place to sit for breakfast or have a guest sit while we cook a meal for them. I just love it.


