 Last weekend when it came time to eat, both Bjorn and I were hungry for the same thing: “real food.” We’ve been raking tons of leaves, the air is chilly, it gets dark early at this time of year which is more than enough to make a person crave warmth and comfort. To us, “real food” is the food that we would have eaten as children. It is wholesome, homemade, hearty and satisfying– something Grandma would make. This particular meal is one I grew to love as a child but isn’t one that either of our Grandmas would have made–though amazing cooks, there isn’t a Ukrainian among them. I grew up in the North End of Winnipeg so many of my friends and classmates had a Baba. There is a large population of second, third and forth generation Ukrainians settled in the North End. Family recipes are preserved and propagated through their use at wedding socials, at social clubs suppers, church fundraisers and in restaurants that serve good, home-style Ukrainian food. I can say with assurance that even without a Ukrainian relative, any Winnipegger worth her salt knows a good perogy.
  To me, perfect perogies are filled with a cheesy potato mixture, boiled and fried with onions until they are golden and crispy and served with sour cream. Perogies can be the center of a meal on their own. When served with borscht, holobtsi, kovbasa and a slice of City Rye or Pumpernickel bread and butter, you are having a homey, North End feast. I set about to make perogies from scratch for the first time last week. I didn’t have the advantage of Hunky Bill’s Perogie Maker or a Baba’s recipe so I followed my instincts and took some guidance from a pierogi recipe by Martha Stewart. Martha is Polish so she uses the Polish spelling for Pierogi. Each Eastern European country has their own name for a perogy, and each family has their own variation on the recipe and favorite way to serve perogies. Whether you call them perogies, pierogi or varenyky the general concept of a perogy is the same: a soft, unleavened dough is stuffed with potatoes, vegetables, herbs, cheese or meat, boiled and sometimes fried, and typically served with fried onions and sour cream or jam.
 I made half the quantity of Martha’s dough and potato filling, doubled the cheese and I channeled “North End Baba” while a I rolled, stuffed, boiled and fried.
  I found the dough forgiving and easy to handle.
 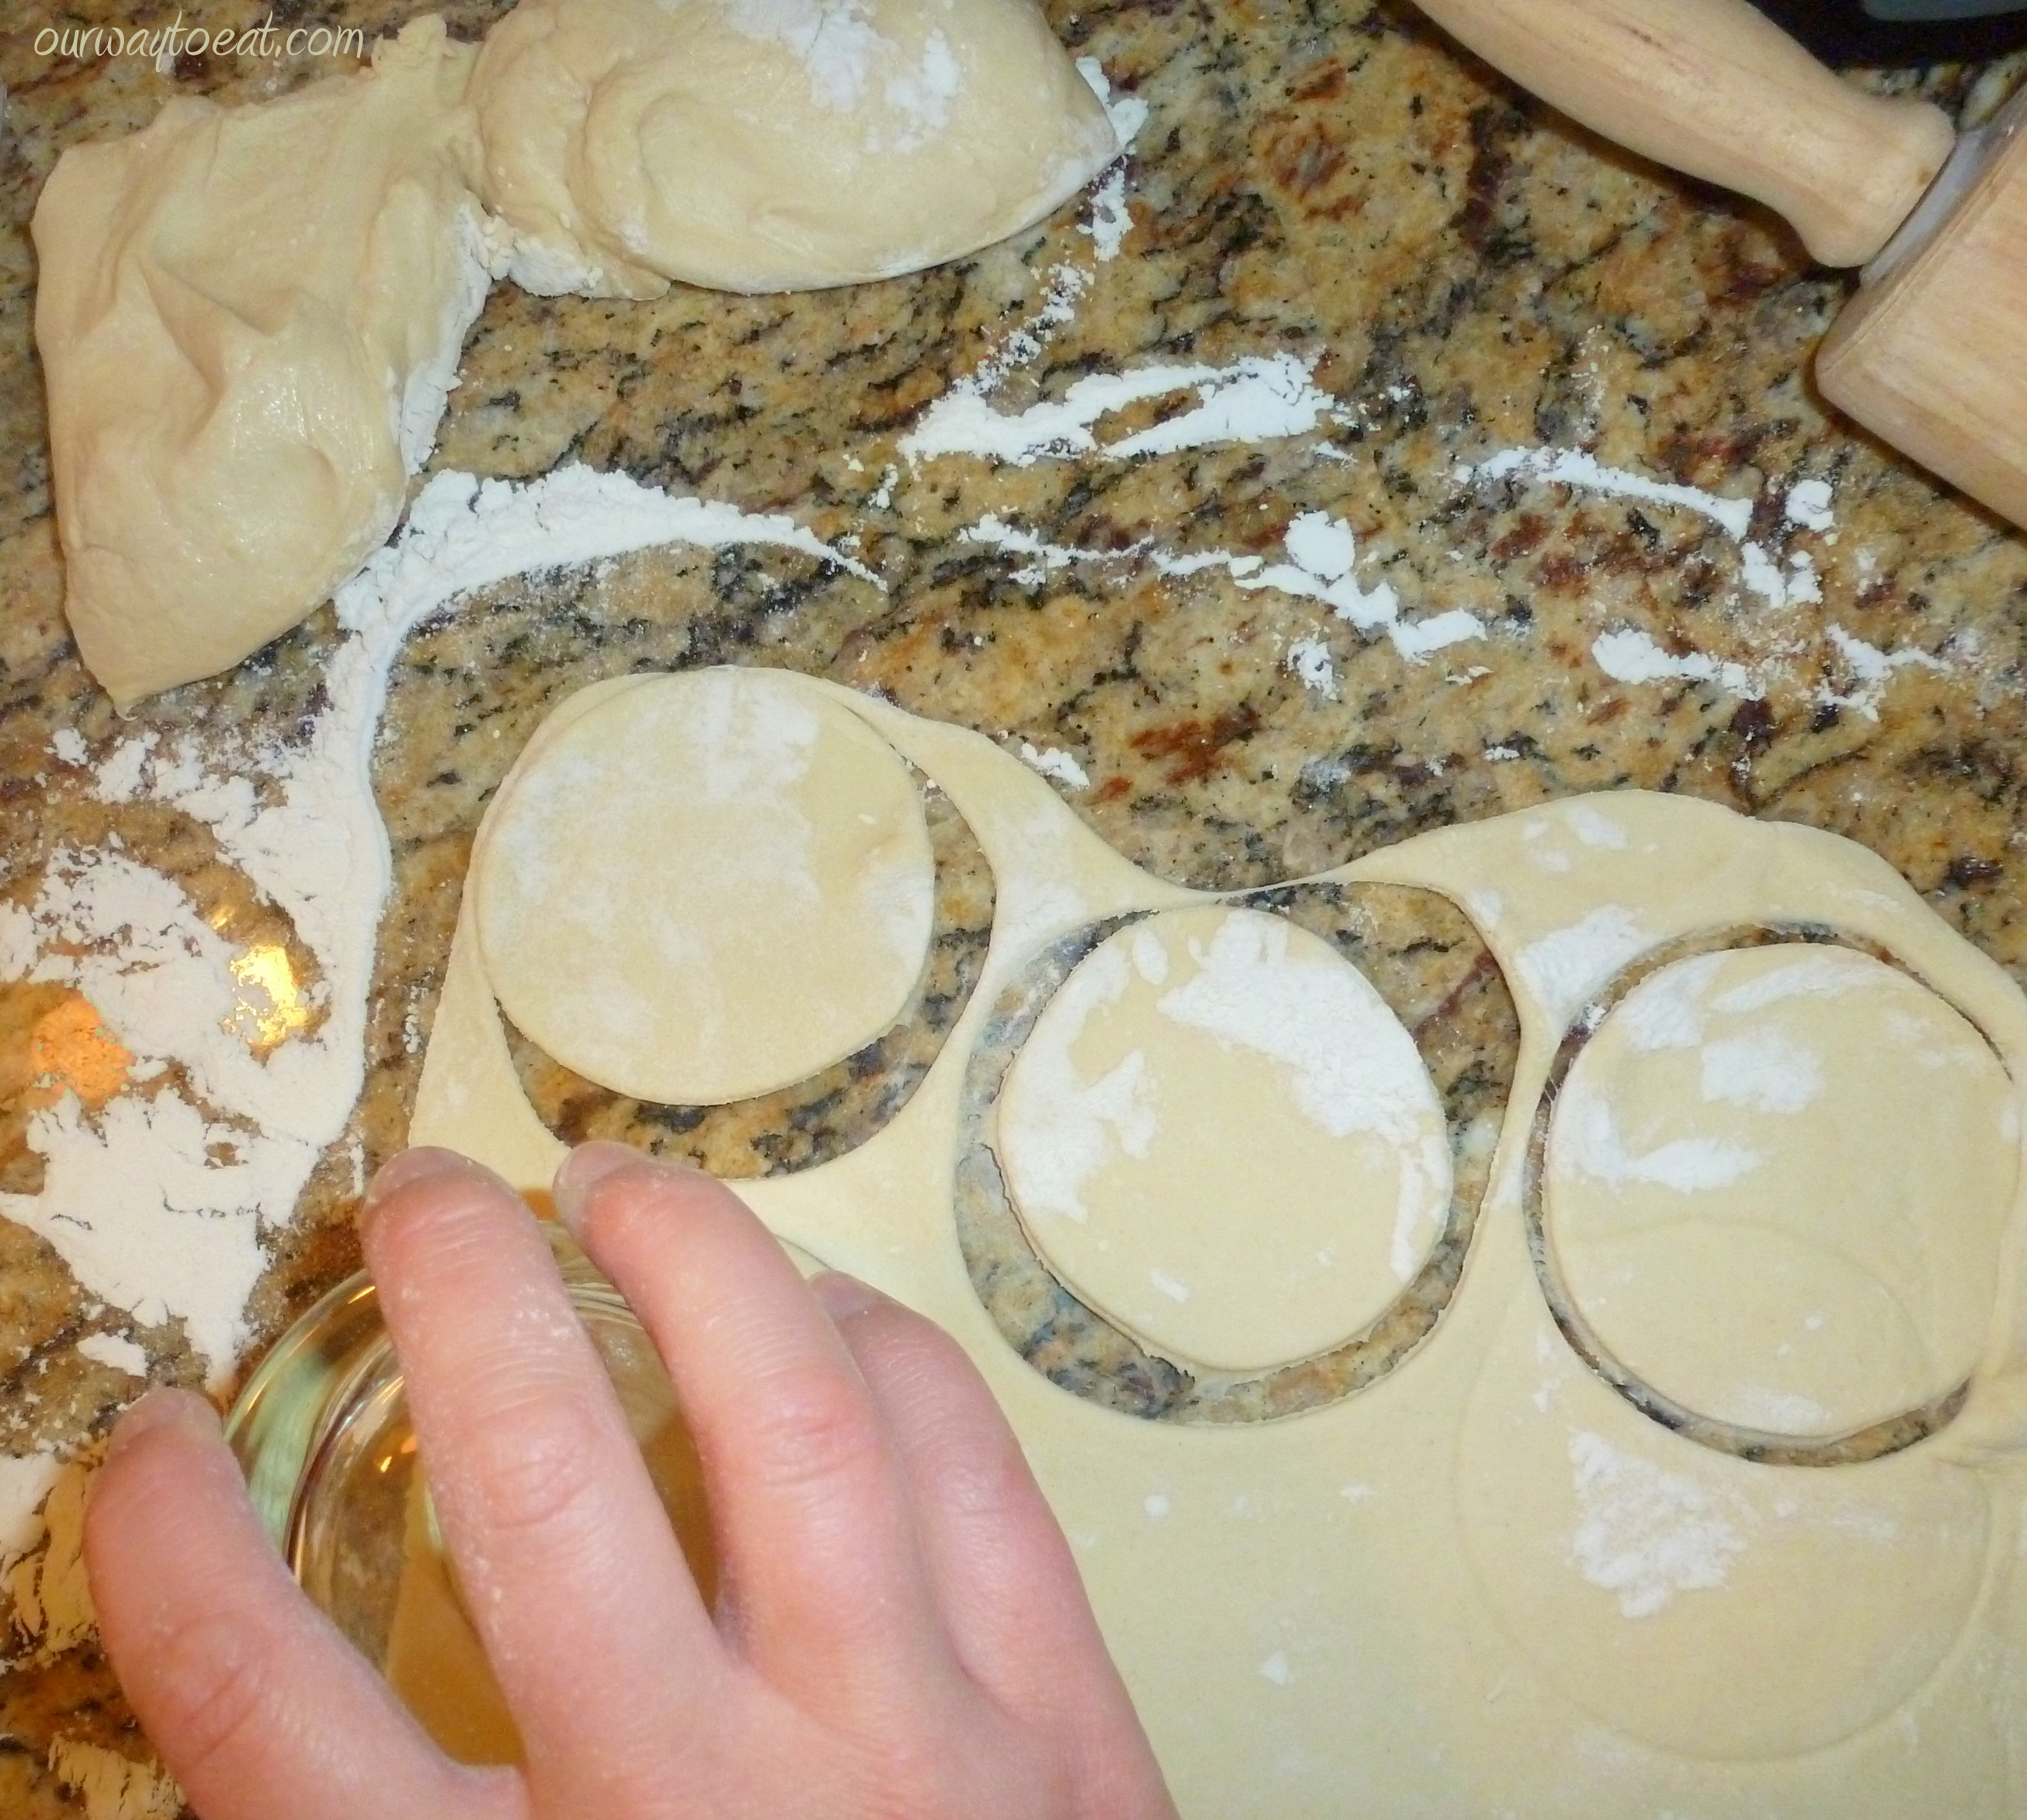 I floured the counter and rolled the dough to 1/8 inch thickness, then cut as many rounds as a I could with a juice glass.
 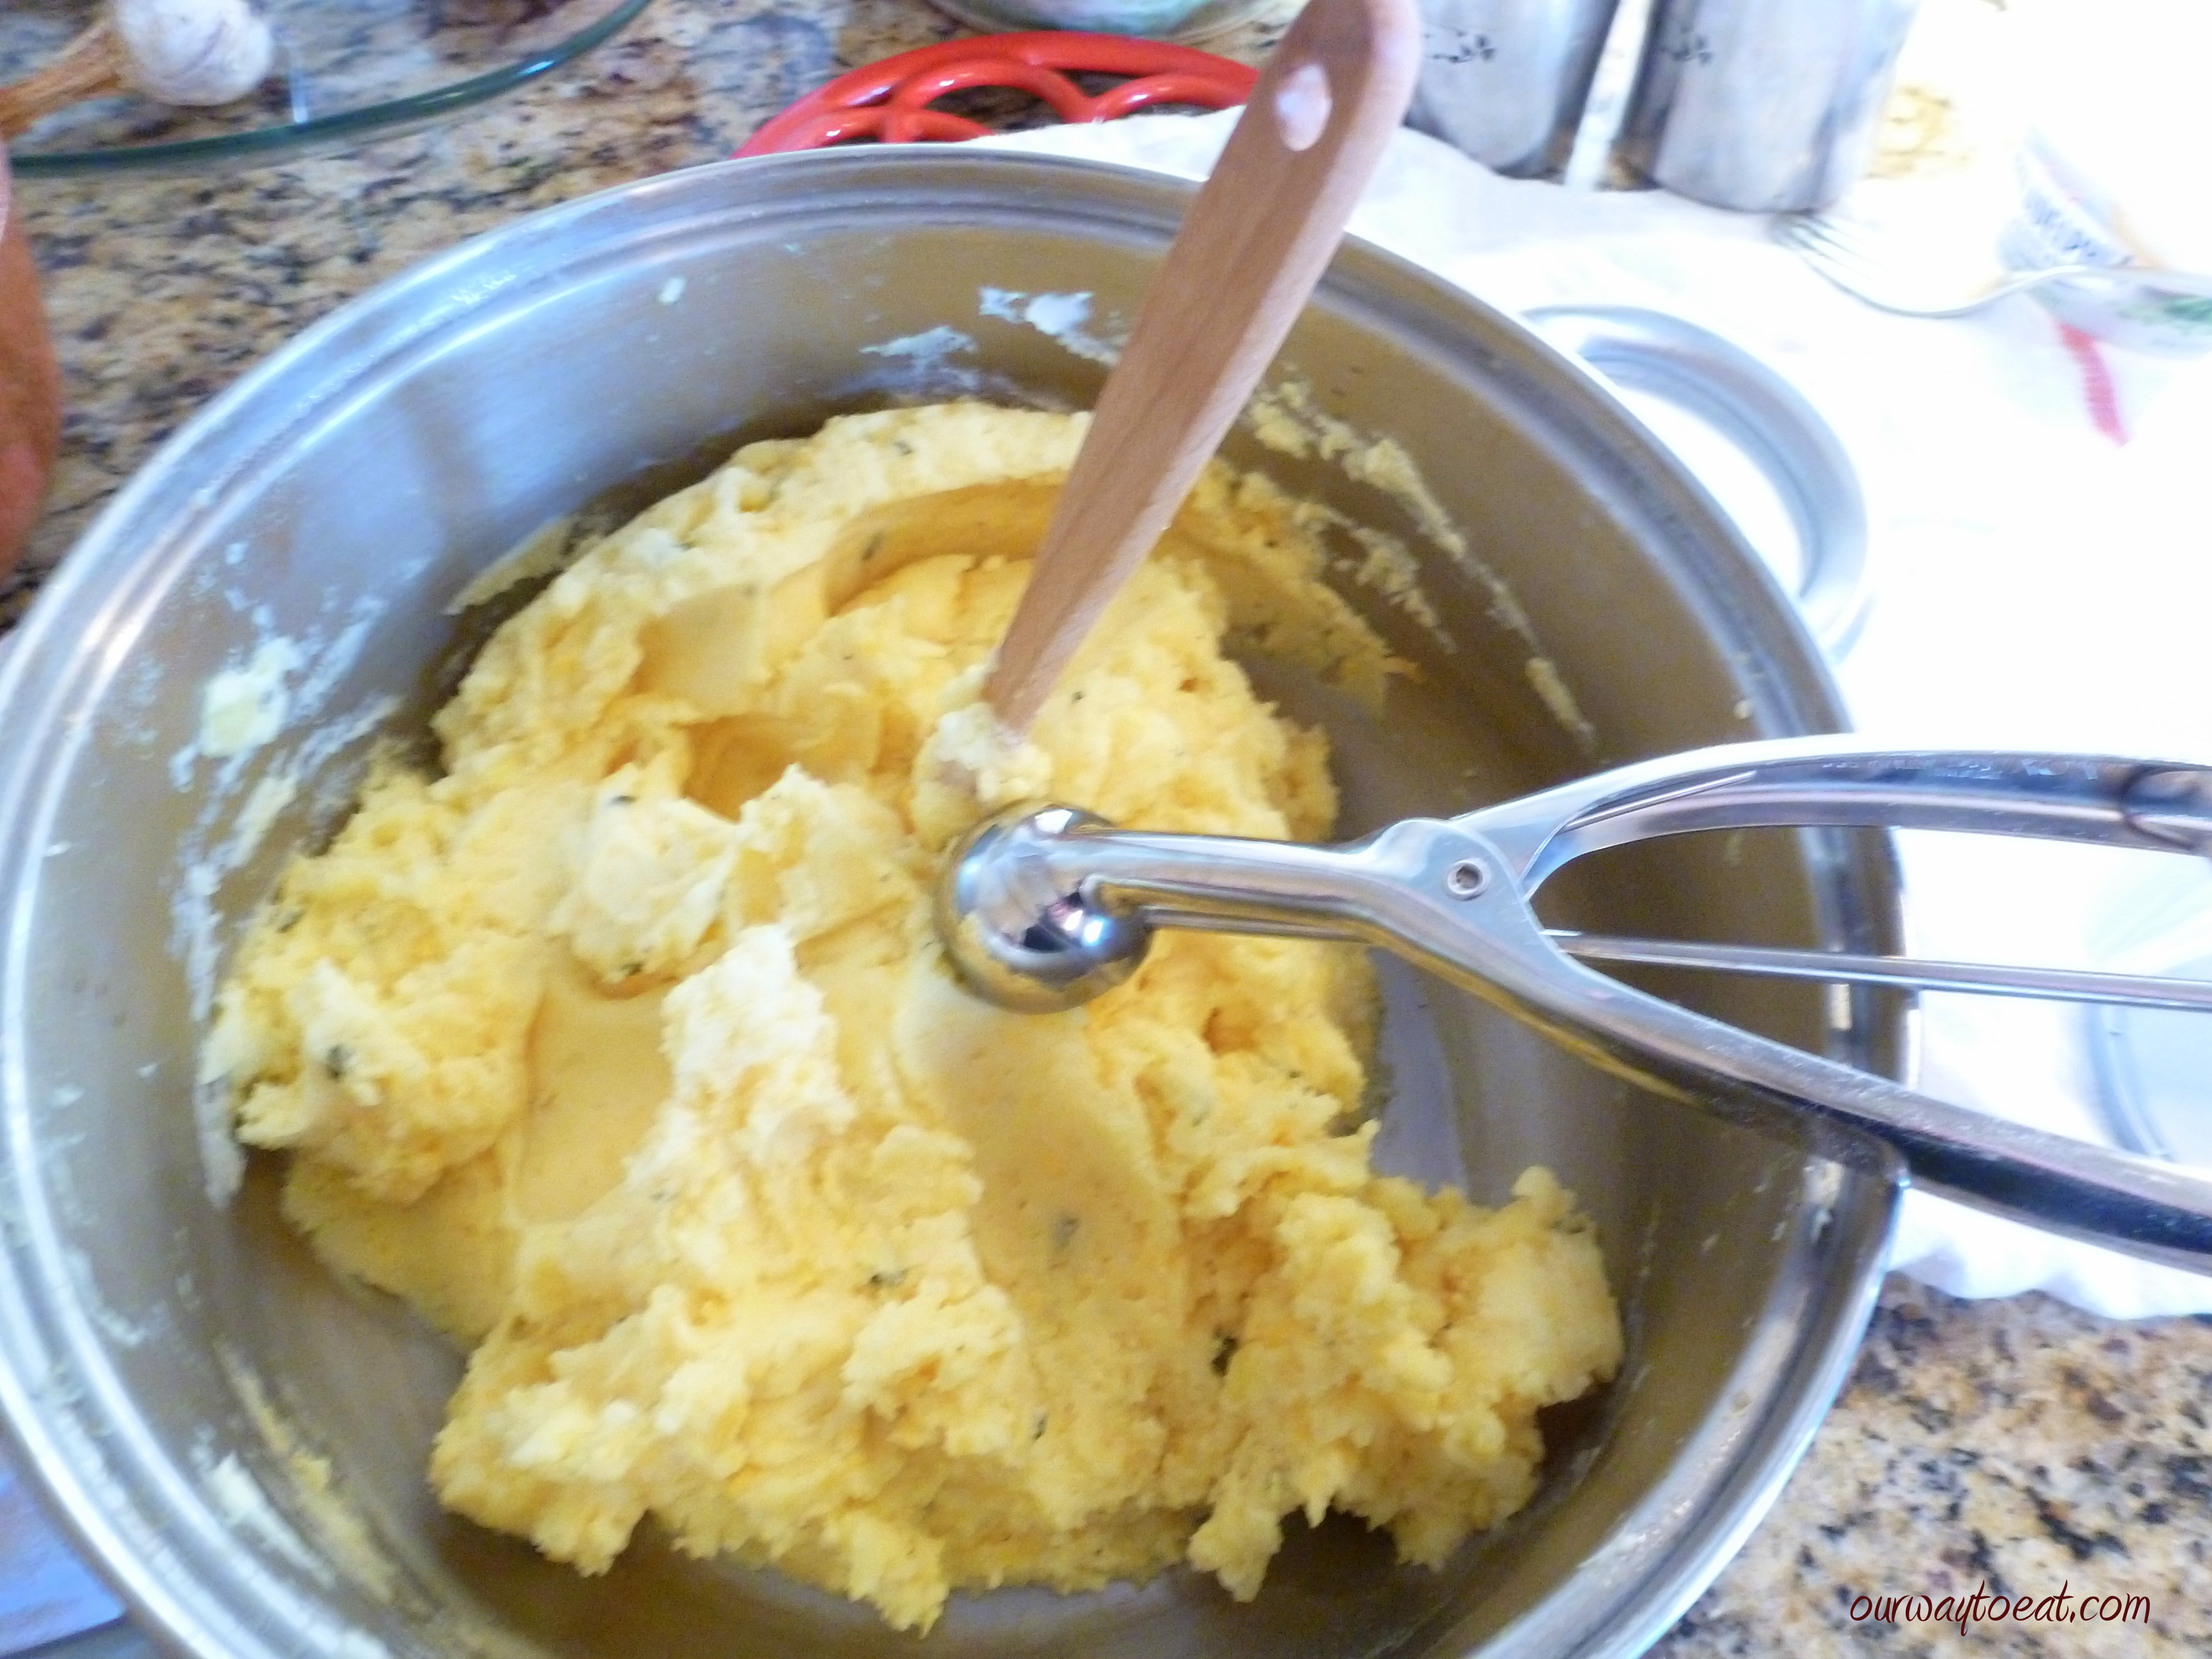 I measured the cheesy-potato mixture into each round with a scoop to avoid over filling any. The potato mixture is the consistency of dry mashed potatoes, since it contains no milk or cream.
  It was surprisingly easy to stretch, fill and pinch the soft dough to form tightly sealed, plump crescents.
 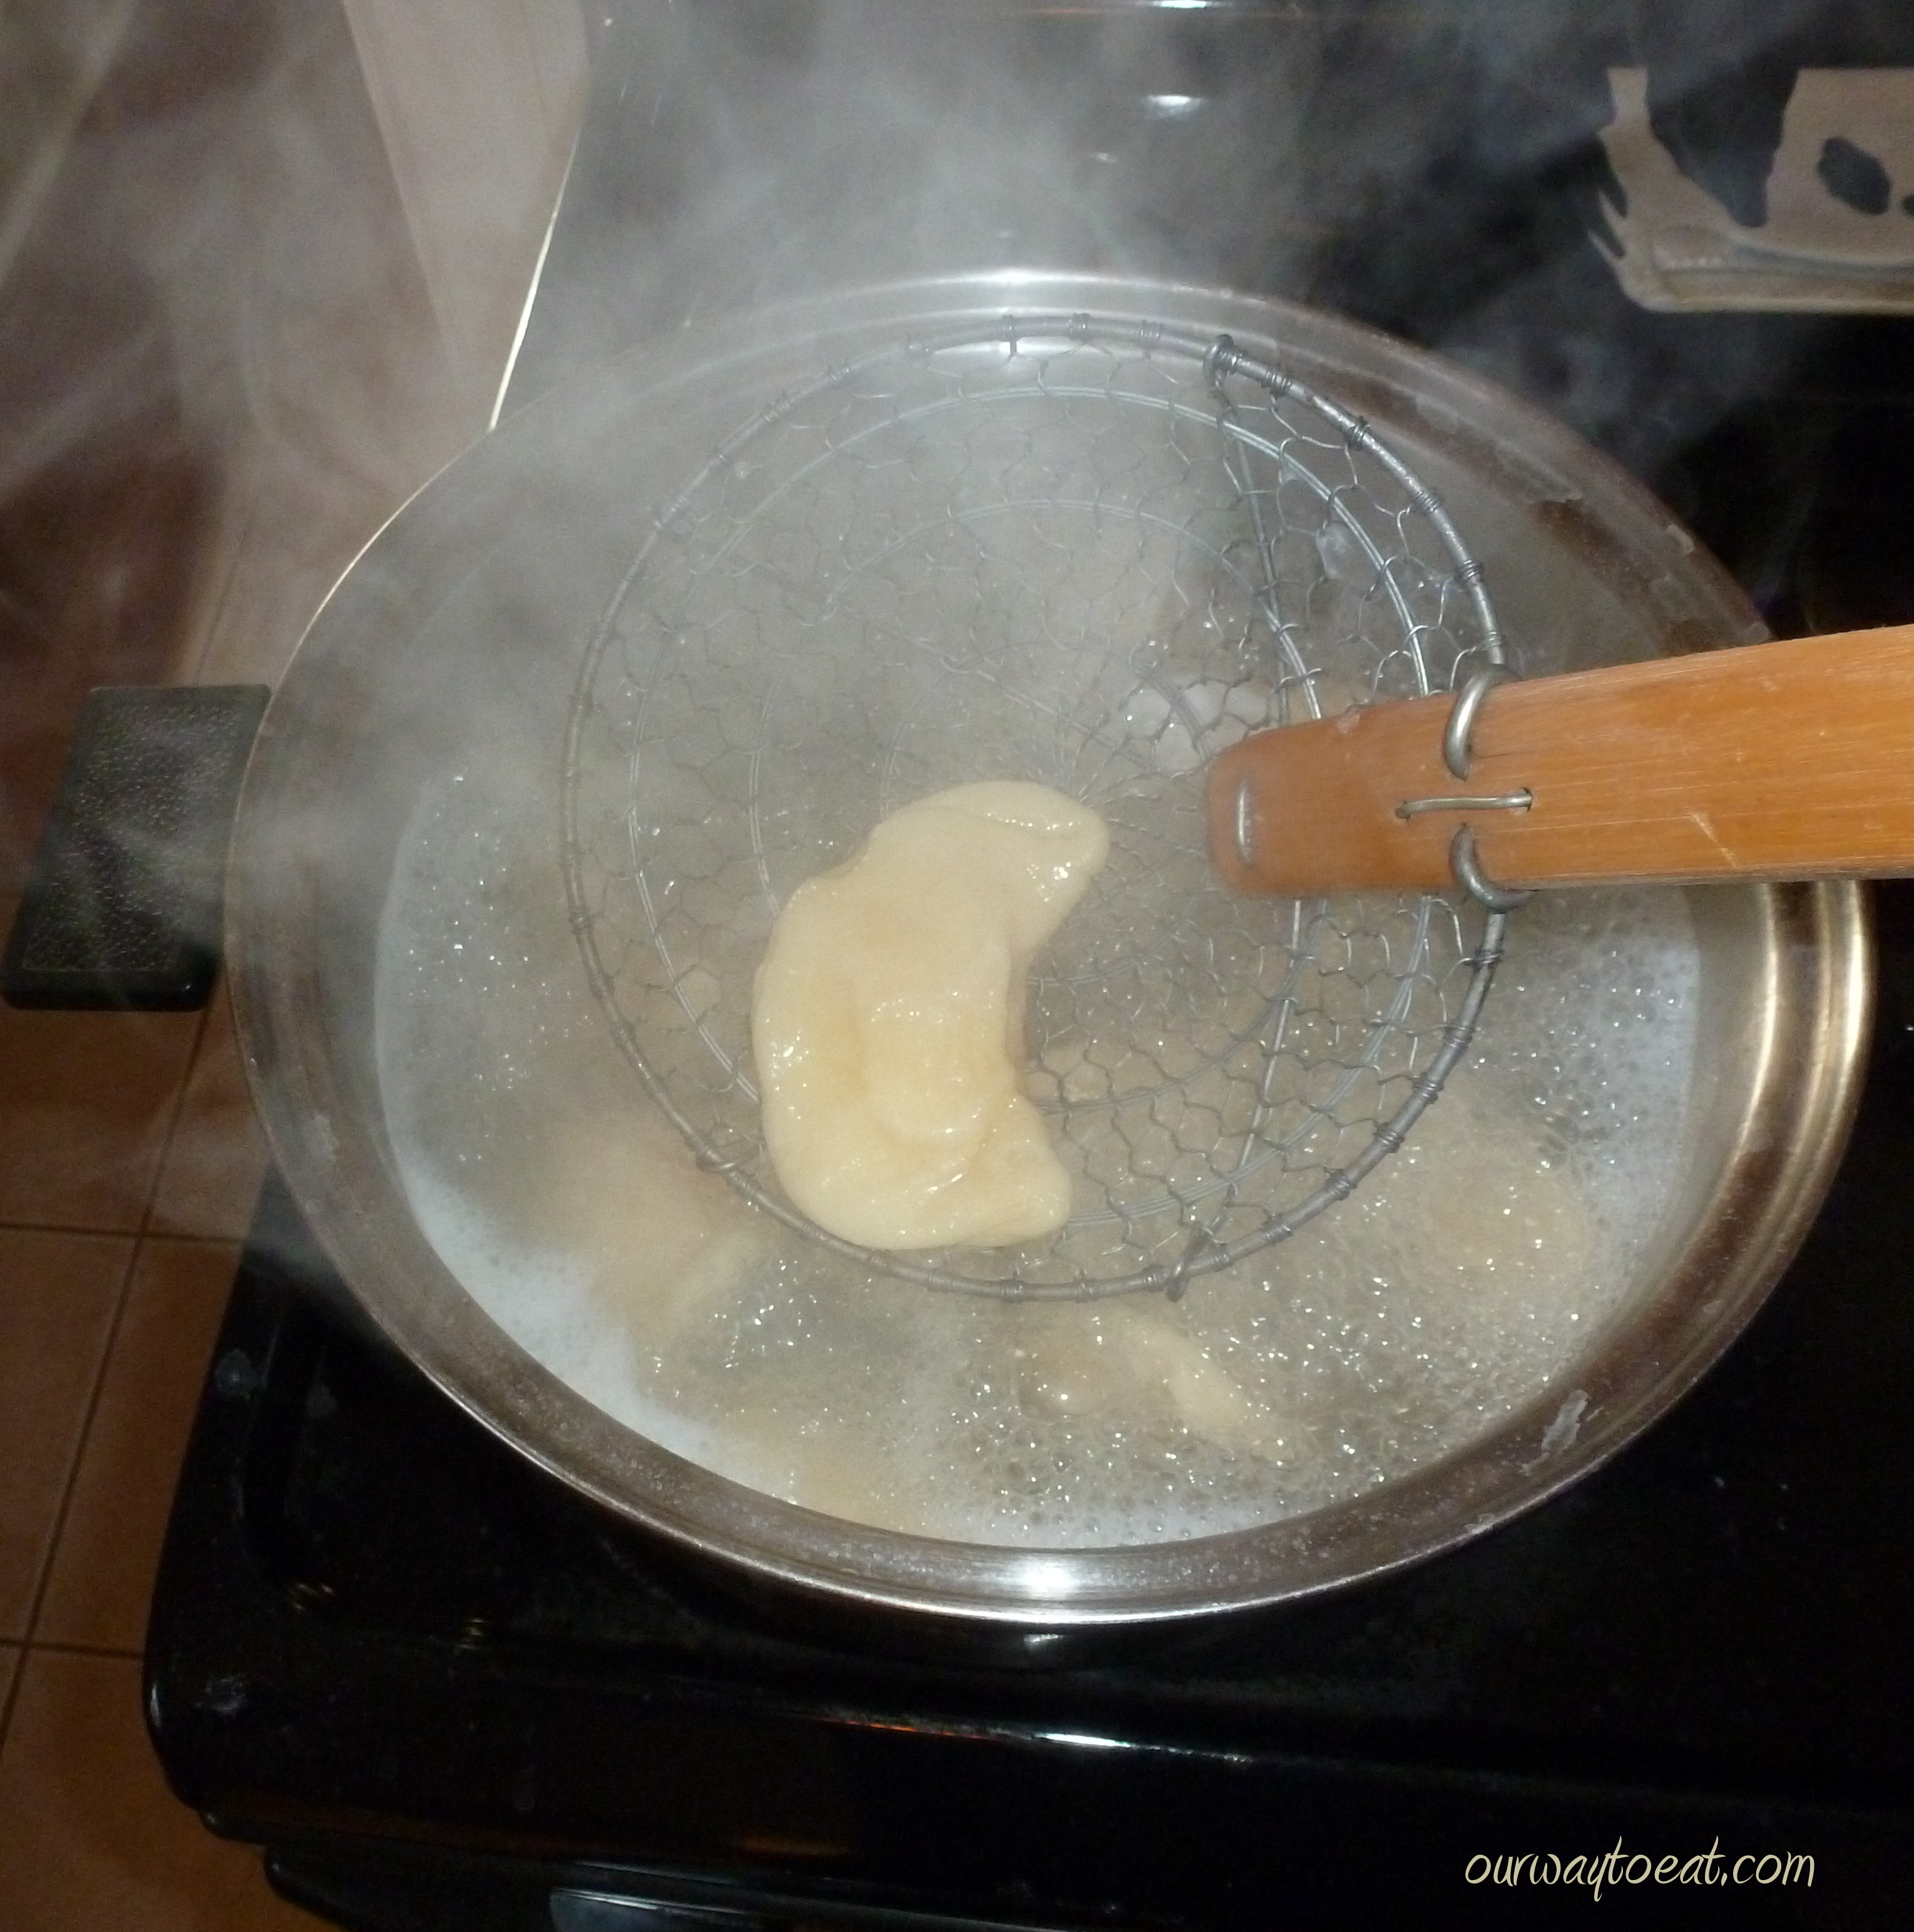 I boiled all of the perogies in batches of 8 or so. Not a single one burst open.
 Some people stop here and eat perogies after boiling them. We tasted one, and found it tender and thoroughly cooked, but the next step of frying the boiled perogies with onions is my favorite preparation. After boiling the perogies, I froze half of the batch, spreading them out on a lightly greased cookie sheet and covering them with saran wrap to fry up another day.
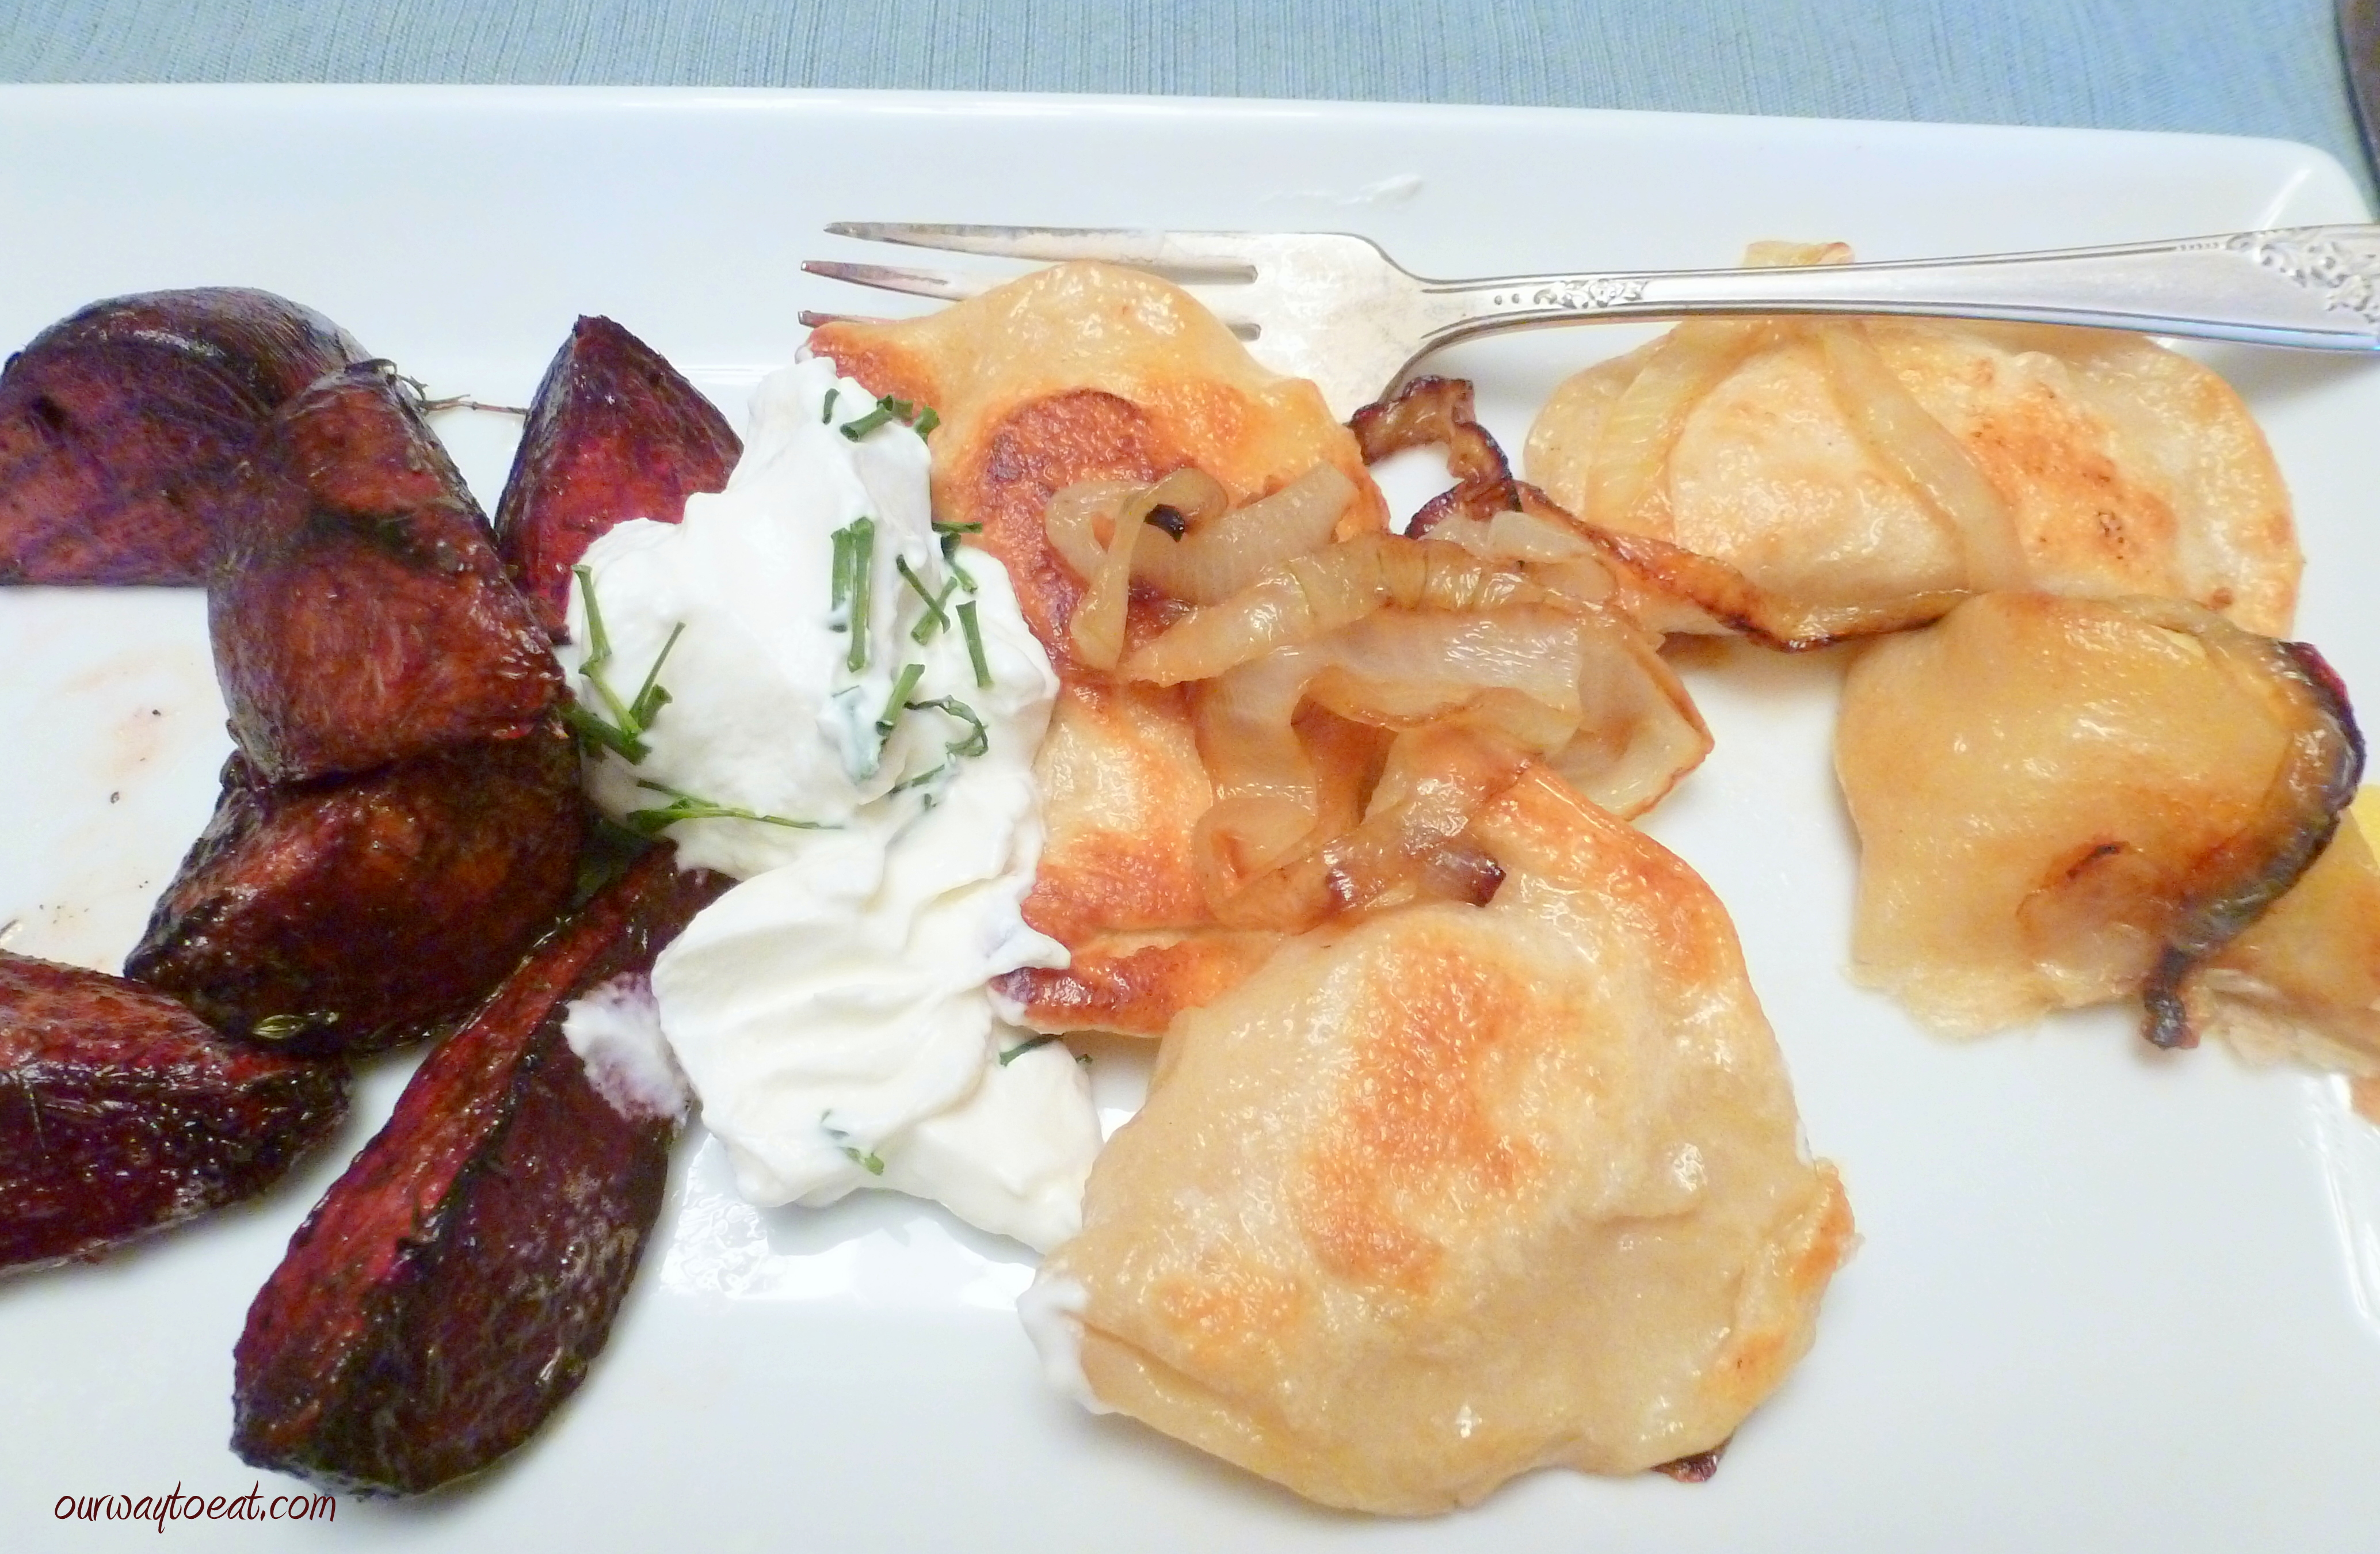
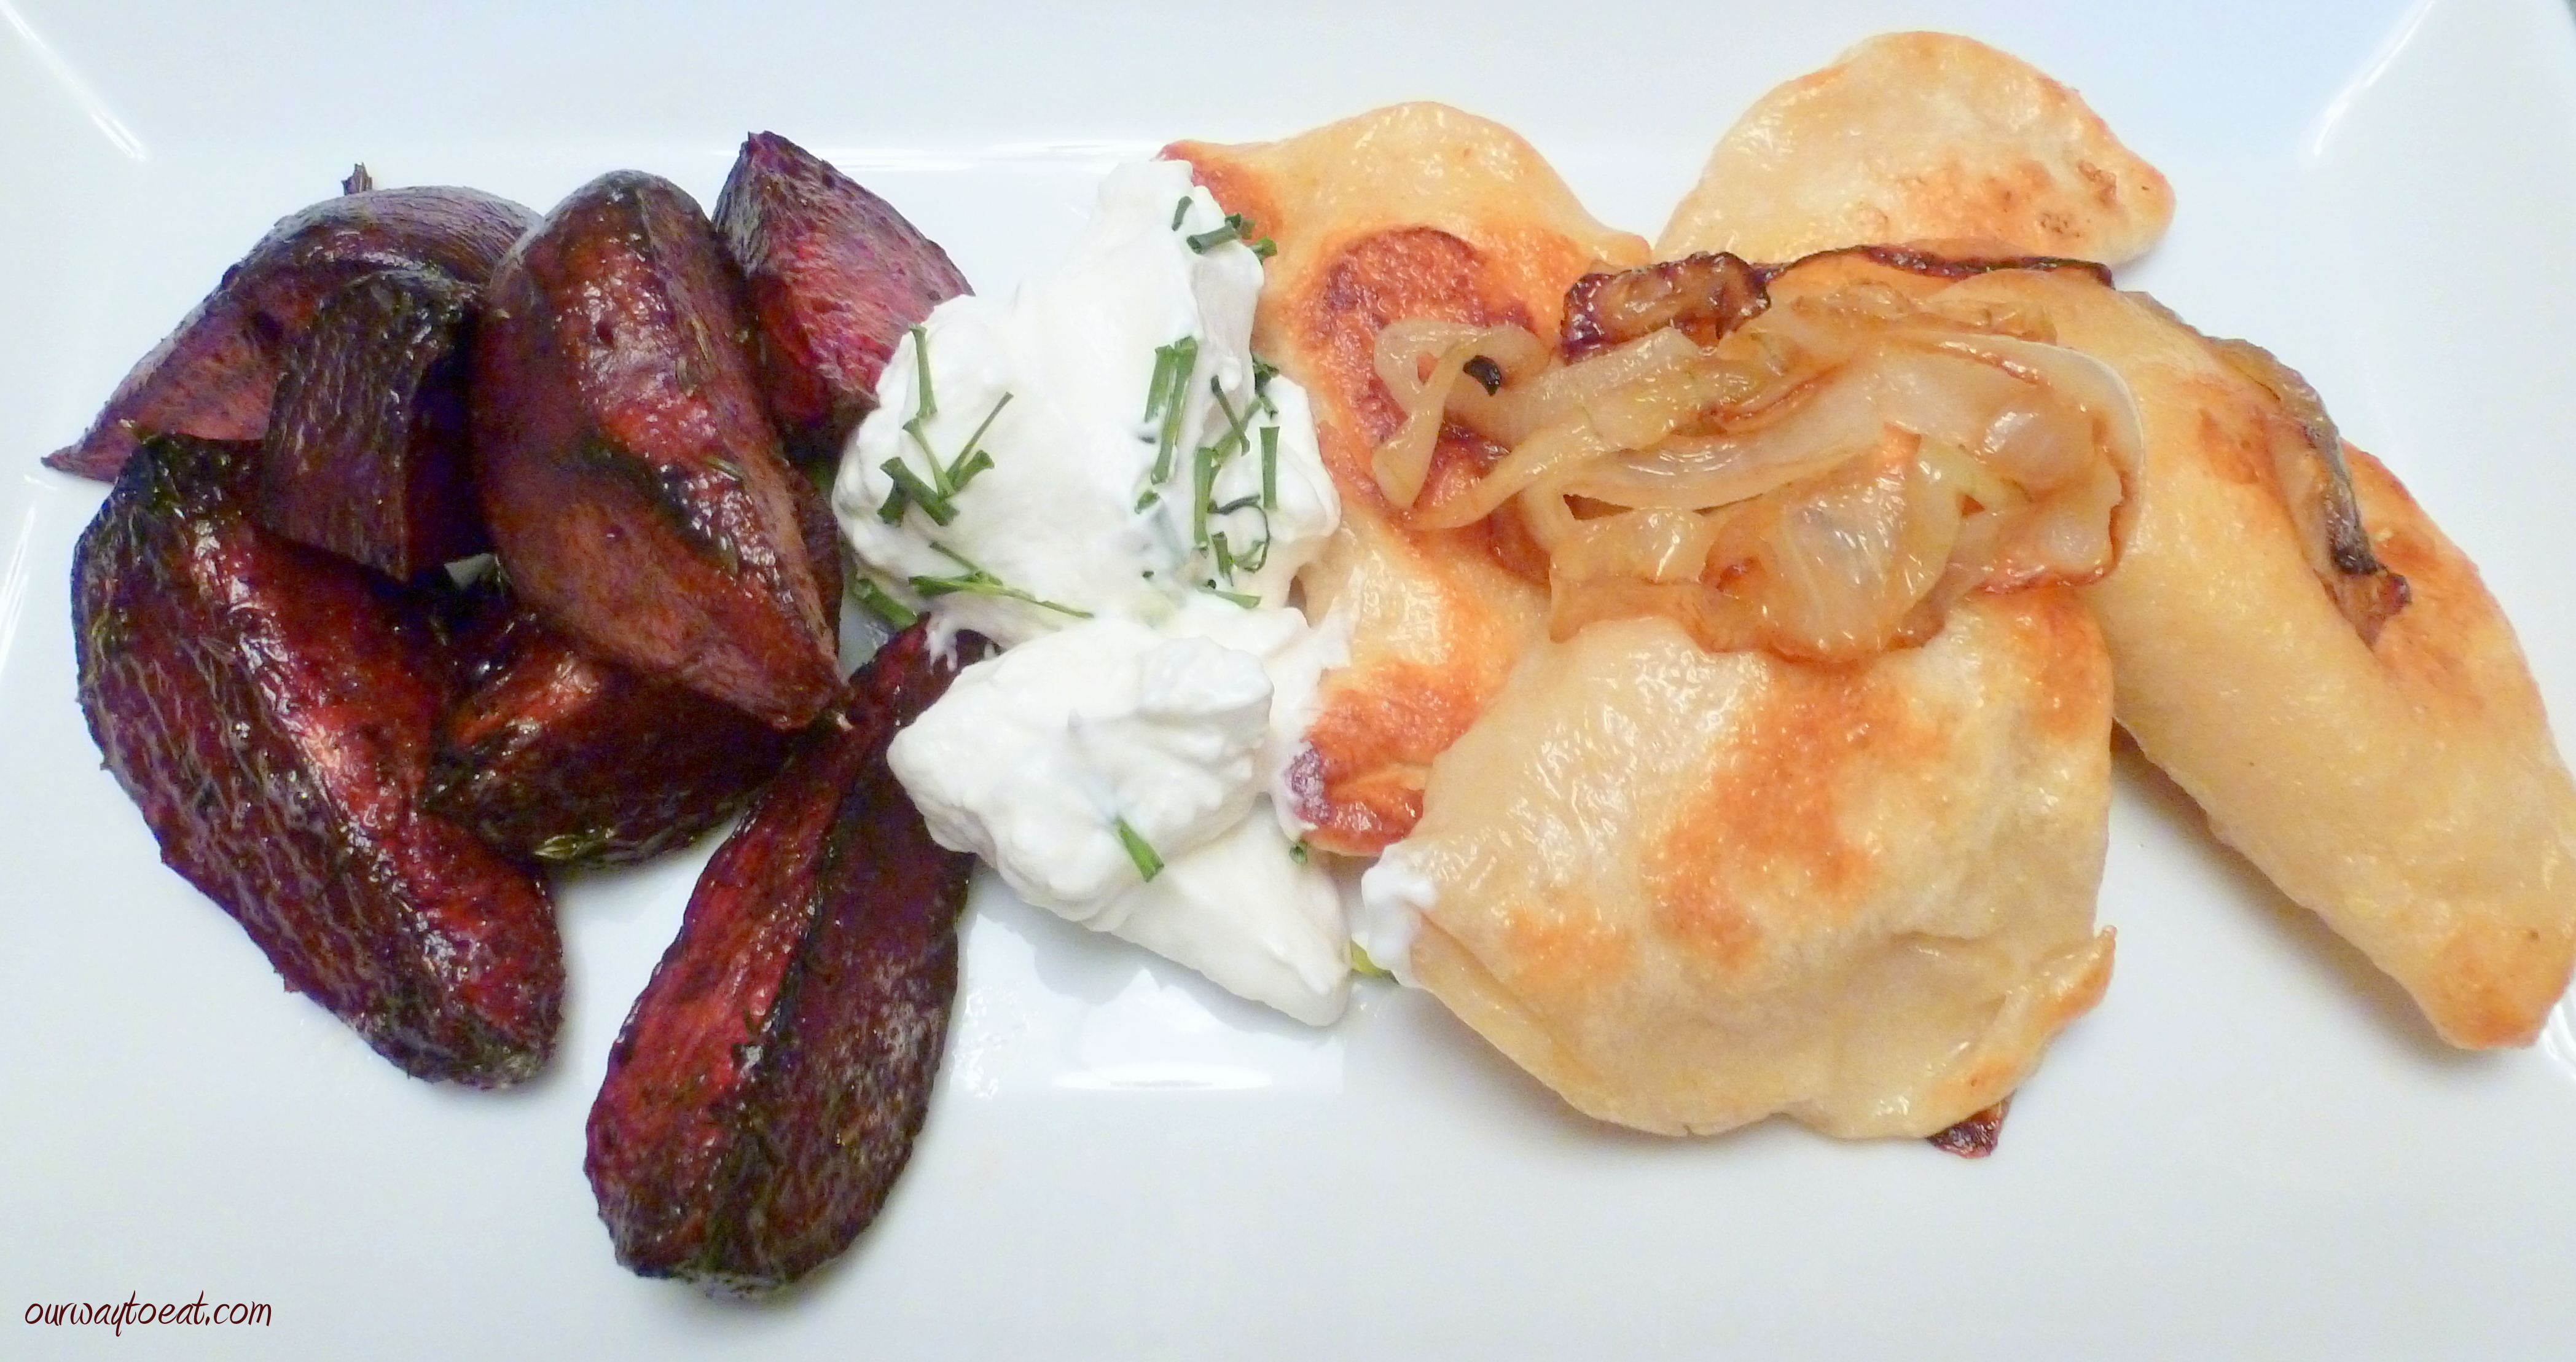
 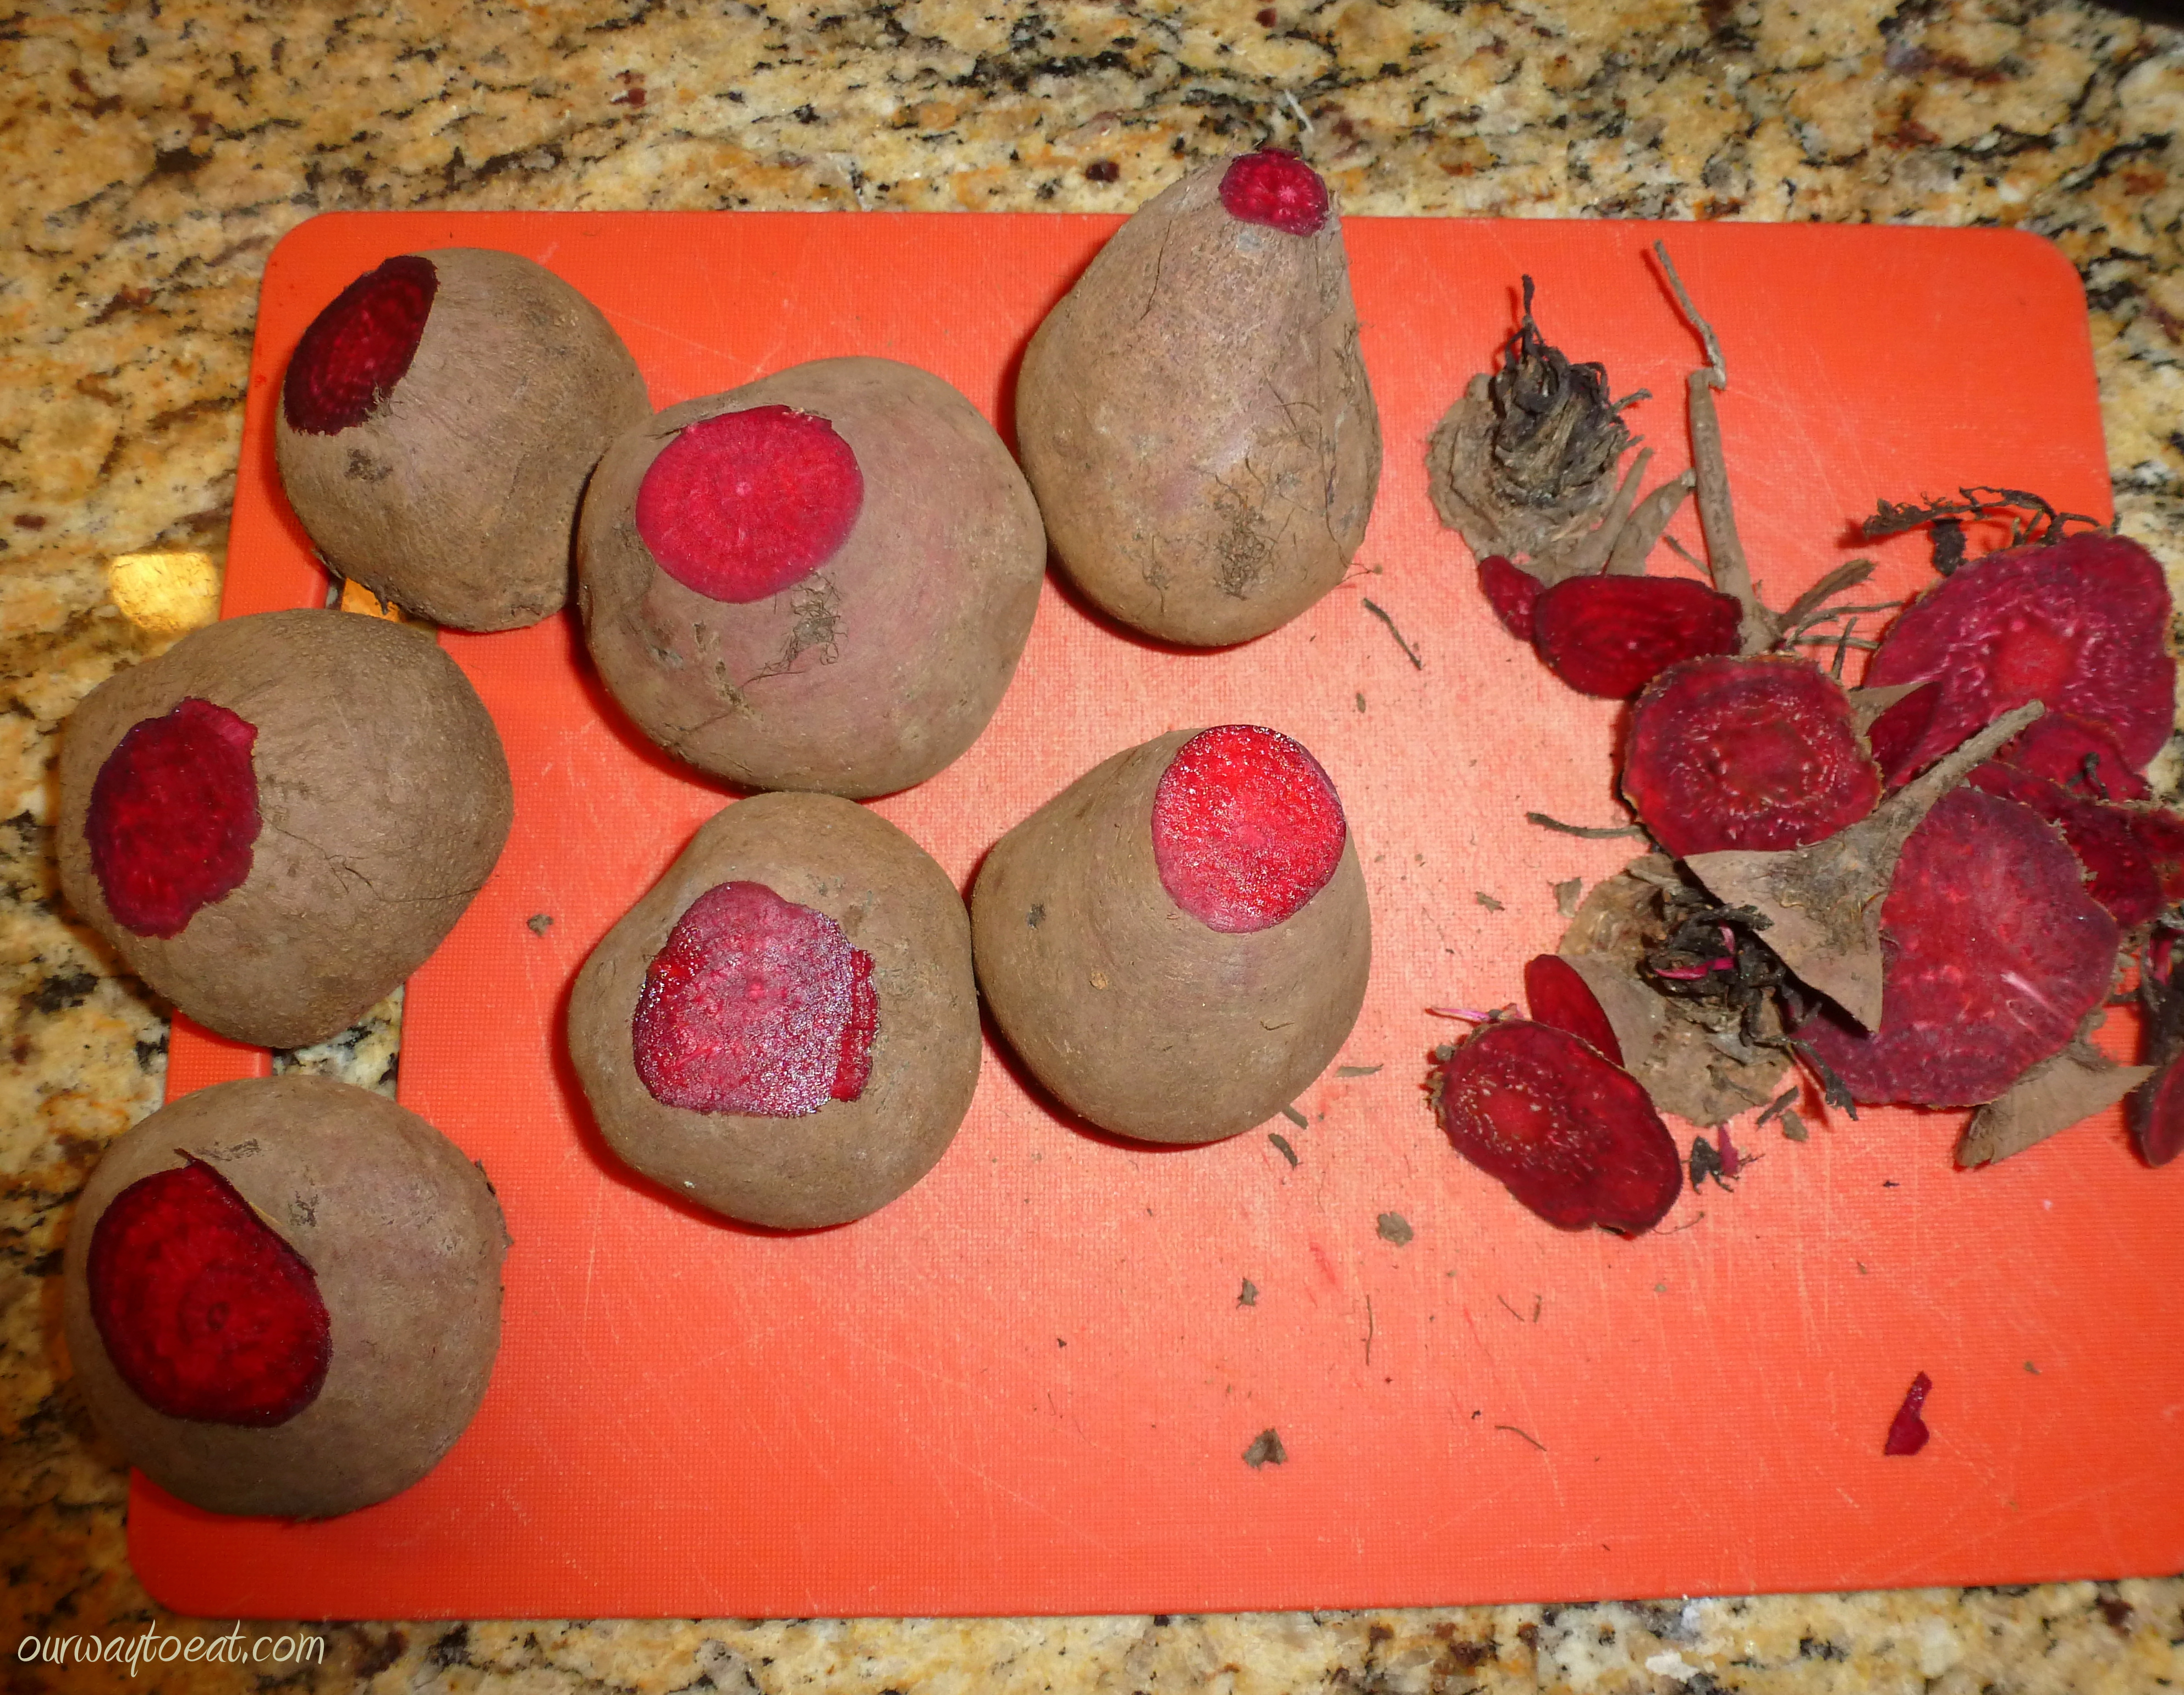 Roasted red beets are a good side dish to serve with perogies. So often I read recipes for roasting beets skin on and then slipping the skins off after they are roasted. I find this to be a messy way to nearly burn my fingertips and dye them pink. Instead, I peeled and sliced red beets before roasting them.
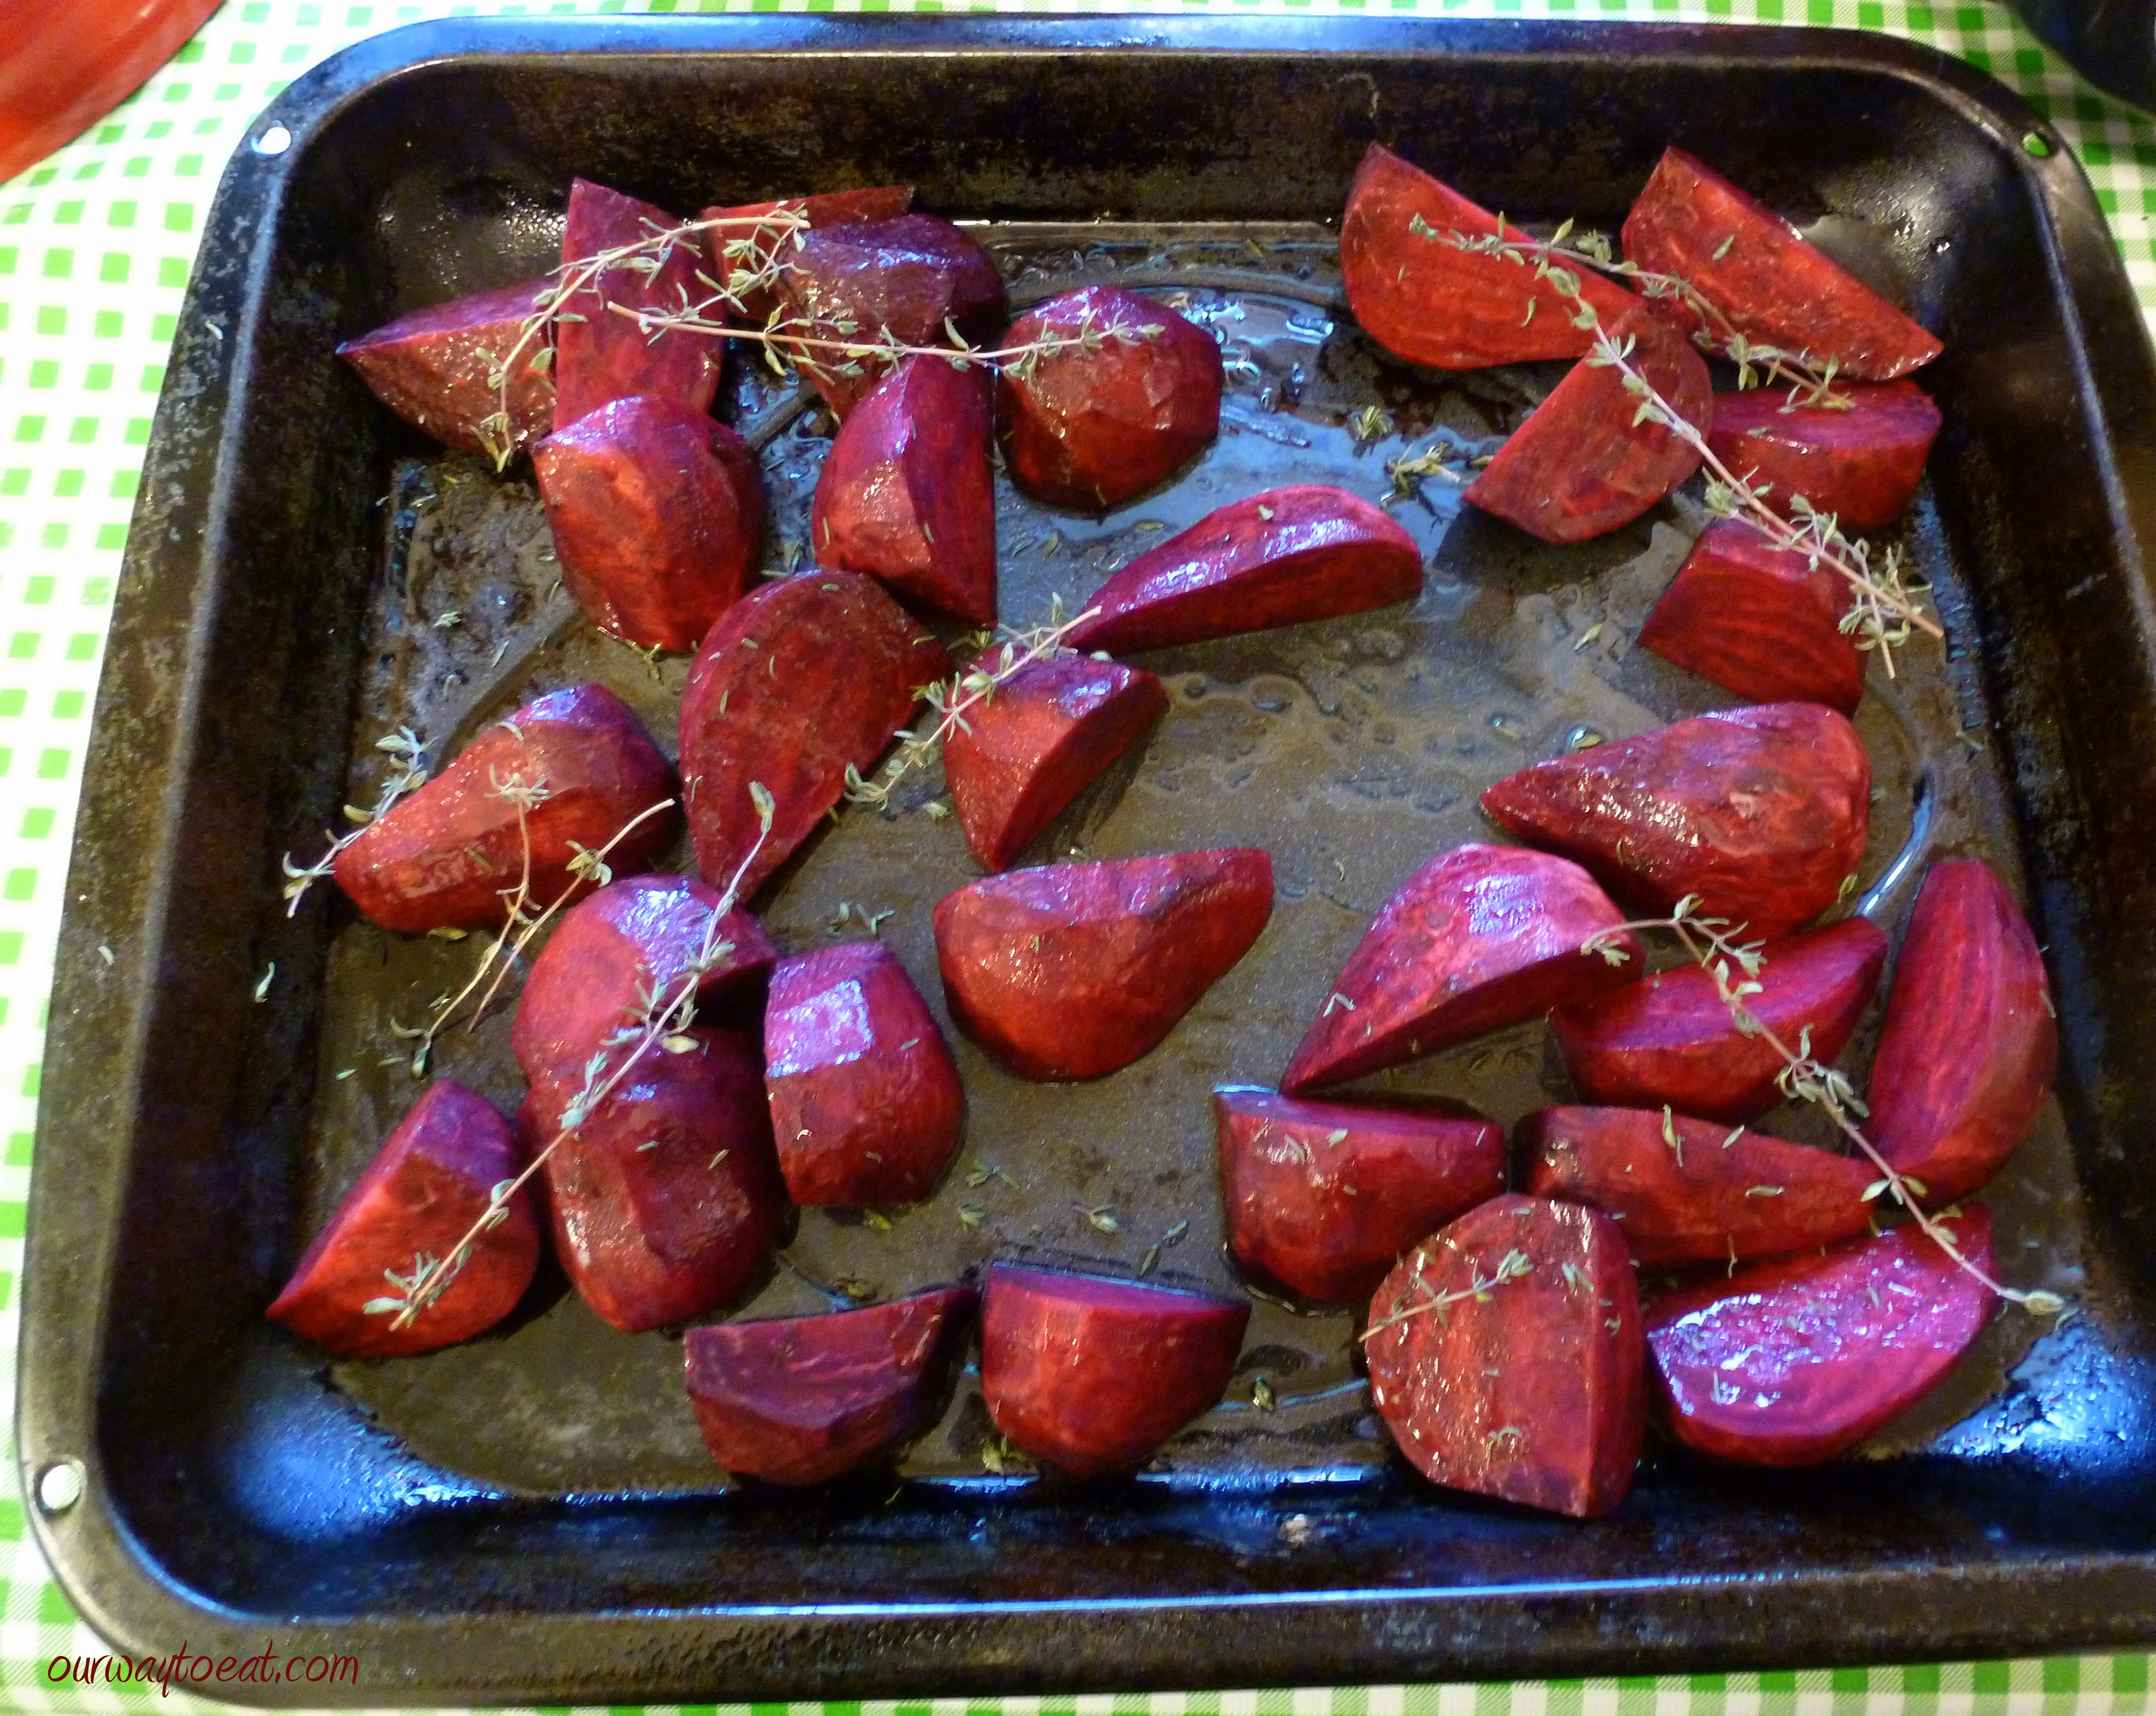 I coated them lightly in olive oil and sprinkled over some thyme from our garden that I saved and dried, and roasted the beets at 425 degrees for about 40 minutes.
I love the way roasting a vegetable with herbs deepens its flavor and intensifies its color. The aroma of roasting thyme is the inside-the-house equivalent to autumnal the scent of fallen leaves.
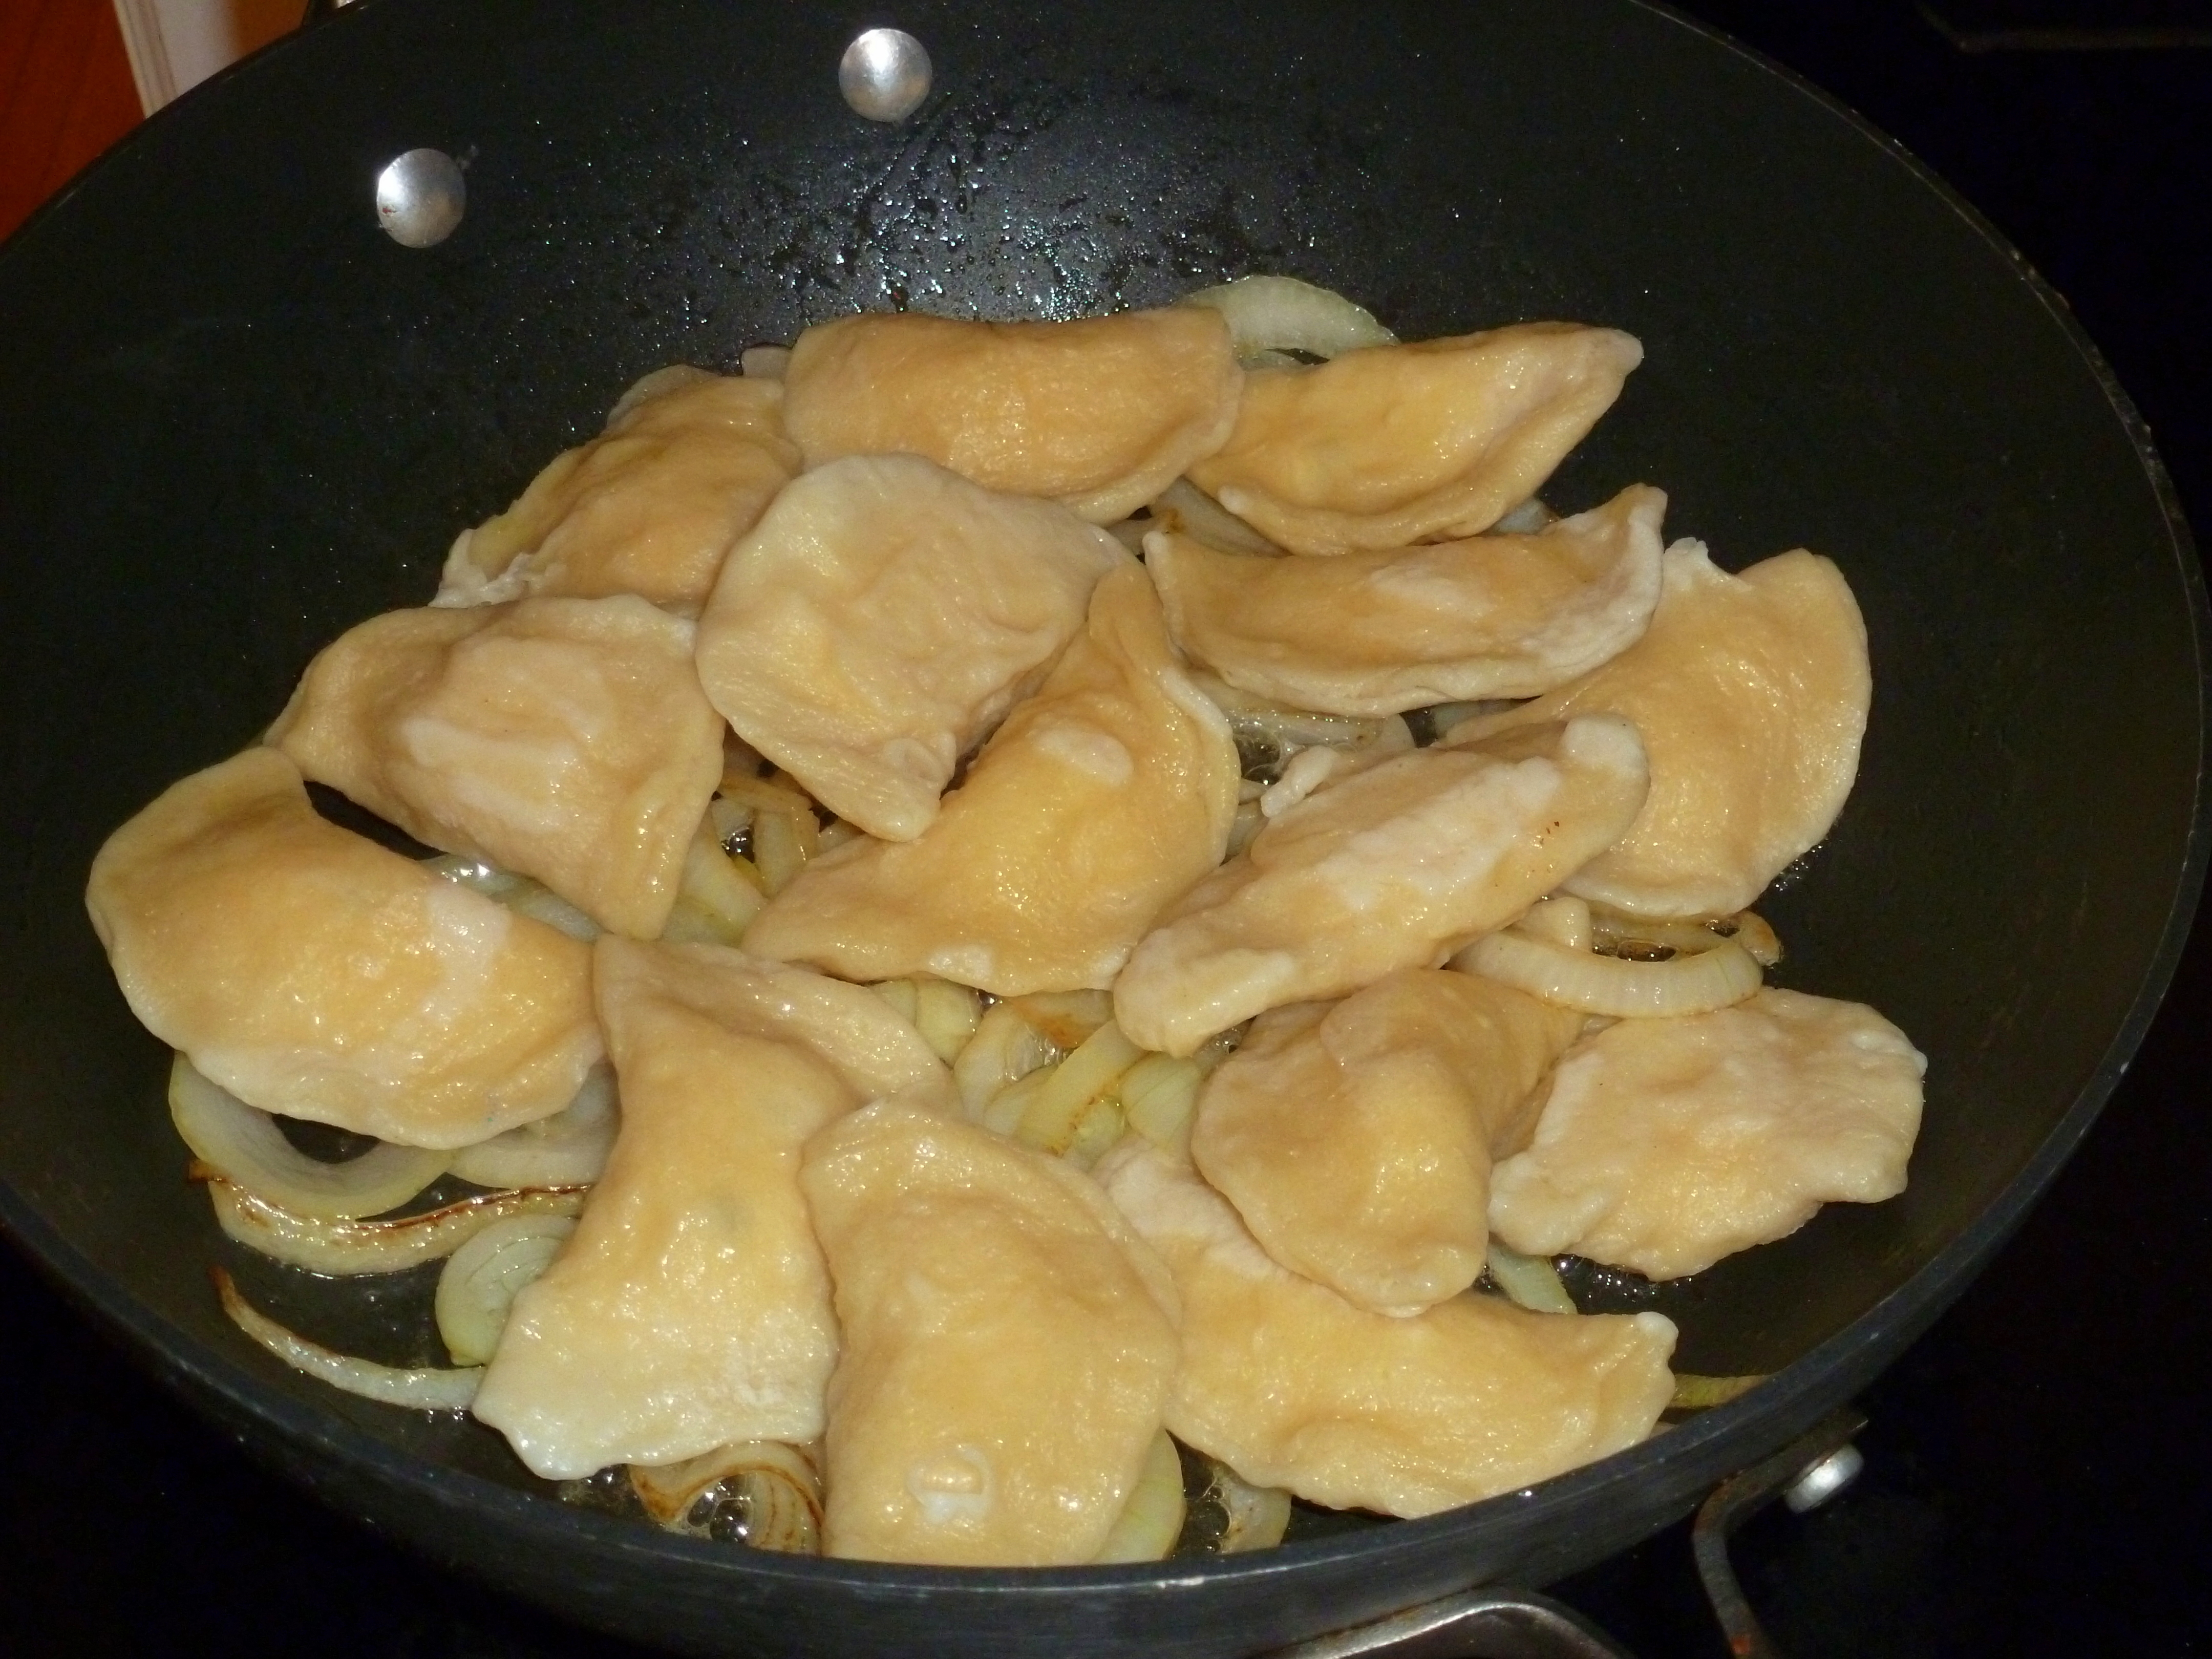 I fried our perogies in butter with sliced onions.
 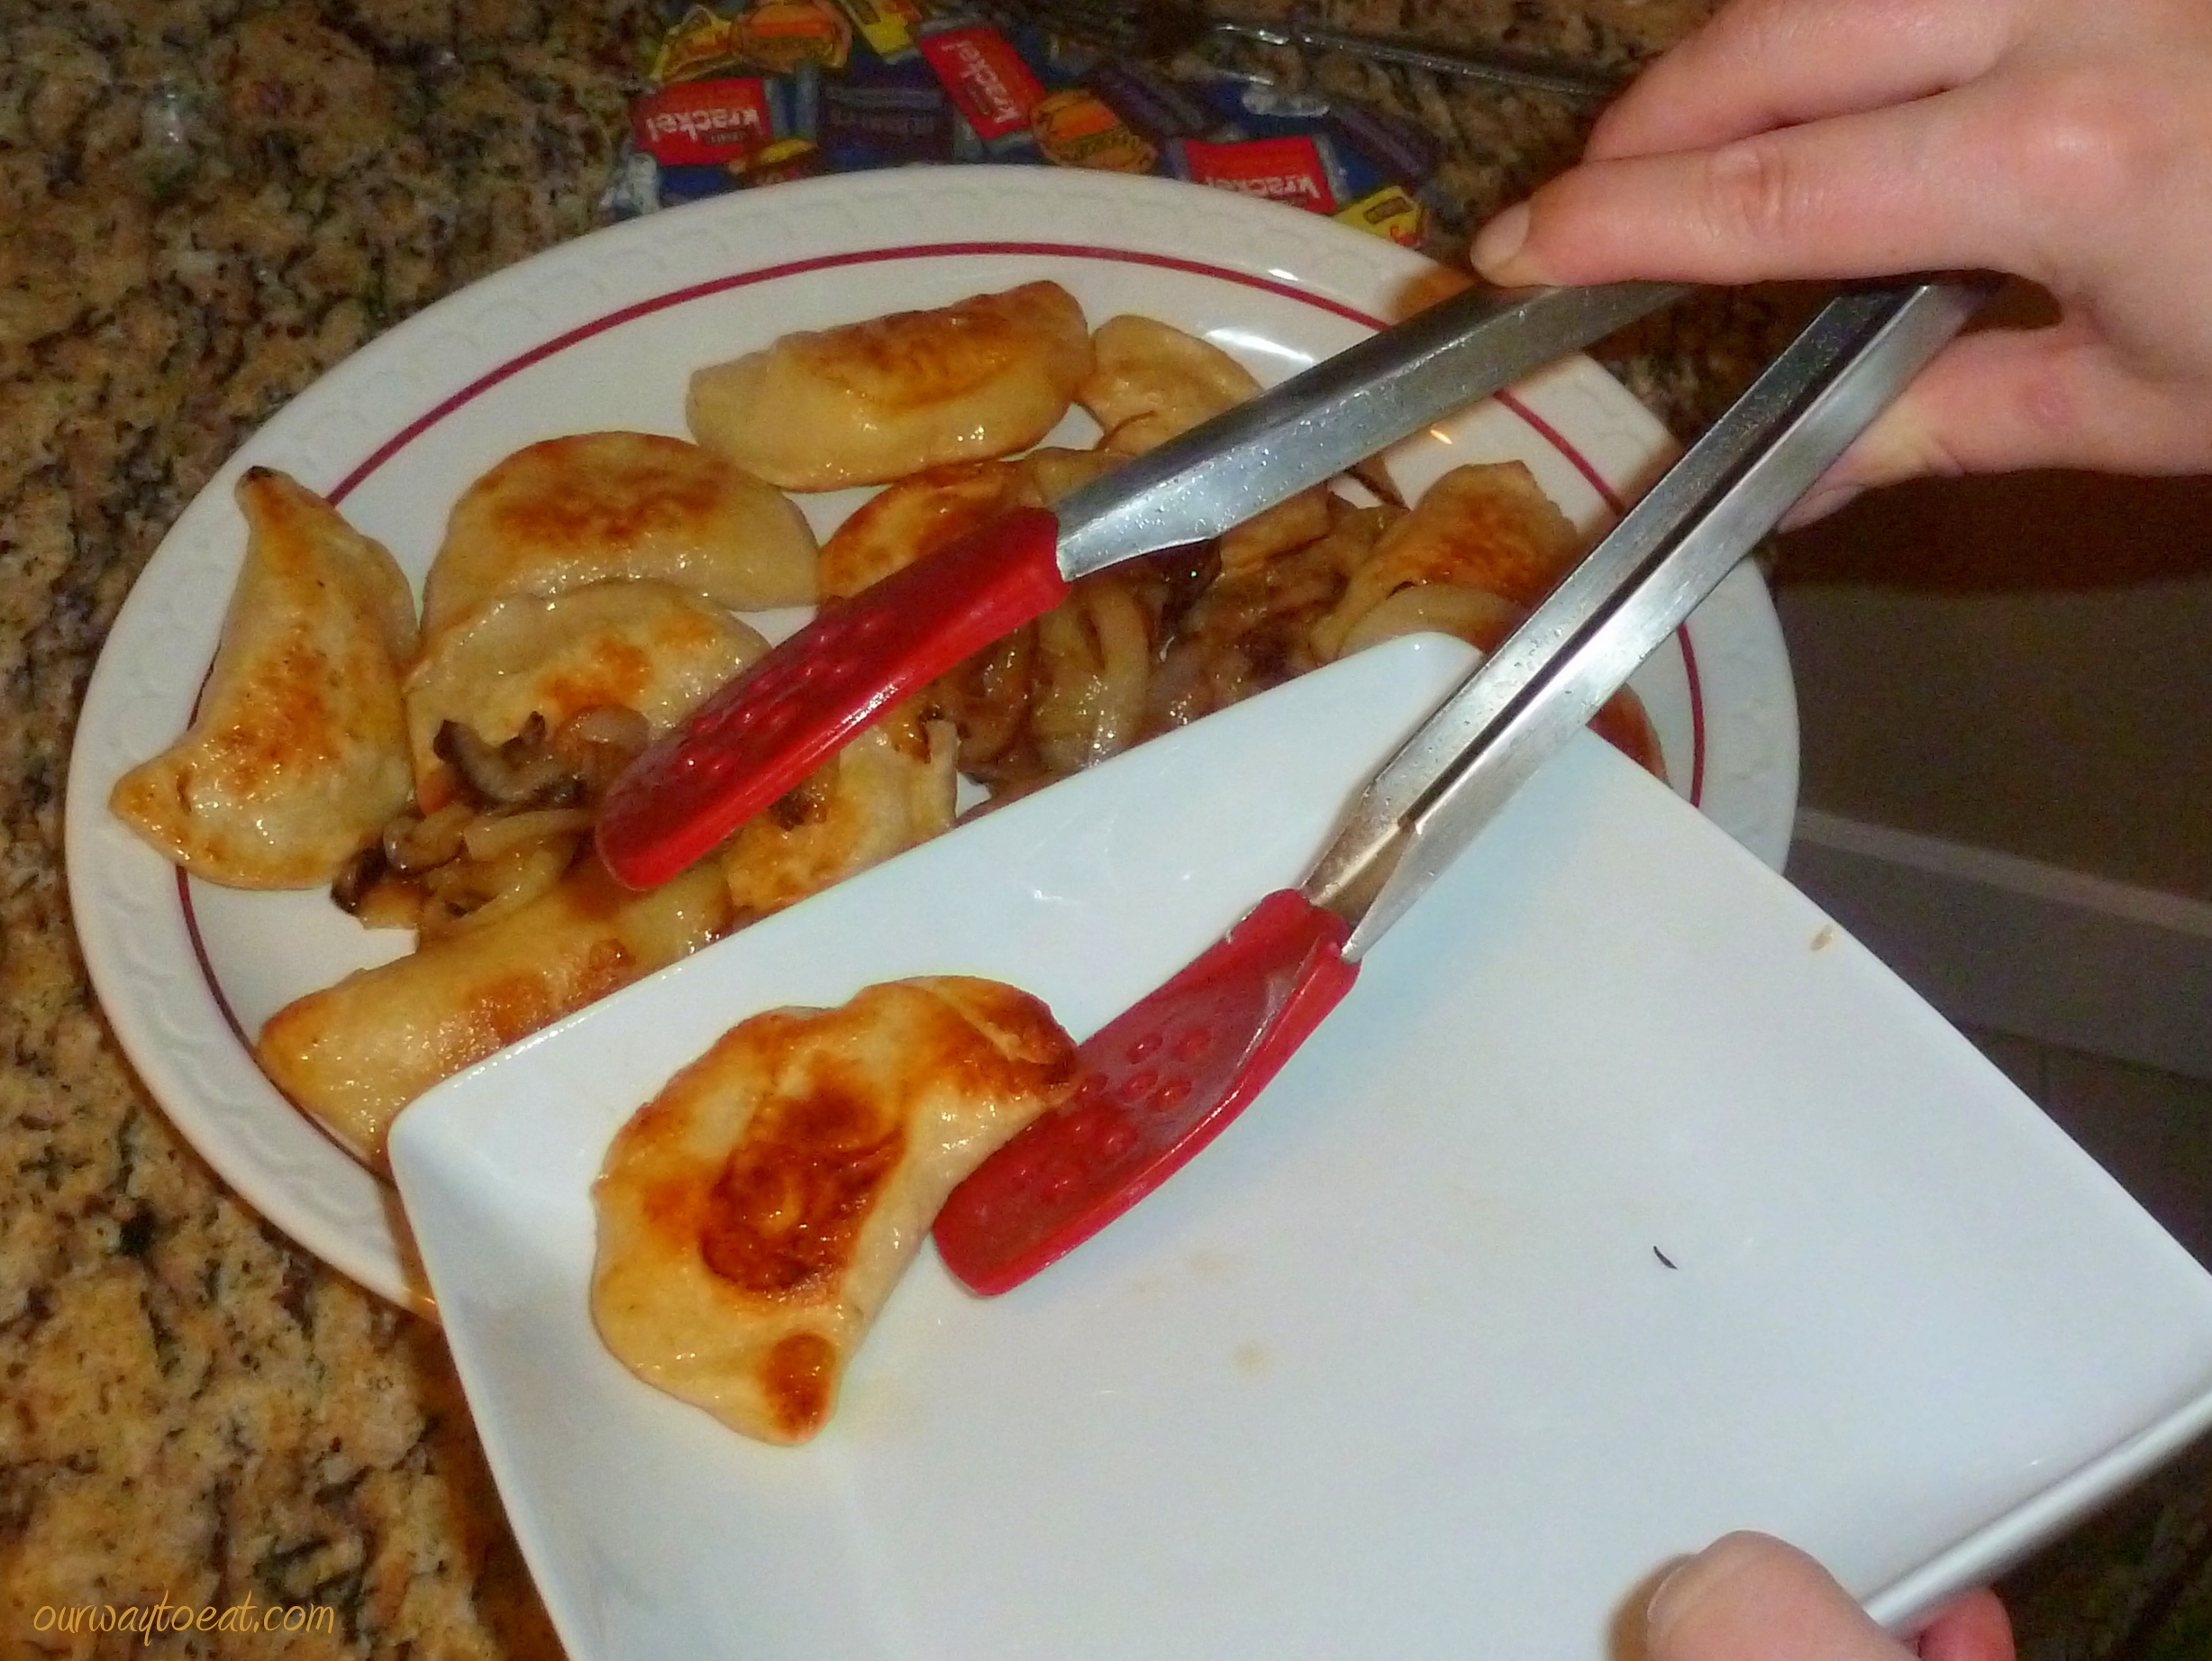 The results were exactly what we were hoping for– my perogies were homey, satisfying and so delicious that I could hardly believe I made them myself. The meal took me right home to Winnipeg, I will always be a North Ender at heart.