 Crunchy local cukes and sliced onions in a potent bath of vinegar and water with salt and pepper is the perfect accompaniment to all summer food, as far as I am concerned. The flavor of the freshest mild-skinned early season cucumbers against a headstrong vinegary backdrop awakens the palate and provokes a deeply familiar taste of childhood that brings me right back to the dining room table at my Grandma’s farmhouse. My only addition to this simple recipe-less side from my past is a fluttering electric frizz of fresh dill just picked from the garden and snipped on top. Added sensory bonus: if you bring the leftovers to work and the container opens in your bag, you can smell/smell like the summery parfum of vinegar, onions and dill all day long!
Category Archives: Comfort Food
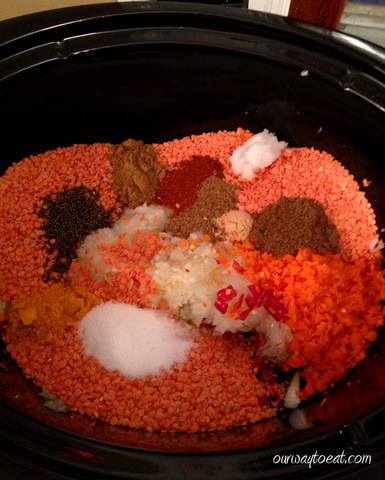
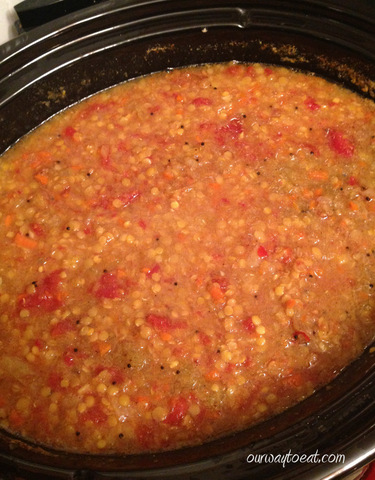
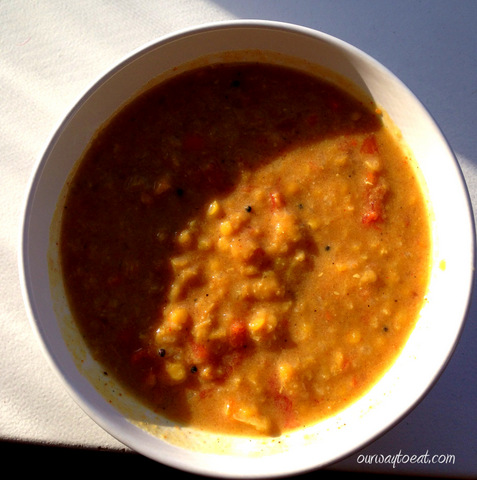
Red Lentil Dal / Masoor Dal in the Crock Pot or Slow Cooker
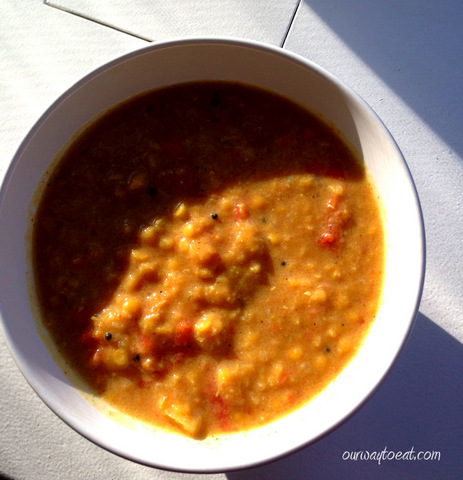 There is something wonderfully comforting about coming home to a warm meal ready to eat without any effort, even if you did in fact make it yourself. No matter what kind of day you had, you can right the wagon when you come home to a crock pot simmering with this warming soup. The spicy aroma seeps out of the cracks of your house, and gives you a warm and welcoming hug before you even walk in the door. I like to put together a crockpot meal the night before the day in my week that most needs fixing. For me, that is Monday. I come home, fling open the door and say “honey, I’m home” and then singsong back to myself in reply, “supper’s ready!” This is a healthy, low fat, plant strong meal. It qualifies for all sorts of healthy eating buzz words: vegetarian, Meatless Monday, vegan, slow carb, plant strong and nutritarian.
Ingredients:
- 3 cups of red lentils, inspected on a white plate or platter, debris removed.
- 8 cups of water—really, it’s a soup that does not at all require stock!
- 1 onion, finely chopped.
- 2-3 carrots, grated.
- 1 cup of tomatoes, canned or fresh, chopped.
- 2 cloves of garlic, minced.
- 2 Thai chilies, minced. I used dried Thai Dragon chilies from my garden. Something similar is easily available at the grocery store.
- 1 teaspoon cayenne pepper
- 1 teaspoon ground cumin
- 1 teaspoon ground coriander
- 1 teaspoon ground turmeric
- 2 teaspoons Garam Masala
- 1 teaspoon ground ginger, or ¼ cup grated fresh ginger
- 1 tablespoon sea salt
- 1 teaspoon black mustard seeds, toasted in a pan on the stove until popping
Optional additions – 1-14 ounce can of coconut milk –totally optional, gives the soup some creamy body, and the spices a place to hang since there is no other added fat included but the soup is lower fat and still wonderfully flavorful without it.
Method:
Inspect lentils, chop onion, garlic, fresh ginger (if using) and Thai Chilies and add to liner of your crock pot. Toast mustard seeds and add them along with all other seasonings to the liner of your crock. When you are ready to start the crock, add 8 cups of water and tomatoes. Stir, and cook on low for 6 hours, then stir in coconut milk, if using, and return Dal to a simmer. If you are a Midwesterner, exclaim as Bjorn jokingly did, “its good, Dal garnit!”
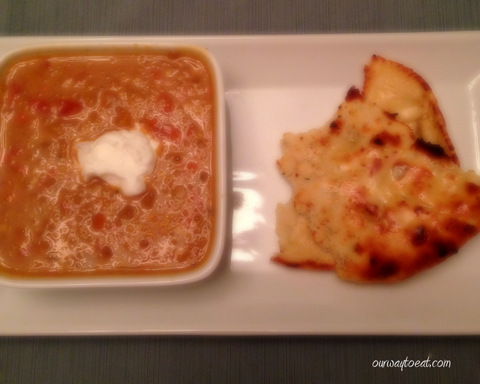
Serve warm with Greek yogurt or sour cream to garnish, and warm Naan or Basmati rice on the side.
Nacho Pot Pie with or without Chicken
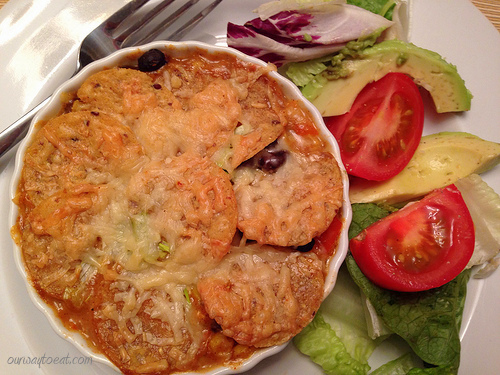
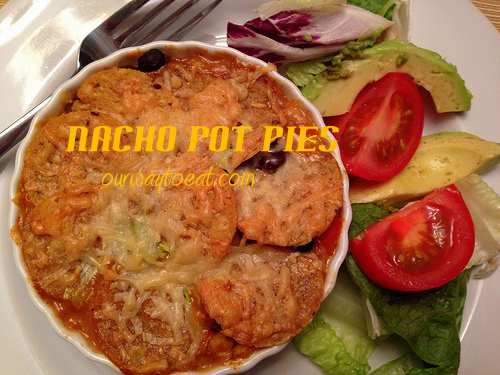
It has been bitterly cold and snowy in Minnesota. I am at once craving variety and comforting, old-school Midwestern staples. These individual Nacho “Pot Pies” are comforting, easy to make for meat eaters and vegetarians, and are also a tasty departure from everyday chicken pot pies. I kept the calorie count under control using fat-free Greek yogurt in the creamy pot pie filling instead of cream or half n’ half, and topped them with a small serving of multigrain chips instead of a buttery crust. We thought the texture and flavor were perfect. When served, each person can add nacho toppings as judiciously as they desire. These mini-casseroles aren’t as “fancy” as Day After Thanksgiving Individual Pot Pies with or without turkey, but they are a guaranteed happy meal for a dreary winter week night or a main course at a Superbowl Party.
Nacho Pot Pies, yield 4 Individual Pies, easily doubled
Ingredients:
1 clove of garlic, minced
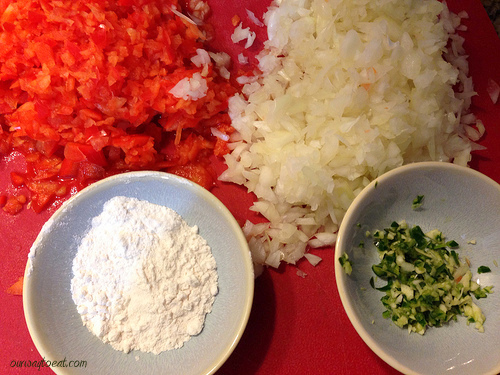
1/2 a Red Pepper, chopped
1 Jalapeno Pepper, seeds removed and minced—add an extra pepper for more heat.
1/2 an Onion, chopped
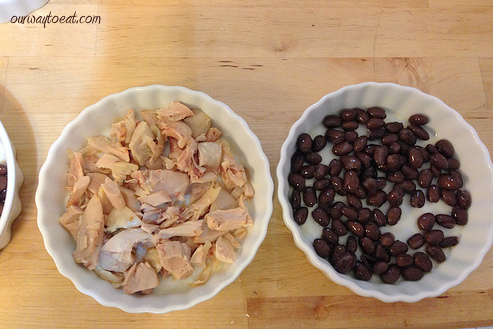
1-14 ounce can of Black Beans, rinsed
3/4 cup of frozen Corn, thawed
1.5 Tablespoons of Taco Seasoning I use Home-Made Taco Seasoning following the Girl Who Ate Everything’s recipe.
2 Tablespoons All Purpose Flour
1 Cup Vegetable or Chicken Stock
1/2 Cup Fat Free Greek Yogurt
2 Scallions, white parts and just the beginning of the green, diced fine
Tortilla Chips–I used multigrain
Shredded cheddar or Monterey Jack cheese to top each Pot Pie
Olive Oil
Optional: cooked chicken, cut into bite-sized chunks, 1/3 cup per dish
Method: Preheat oven to 375 degrees. Coat individual 5-inch baking dishes, or a small casserole dish or glass pie plate with cooking spray or oil.
Sauté onions in olive oil until translucent, add chopped red pepper and cook 2 minutes. Add garlic and jalapeno, cook one minute until fragrant. Sprinkle taco seasoning and flour, blend together and cook 1 minute. Add stock and bring to a boil, then simmer 2-3 minutes until slightly thickened. Stir in Greek yogurt, most of the black beans and corn.
Add chicken, or a few extra spoonfuls of baked beans into each dish. Divide filling between individual baking dishes.
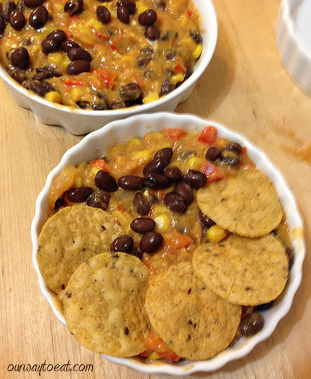 Top with tortilla chips, scallions and shredded cheese. Bake at 375 degrees, 18-22 minutes until golden.
Serve with traditional nacho/taco accompaniments: shredded lettuce, diced tomatoes, sliced olives, sour cream, sliced avocado, lime wedges and salsa. These are Nacho Grandma’s Pot Pies.
Chicken Noodle Soup – A Cure for Cold Season
When the long Minnesota winter is starting to wear on us, there are certain classic recipes that we revisit every year. A bowl of homemade soup provides a fortifying boost of energy and straightforward, clean flavors that help a body endure the waning months of cold and darkness.
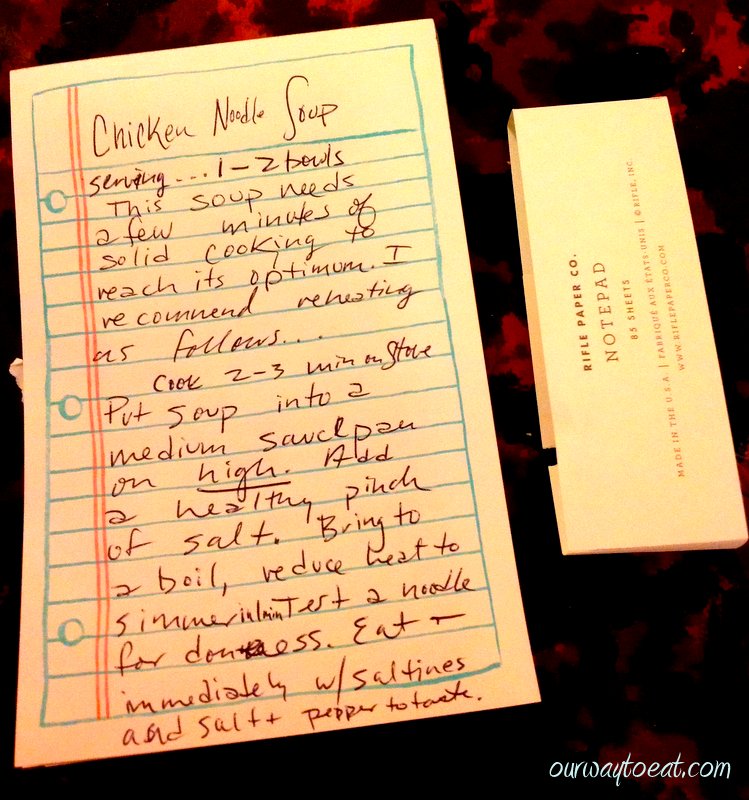
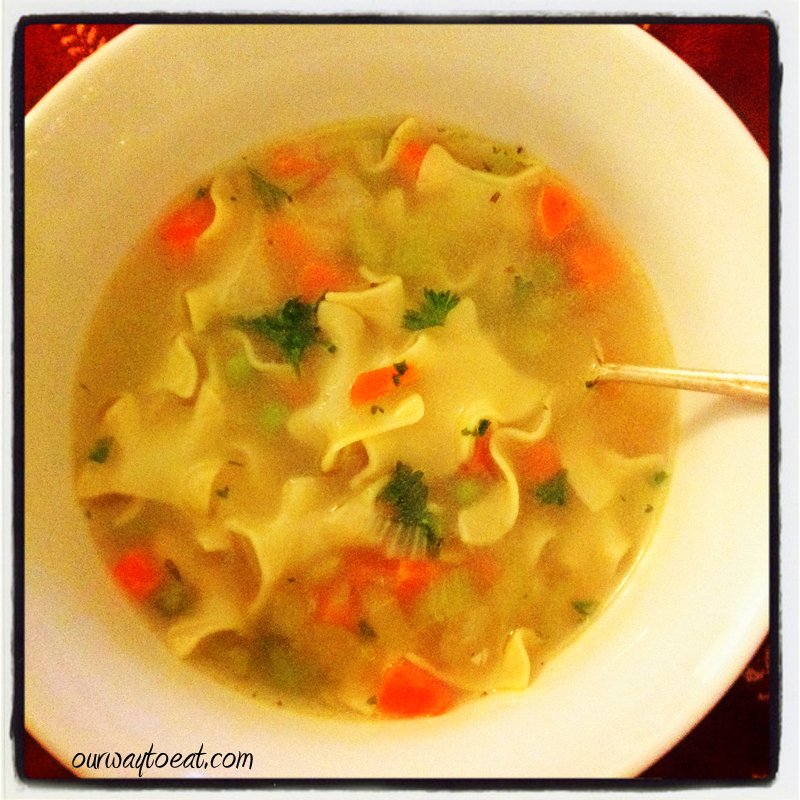
A steaming bowl of chicken or chicken-less noodle soup is a warming cure for winter blahs if I know one. It is so comforting if you have a cold. I don’t follow an exact recipe to make Chicken and Chicken-less Noodle soup. I chop a few peeled carrots, a few ribs of celery and onion, and saute them in a little oil until fragrant, but still crisp. Then, I add about 5 cups of broth, (homemade when I have it). I bring the soup to a point beyond a simmer and add two handfuls of frozen peas. When the soup returns to almost-boiling I add a few handfuls of egg noodles, and about a quarter cup of chopped fresh parsley. I like to use ample, wavy, dumpling egg noodles. They need 6-10 minutes of cooking time to cook to tender, but not soggy. 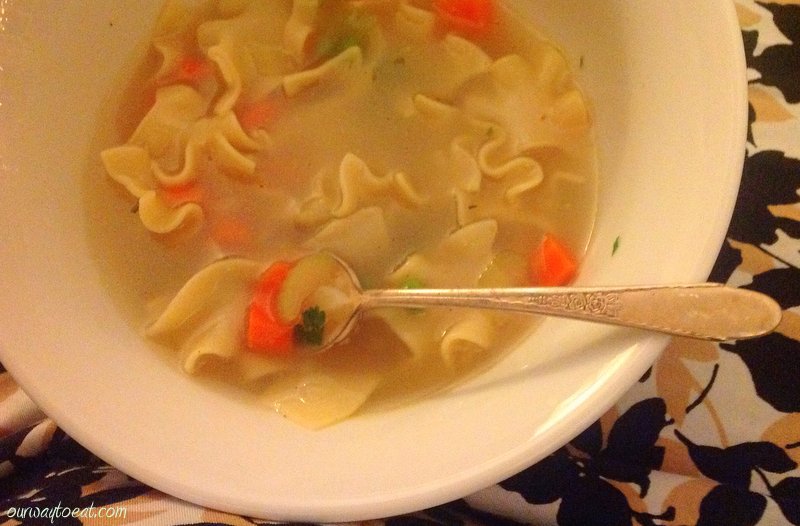 In order to make chicken-less soup for myself, and classic chicken noodle soup for Bjorn, I saute chicken breasts or thighs separately. When the chicken is cooked through, I chop it and add a hearty serving of chopped chicken to his bowl. You can make a whole pot of chicken-less soup if everyone prefers, or you can saute the chicken along with the veggies if everyone at your house eats chicken. Before serving, I adjust the flavour with salt and pepper. If you are a stickler for following a recipe, Martha Stewart’s Chicken Noodle Soup is similar to my general guidelines, except that she doesn’t add peas; she opts for dill instead of parsley and she uses quick-cooking vermicelli noodles instead of wide egg noodles. This soup is flexible. You could add other veggies. For me, I like to stick to the classic Chicken Noodle soup ingredients, except that I leave out the meat.
A little while ago, Bjorn’s brother was under the weather, so we decided to bring him a serving of our soup. I removed a portion of the soup and put it in a disposable container before the noodles were fully cooked so that he could bring the soup up to temp without the noodles getting soggy.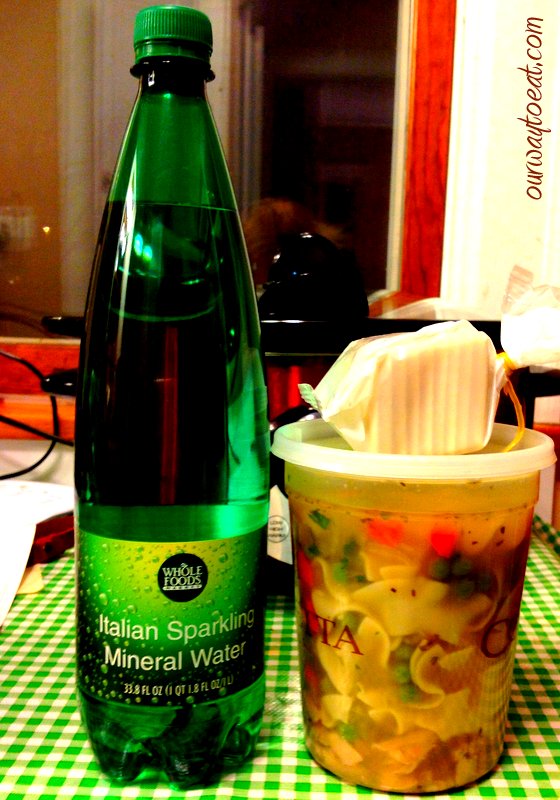
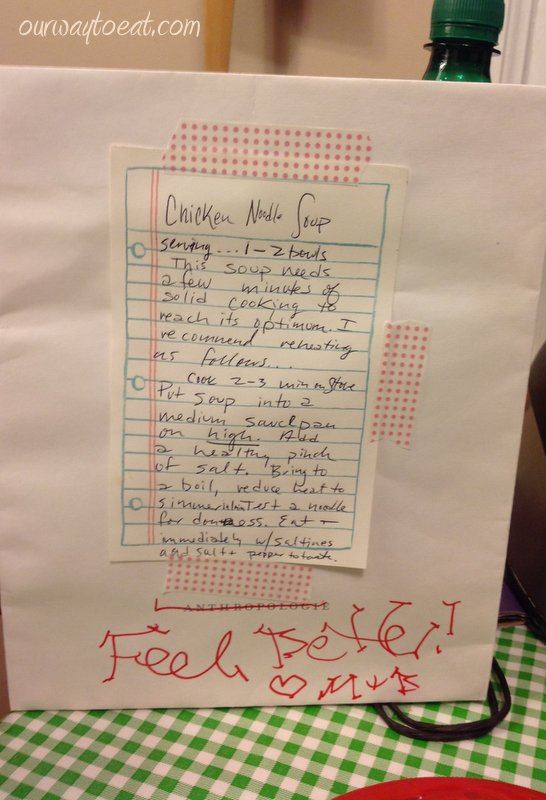
To round out our care package, we added a bottle of fizzy mineral water for some electrolytes and a quarter-sleeve of saltines to go along with the soup.
I taped my handwritten instructions to a small bag with washi tape and we dropped the package off at Brett’s house, hoping to bring a little warmth and cheer to a dreary sick day. Homemade soup tastes wonderful and fills the house with a comforting aroma. This soup is made entirely of staples that are usually on hand in the pantry and freezer. Chicken Noodle soup cooks quickly and provides comfort, flavor and textures you just can’t get from a can. When you’ve had it with winter, remember to make this soup!
A Lesson in Lefse for Bjorn from Grandma Eldrice
Gallery

This gallery contains 20 photos.
My father is Norwegian by birth, and so some Norwegian characteristics have come to me naturally. Having hearty tolerance of long winters and cold temperatures has been truly helpful throughout my life. Even so, I have wished on more than … Continue reading
Thanksgiving Preview
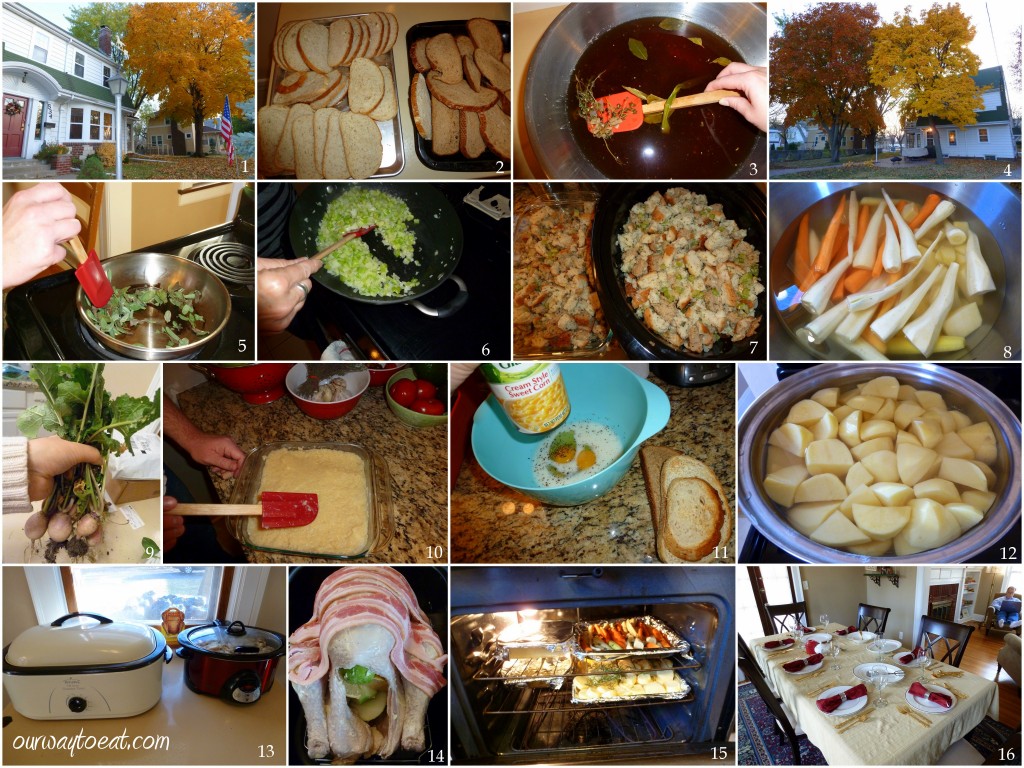
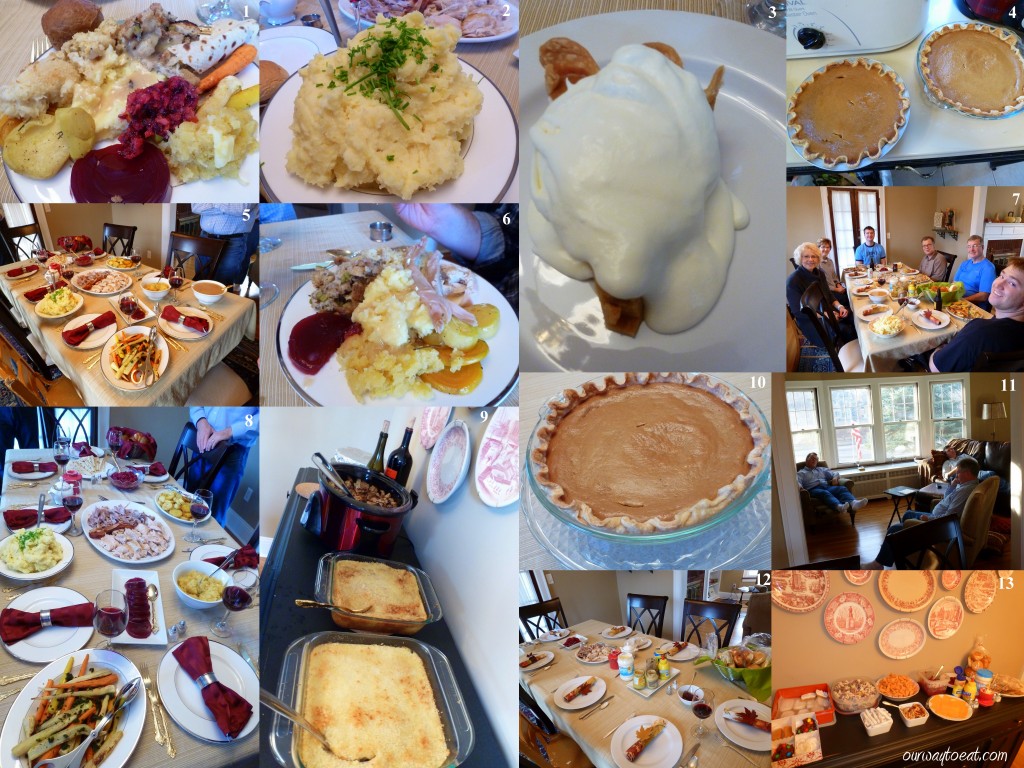
Thanksgiving is only a few days away. I am looking forward to it! It will be our third year hosting my parents, in-laws and brother-in-law at our house. Thanksgiving traditions have varied and evolved throughout my life from being celebrated in October (in Canada) to having a large gathering at my parents house or Bjorn’s Aunt and Uncle’s to a smaller gathering at our house. This has become one of my favorite long weekends of the year being with both of our families, eating well, relaxing and having lots of laughs. Here is a peek at last year’s Thanksgiving preparation and the resulting meal. It is also a reliable preview of this year’s anticipated event. There will some tweaks to the menu to keep things interesting, but we’ll serve our most-loved standbys to make sure everyone get their favorite traditional Turkey Day dish.
1. Our home from the front, framed by a gorgeous golden-leafed maple tree. This year all of our leaves have fallen and have been raked and hauled away. We’ve become much more zen about raking and hauling leaves this year. It is a huge job, but we’re used to it, and we enjoy being outside in the fresh air and we love these gorgeous maples so much. It sure is nice to have a cleaned up yard before snowfall this year.
2. City Bread, drying out for stuffing. City Bread is my favorite rye bread from Winnipeg which made the bulk of our stuffing last year. We’re due to visit the ‘Peg, our freezer is empty!
3. Last year I brined the Turkey using this recipe from Macheesmo. Everyone reported the bird to be juicy and flavorful and despite concerns, I was pleased that I could still make a tasty gravy using the drippings. This year I am not brining the bird. Bjorn is brining a bone-in turkey breast that he will smoke, so I’m skipping that step since my roast turkey will play second fiddle. I wouldn’t roast a turkey, but we simply must so that we can make gravy!
4. Our little house from the back, again the maple leaves last year were gorgeous. This year, with the leaves down the focal point of this view of our house is the new roof, which is cottage red. I love it, but I’m waiting for some finishing work to be done in front before I post pictures.
5. Toasting sage from the garden for my Mosaic Stuffing. I call my dressing Mosaic Stuffing because I clean out my freezer and use up the random loaves, rolls and bread ends that I’ve been hoarding in the freezer for the last few months. I love using a variety of bread with different flavors and textures as a basis for my dressing. I follow my Mom’s dressing recipe which comes together on the spot with her coaching. It is a simple recipe with bread, butter, sautéed onions, celery, salt, pepper, sage, broth and milk, similar to the recipe from the 1967 edition of the Betty Crocker cookbook but with some extra love and instinct as to seasonings, amount of milk and cooking time. We like it crispy on top and moist in the middle.
6. Sauteing celery and onions in butter for the stuffing.
7. Two pans of stuffing, one for today, and the next for the equally important Leftovers Meal, eaten tomorrow.
8. We round out our plates with a variety of roasted root vegetables: carrots, parsnip, and beets, coated lightly in olive oil and tossed with a generous handful of chopped fresh herbs.
9. Last year I grew one square foot of turnips which we saved for Thanksgiving.
10. Bjorn made the turnips into a Turnip Puff. It was a tasty vegetarian side dish, though it isn’t on the menu this year since we didn’t grow turnips!
11. Scalloped Corn is another Thanksgiving standby which will be repeated this year, except this year I am going to add more whole corn kernels as well as creamed corn and bake it in a cast-iron skillet.
12. We make a huge pot of creamy, buttery mashed potatoes because everyone loves them. I was very disappointed by the potato selection last year at Lunds– by the time I got there to shop, so many of the potatoes were green. This year I bought a bushel basket of Yukon golds from the Saint Paul Farmer’s Market. There isn’t exactly a crowd shopping at the market this late in the season, so I had my pick of potatoes and the friendly seller assured me they had just been dug and wouldn’t be green by Thursday. Shrinking the carbon footprint of our meal where I can, and having my selection of freshly dug potatoes is win-win in my book.
13. It is an all-hands-on-deck meal situation at our house. I haul out the roaster, use the crock pot and have every precious square inch of kitchen counter and table space in use to prepare this meal.
14. In contrast to the last two years, I bought a turkey from Lunds instead of from the Farmer’s Market this year. I haven’t had a lot of success buying a local turkey. I stood in line for two hours in 2010 to pick up a monstrous golden turkey, and could hardly thaw myself or get the bird cooked in time to eat the next day. Last year, our pre-ordered “fresh” local turkey was frozen and missing a wing. I’m willing to pay for quality locally grown meat, but when I’m paying a premium, I need to be assured that quality will be delivered. This year, I wanted a smaller bird and so I went the easy route. Yes, I do feel a bit guilty for not buying totally local when I can, but I decided to give myself a break. I am much happier with a completely fresh, free range bird which weighs about 12 pounds. I will be stuffing the bird with herbs and fruit, and covering it with butter and bacon, which is a family tradition, passed down from my Grammie.
Grammie roasting a huge turkey topped with bacon. Look at that Golden Bird!
15. Even though I used an electric roaster and crock pot, the oven was packed. I’m planning fewer dishes this year so we should have oven space to spare.
16. We will set the table using our Mikasa Cameo Platinum wedding china. It is simple and clean-looking, and I love it. This year, we have the full set including gravy boat! I am going to warm up the table decor a little bit this year, more candles, more colour, though the plated food will remain the focal point.
The Thanksgiving Meal:
1. Get a load of that plate of food! You will note that we enjoy both traditional cranberry sauce made by my mother-in-law, and jellied from a can. We also are so very fortunate that my mother-in-law and Bjorn’s Grandma make lefse together. My Dad and Grandfather were born in Norway, but they moved to Canada without packing their traditional Norwegian recipes, so I am pretty pleased to have married into a family in which the lefse-making tradition is going strong. I have had a lesson from Bjorn’s Grandma, and I will share that some time.
2. Mashed potatoes topped with chopped chives. I dried tons of herbs from our garden which I will use in Thanksgiving dishes and throughout the winter. This is a meal where I splurge on fresh herbs, though hopefully never again after this year, since I’m planning to plant a little indoor herb garden soon. They make everything look great and they add wonderful flavor and color that I love to see on our Thanksgiving table.
3. “Don’t drown your food” was a catchphrase from educational children’s public television. That message sunk deep into my brain. This is the one time of year I ignore it. To me, pumpkin pie is only to be served with a mighty dollop of sweetened, freshly whipped cream.
4. What is my key to a stress-free Thanksgiving? Say “yes” when people offer to bring things, especially things you aren’t good at making. I have never in all my born days baked a pie. If we’re lucky, maybe I never will. Thanks Mom!
5. The table looks festive once it is covered in an array of platters topped with appealing, sumptuous Thanksgiving standards. We’re ready to dig in!
6. Another impressive plate of food, this one topped with the brined, roasted turkey. You can see the lovely roasted golden beets on the right of the plate. They will be making an appearance again at our Thanksgiving table this year.
7. My immediate family, from left to right, my Mom, mother-in-law; brother-in-law, Dad, father-in-law and my darling Bjorn.
8. Another view of the table, close enough to see the roast turkey, carved and arranged by Bjorn, and a gorgeous platter of carrots and parsnip covered in herbs.
9. We have a buffet in our dining room which holds the dinner-table overflow. Here, wine bottles are ready to top-up our glasses, dressing stays warm in the crock, and scalloped corn and turnip puff are ready to be devoured.
10. My Mom’s homemade pumpkin pie. Pumpkin pie for Thanksgiving is a homey tradition we can’t do without and her pie hits the spot.
11. The men all managed to nod off for a well-timed nap right after the meal was over. I have to wonder if tryptophan is the cause, or if they’re employing well-timed dish-washing avoidance strategy?!
12. Later in the day we manage some how to get hungry again. We set a less formal table with sandwich fixings and haul out the turkey platter.
13. We round out the turkey sandwich meal with salty snacks and cookies that my Mom and Val bring. We’ll have a full-fledged Leftovers Meal tomorrow.
We have so much to be thankful for and we are so truly grateful, wishing you and yours a wonderful Thanksgiving week.
Homemade Perogies — Comfort Food for a Winnipeg North-ender
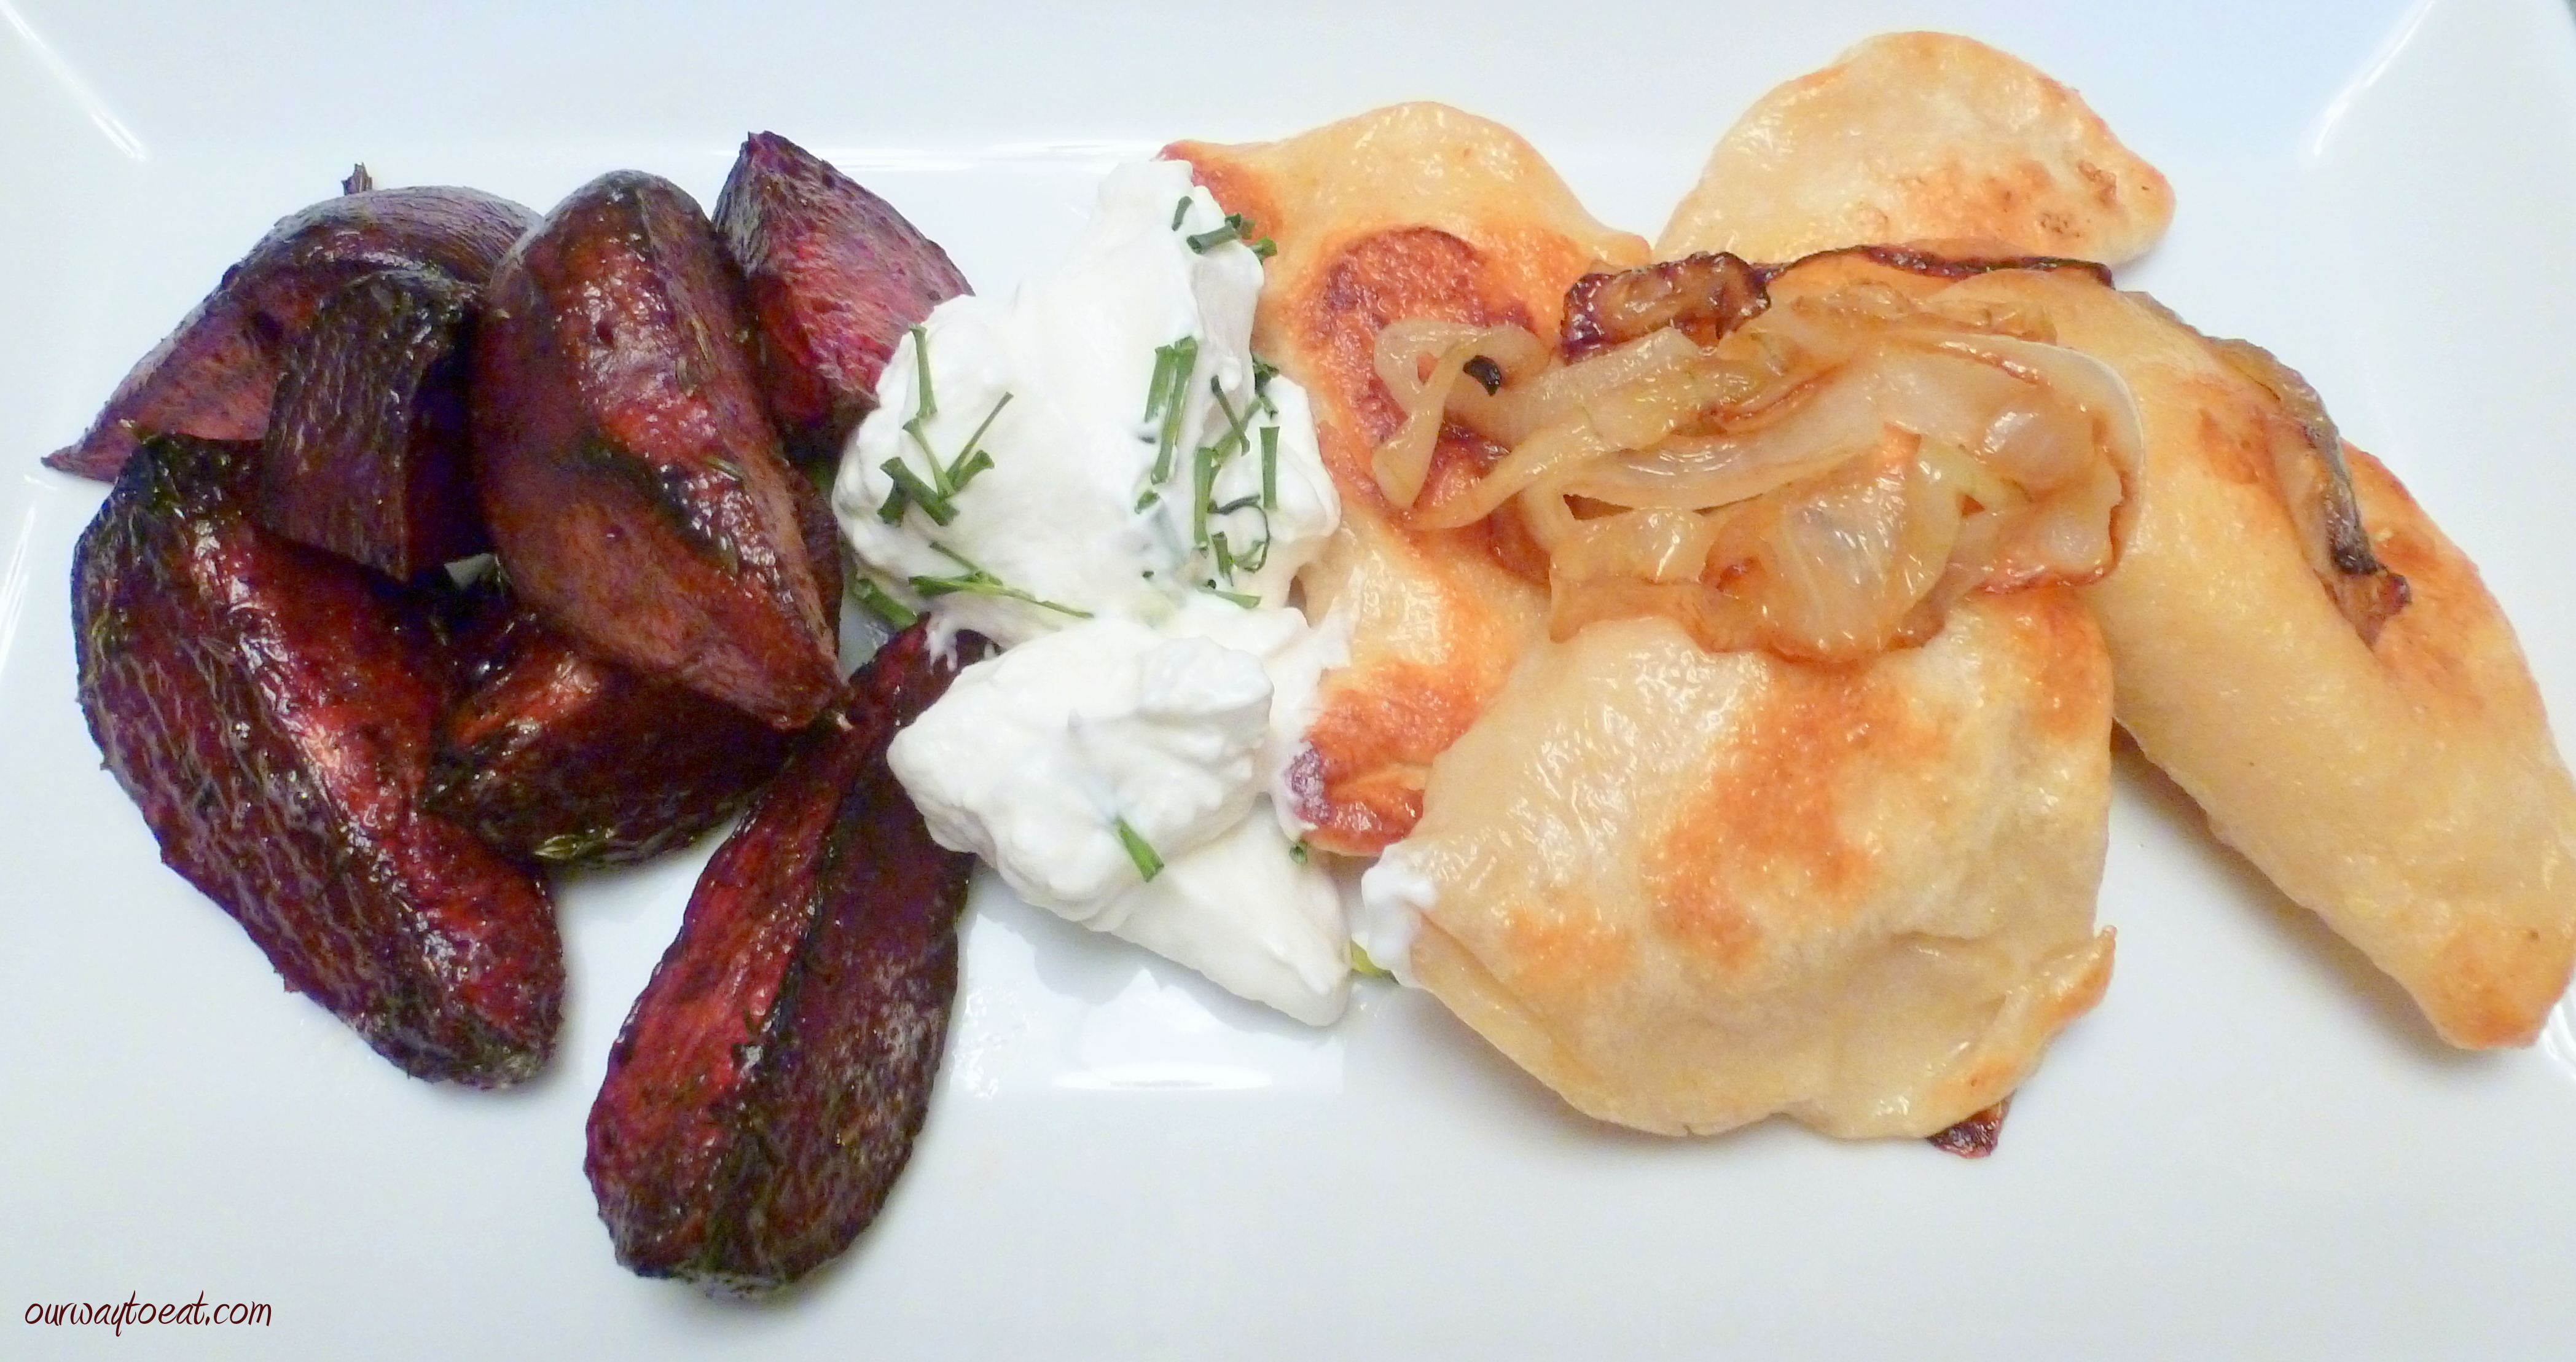 Last weekend when it came time to eat, both Bjorn and I were hungry for the same thing: “real food.” We’ve been raking tons of leaves, the air is chilly, it gets dark early at this time of year which is more than enough to make a person crave warmth and comfort. To us, “real food” is the food that we would have eaten as children. It is wholesome, homemade, hearty and satisfying– something Grandma would make. This particular meal is one I grew to love as a child but isn’t one that either of our Grandmas would have made–though amazing cooks, there isn’t a Ukrainian among them. I grew up in the North End of Winnipeg so many of my friends and classmates had a Baba. There is a large population of second, third and forth generation Ukrainians settled in the North End. Family recipes are preserved and propagated through their use at wedding socials, at social clubs suppers, church fundraisers and in restaurants that serve good, home-style Ukrainian food. I can say with assurance that even without a Ukrainian relative, any Winnipegger worth her salt knows a good perogy.
  To me, perfect perogies are filled with a cheesy potato mixture, boiled and fried with onions until they are golden and crispy and served with sour cream. Perogies can be the center of a meal on their own. When served with borscht, holobtsi, kovbasa and a slice of City Rye or Pumpernickel bread and butter, you are having a homey, North End feast. I set about to make perogies from scratch for the first time last week. I didn’t have the advantage of Hunky Bill’s Perogie Maker or a Baba’s recipe so I followed my instincts and took some guidance from a pierogi recipe by Martha Stewart. Martha is Polish so she uses the Polish spelling for Pierogi. Each Eastern European country has their own name for a perogy, and each family has their own variation on the recipe and favorite way to serve perogies. Whether you call them perogies, pierogi or varenyky the general concept of a perogy is the same: a soft, unleavened dough is stuffed with potatoes, vegetables, herbs, cheese or meat, boiled and sometimes fried, and typically served with fried onions and sour cream or jam.
 I made half the quantity of Martha’s dough and potato filling, doubled the cheese and I channeled “North End Baba” while a I rolled, stuffed, boiled and fried.
  I found the dough forgiving and easy to handle.
 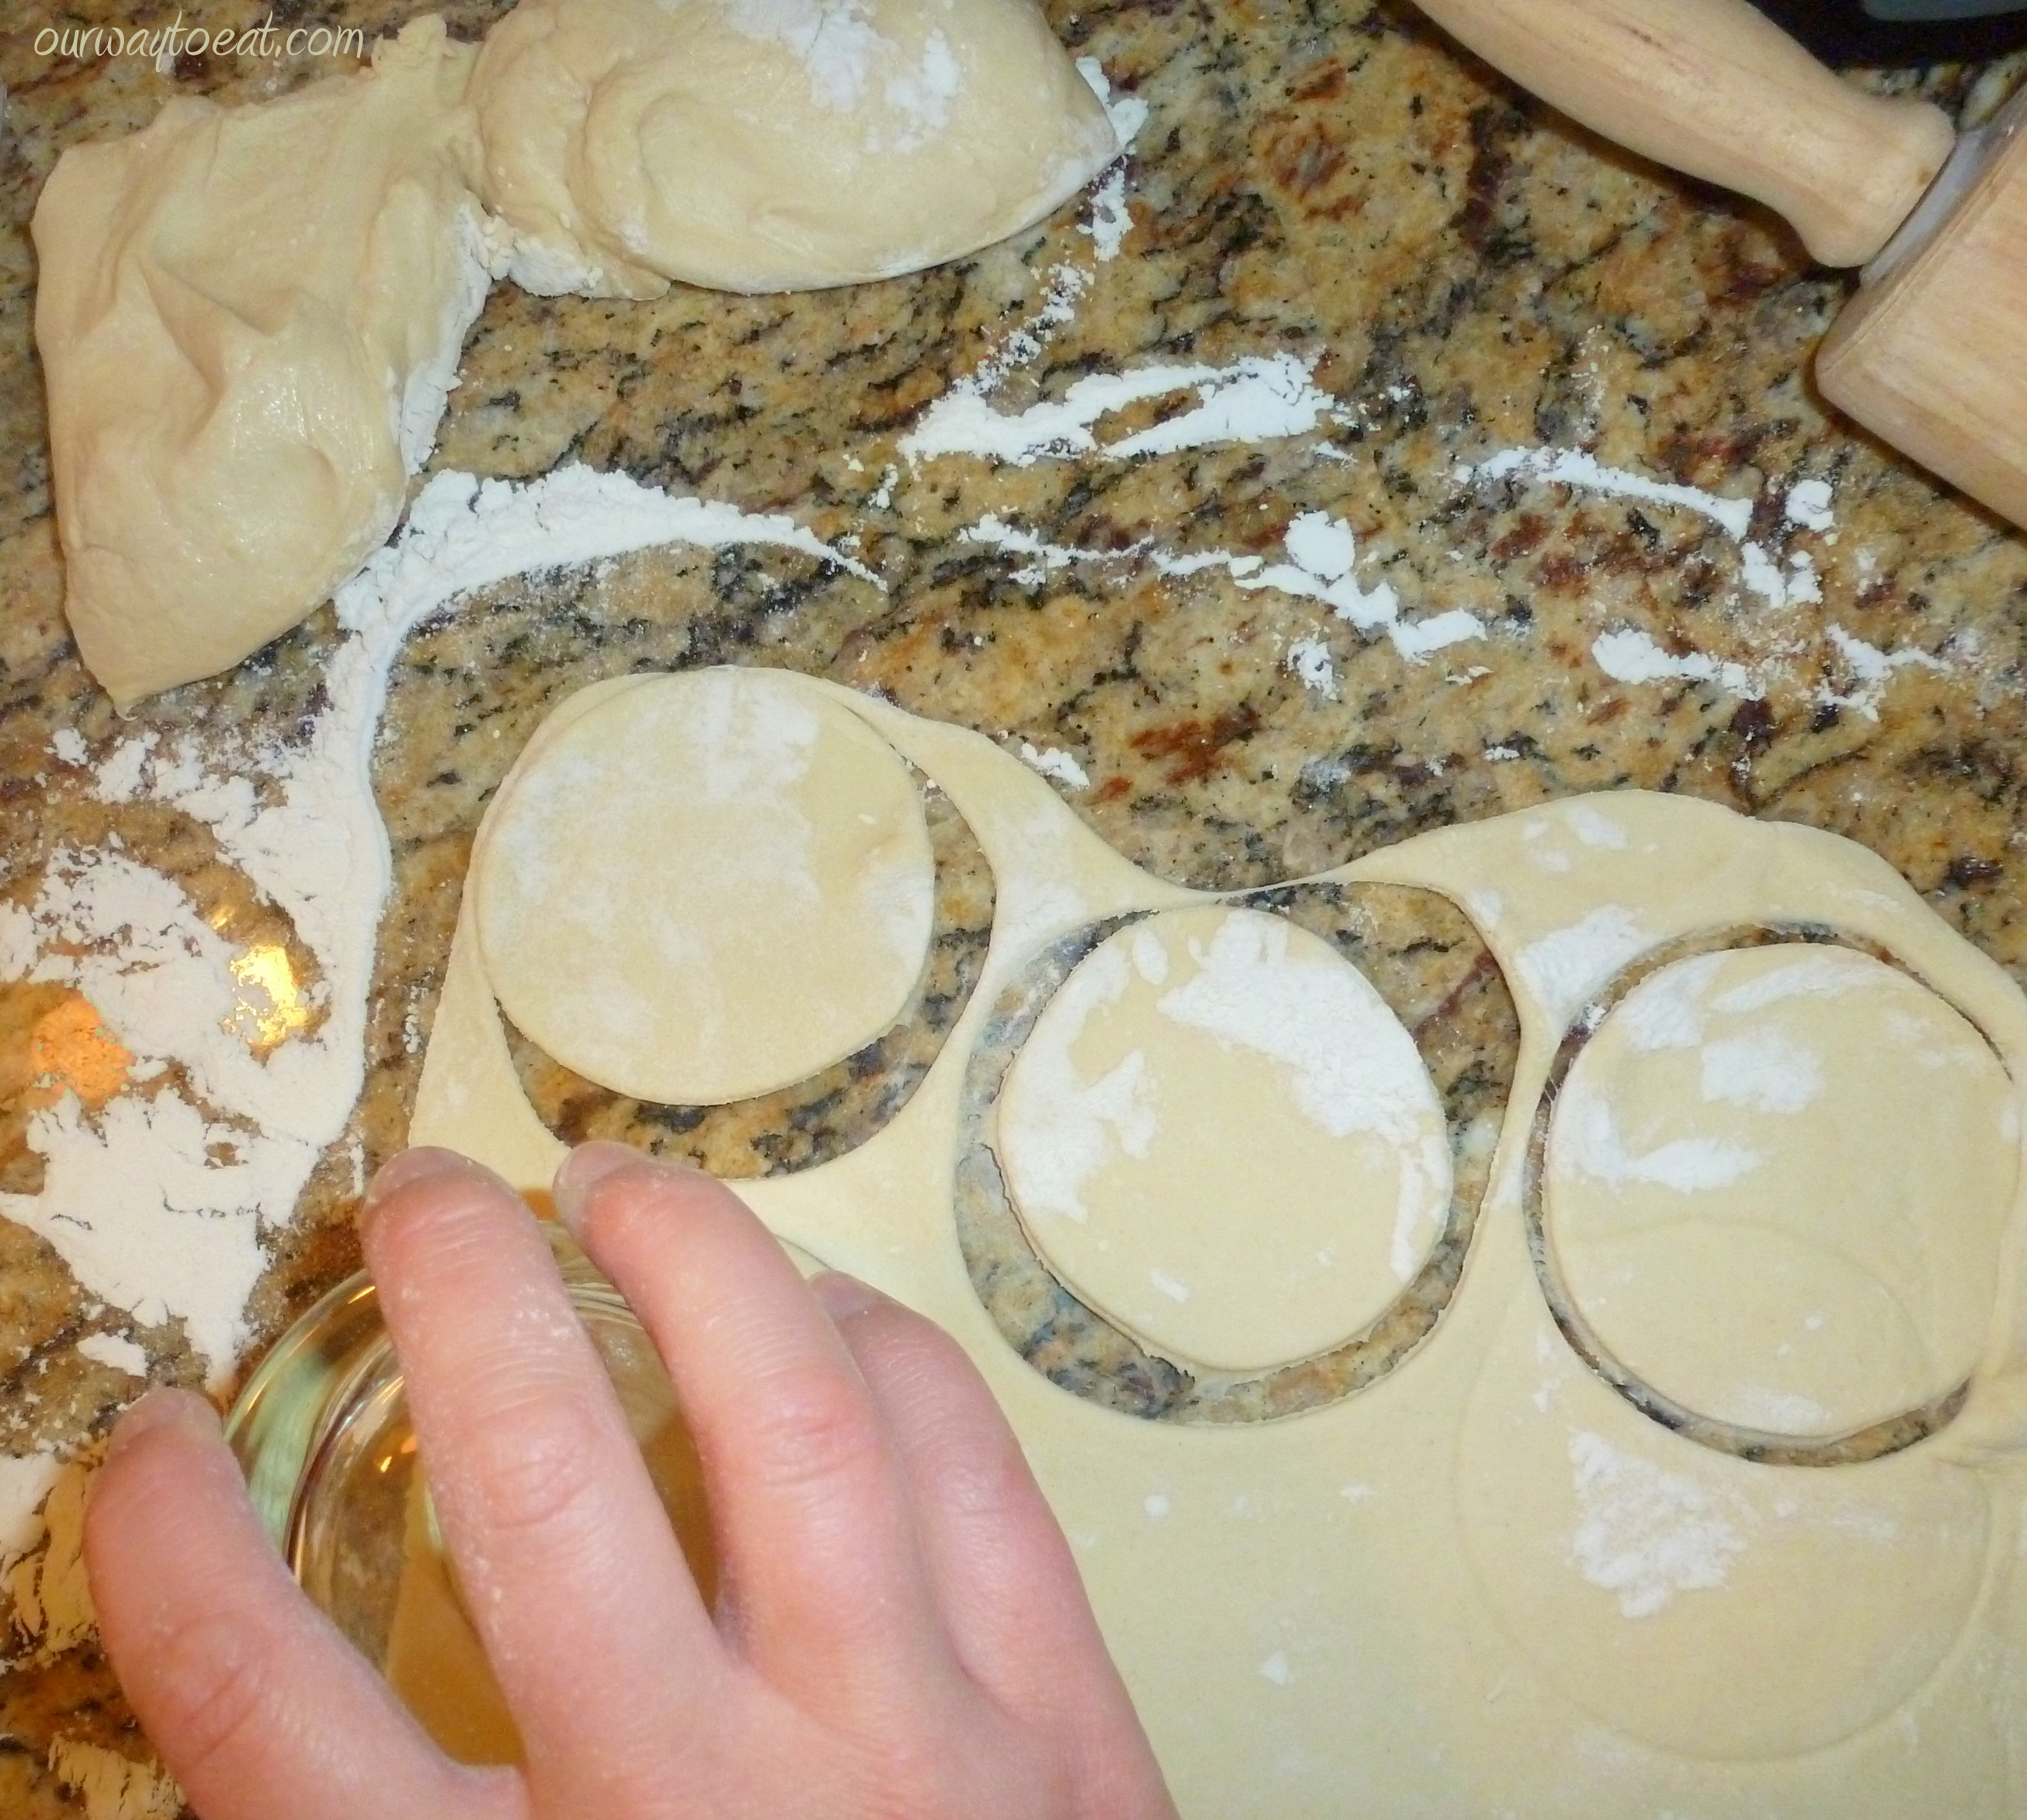 I floured the counter and rolled the dough to 1/8 inch thickness, then cut as many rounds as a I could with a juice glass.
 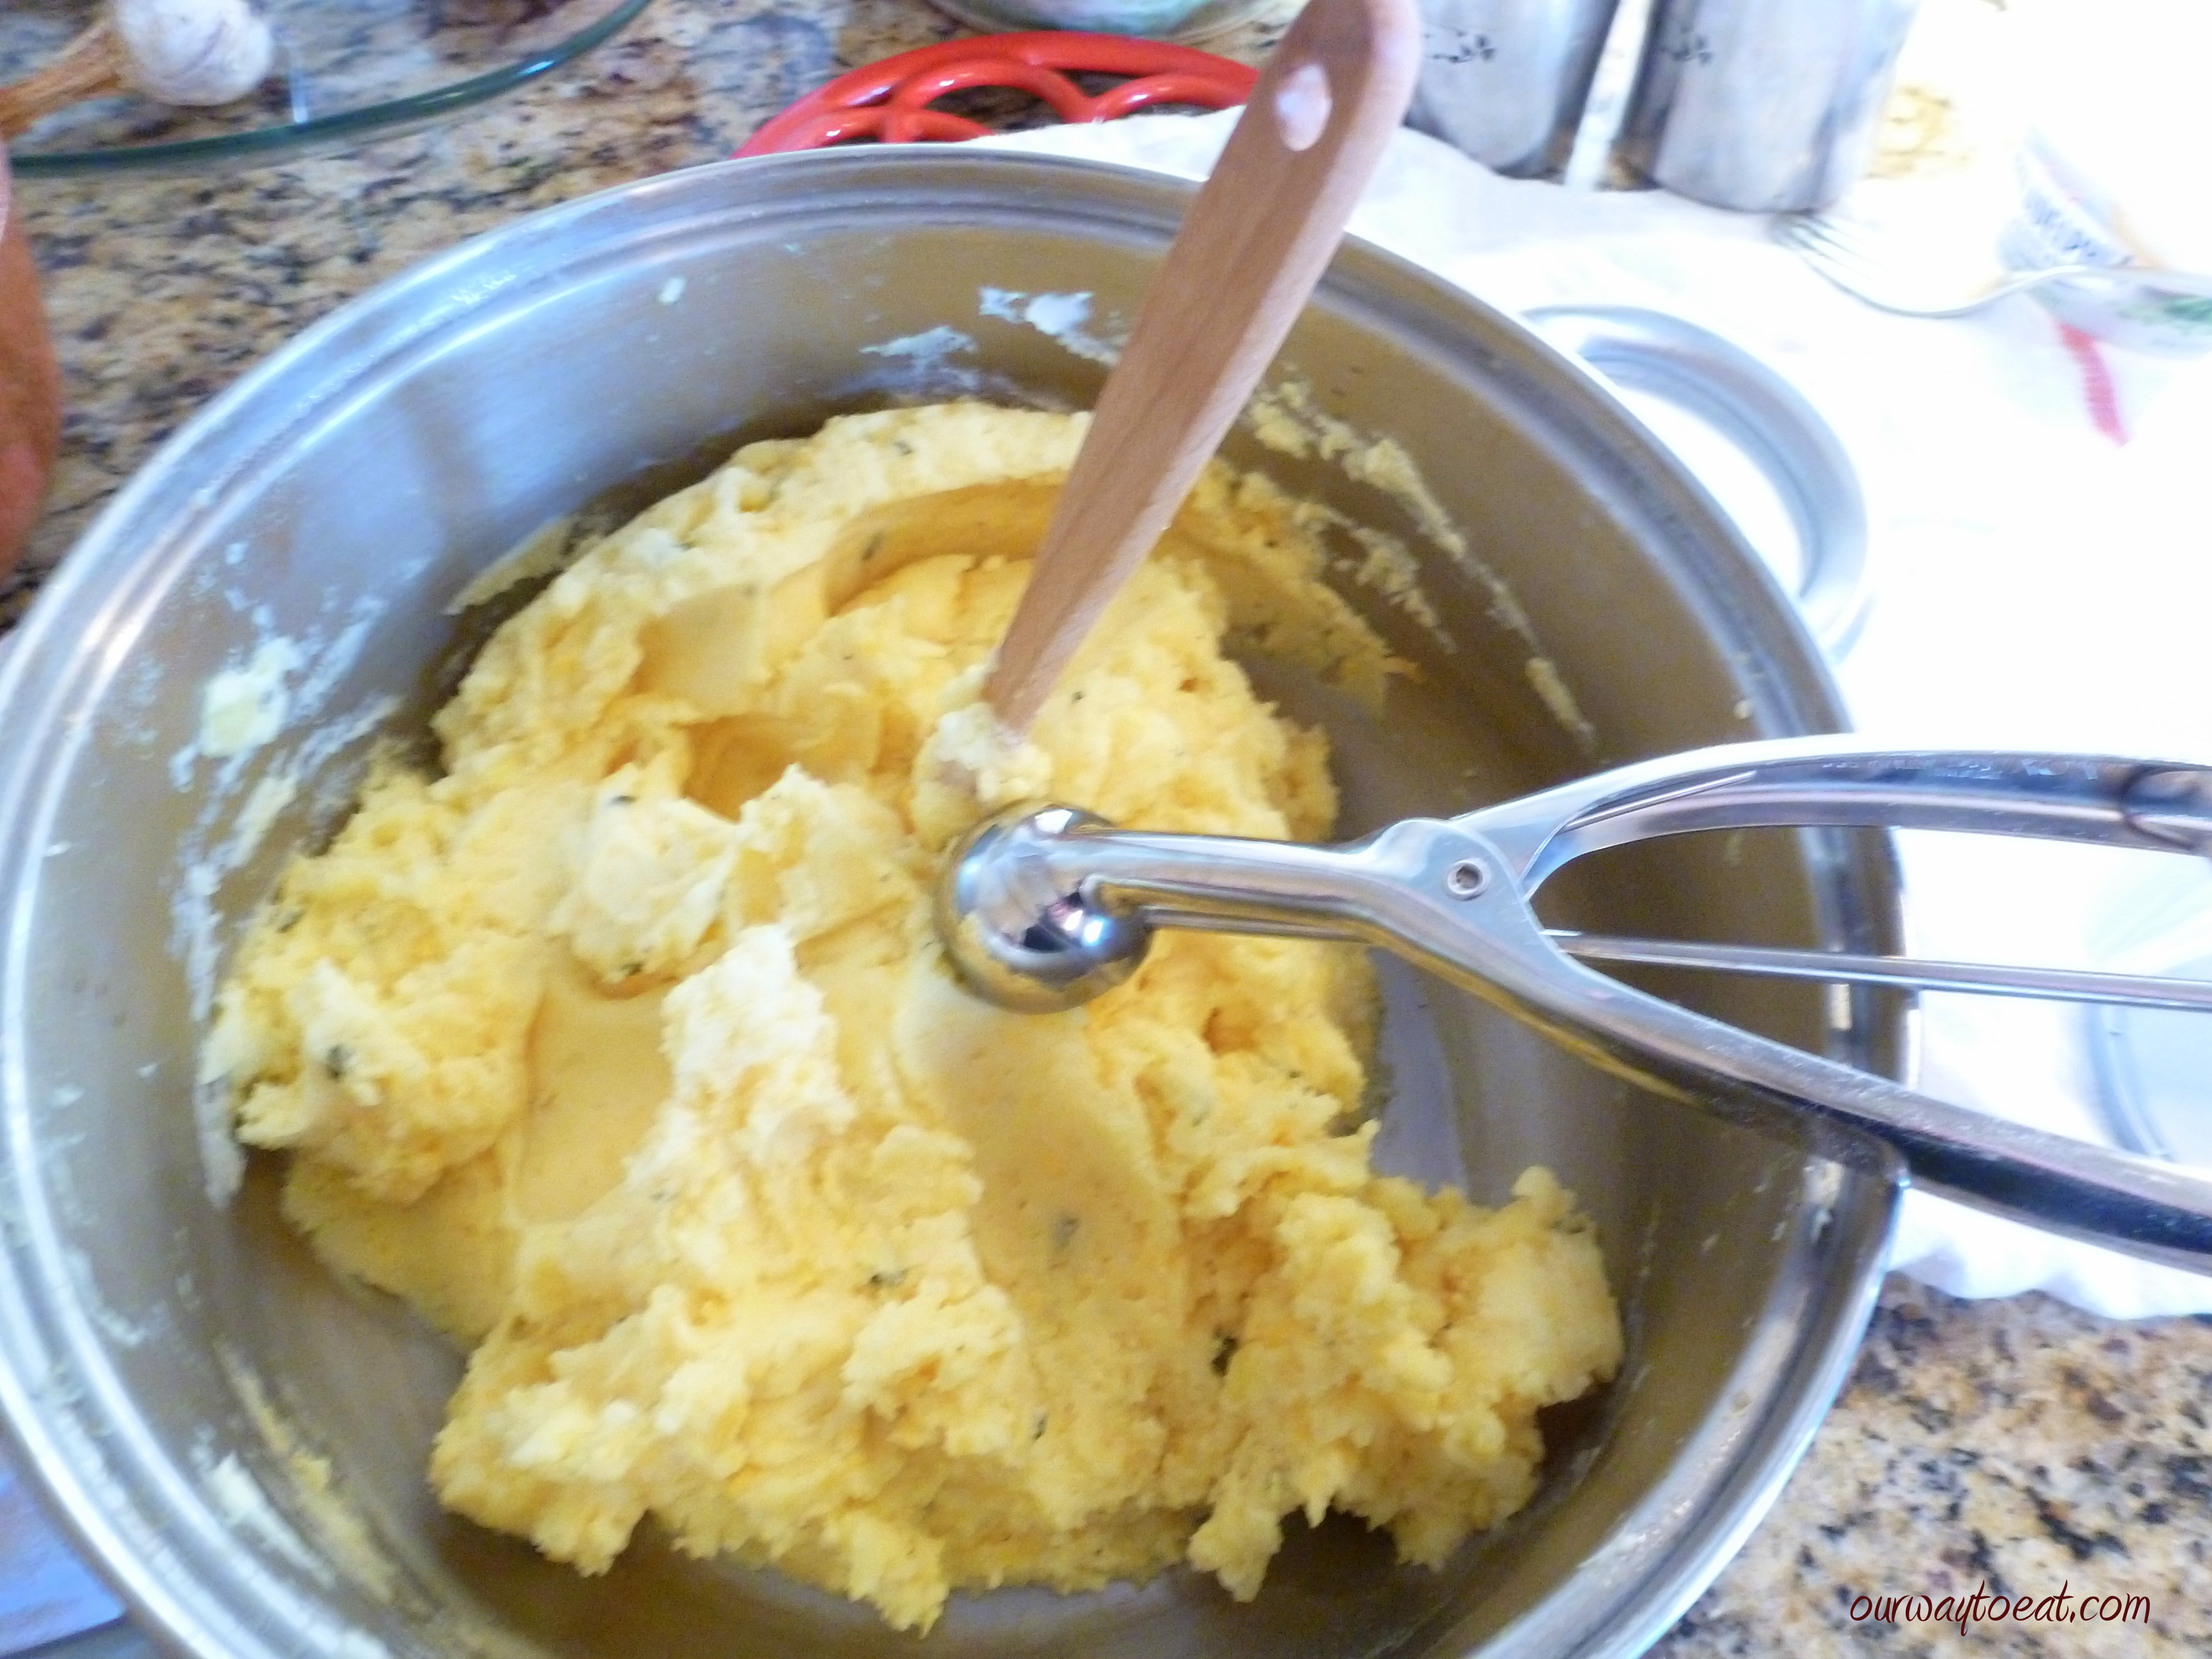 I measured the cheesy-potato mixture into each round with a scoop to avoid over filling any. The potato mixture is the consistency of dry mashed potatoes, since it contains no milk or cream.
  It was surprisingly easy to stretch, fill and pinch the soft dough to form tightly sealed, plump crescents.
 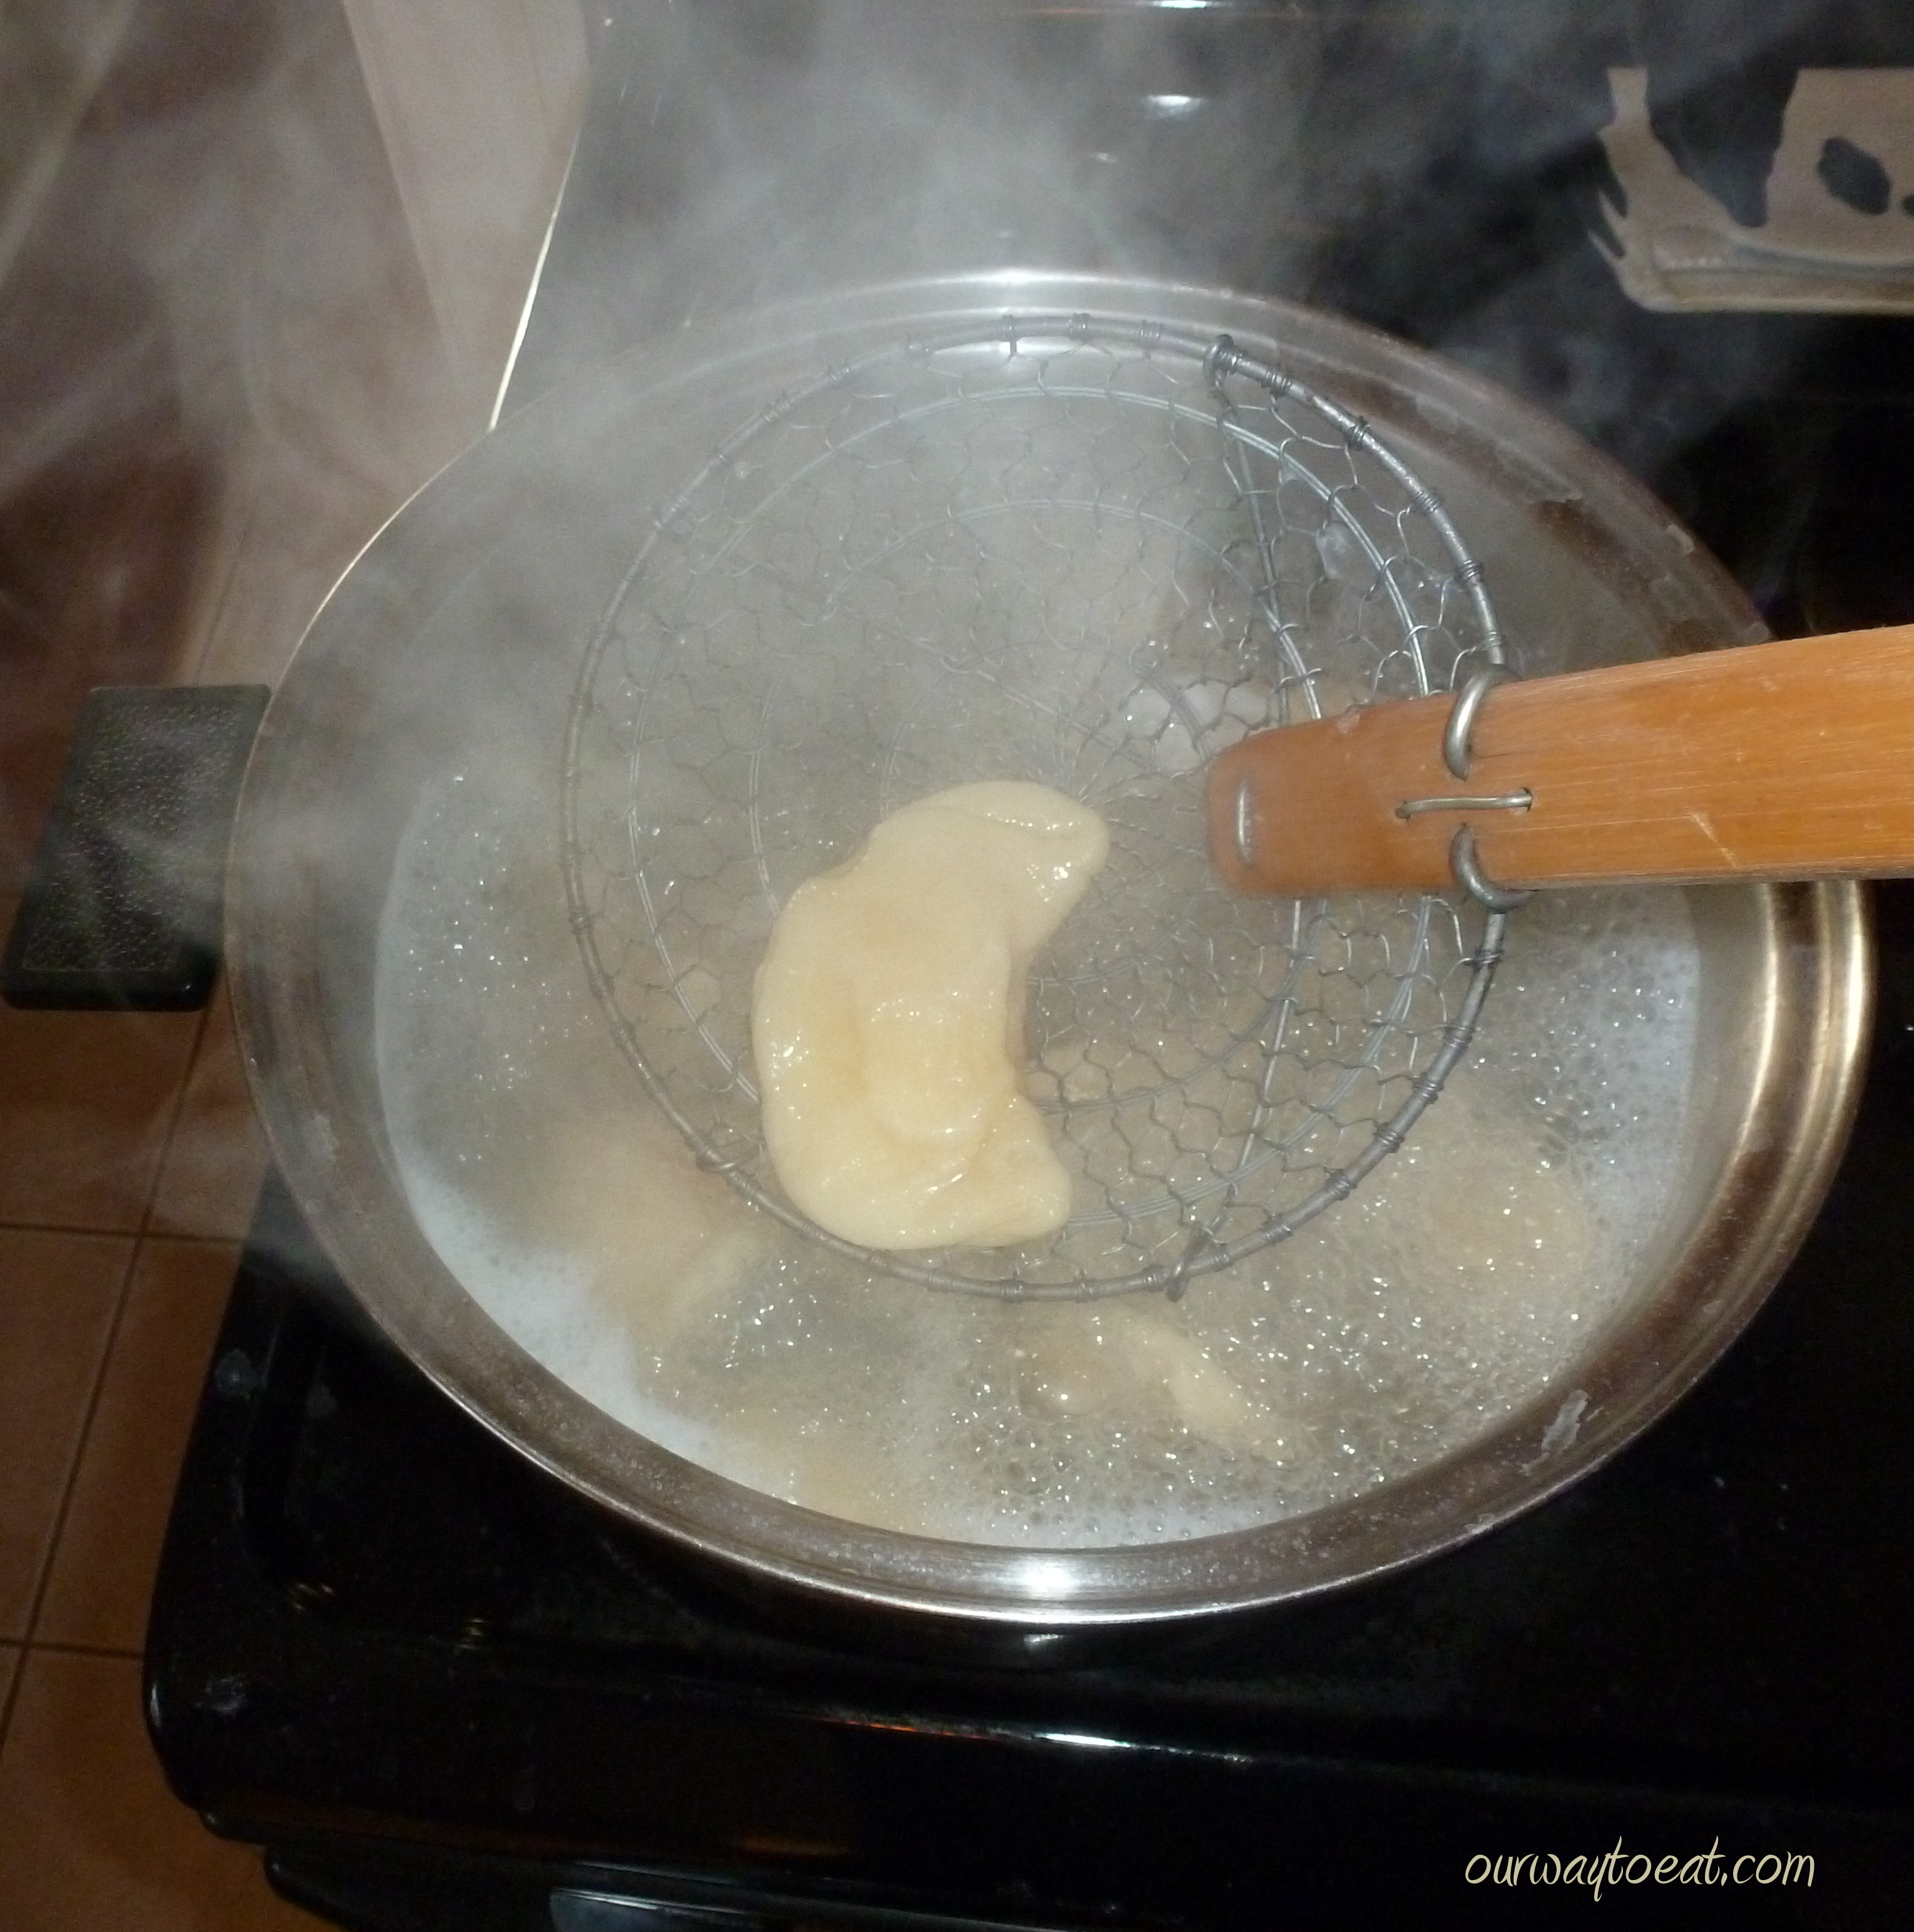 I boiled all of the perogies in batches of 8 or so. Not a single one burst open.
 Some people stop here and eat perogies after boiling them. We tasted one, and found it tender and thoroughly cooked, but the next step of frying the boiled perogies with onions is my favorite preparation. After boiling the perogies, I froze half of the batch, spreading them out on a lightly greased cookie sheet and covering them with saran wrap to fry up another day.
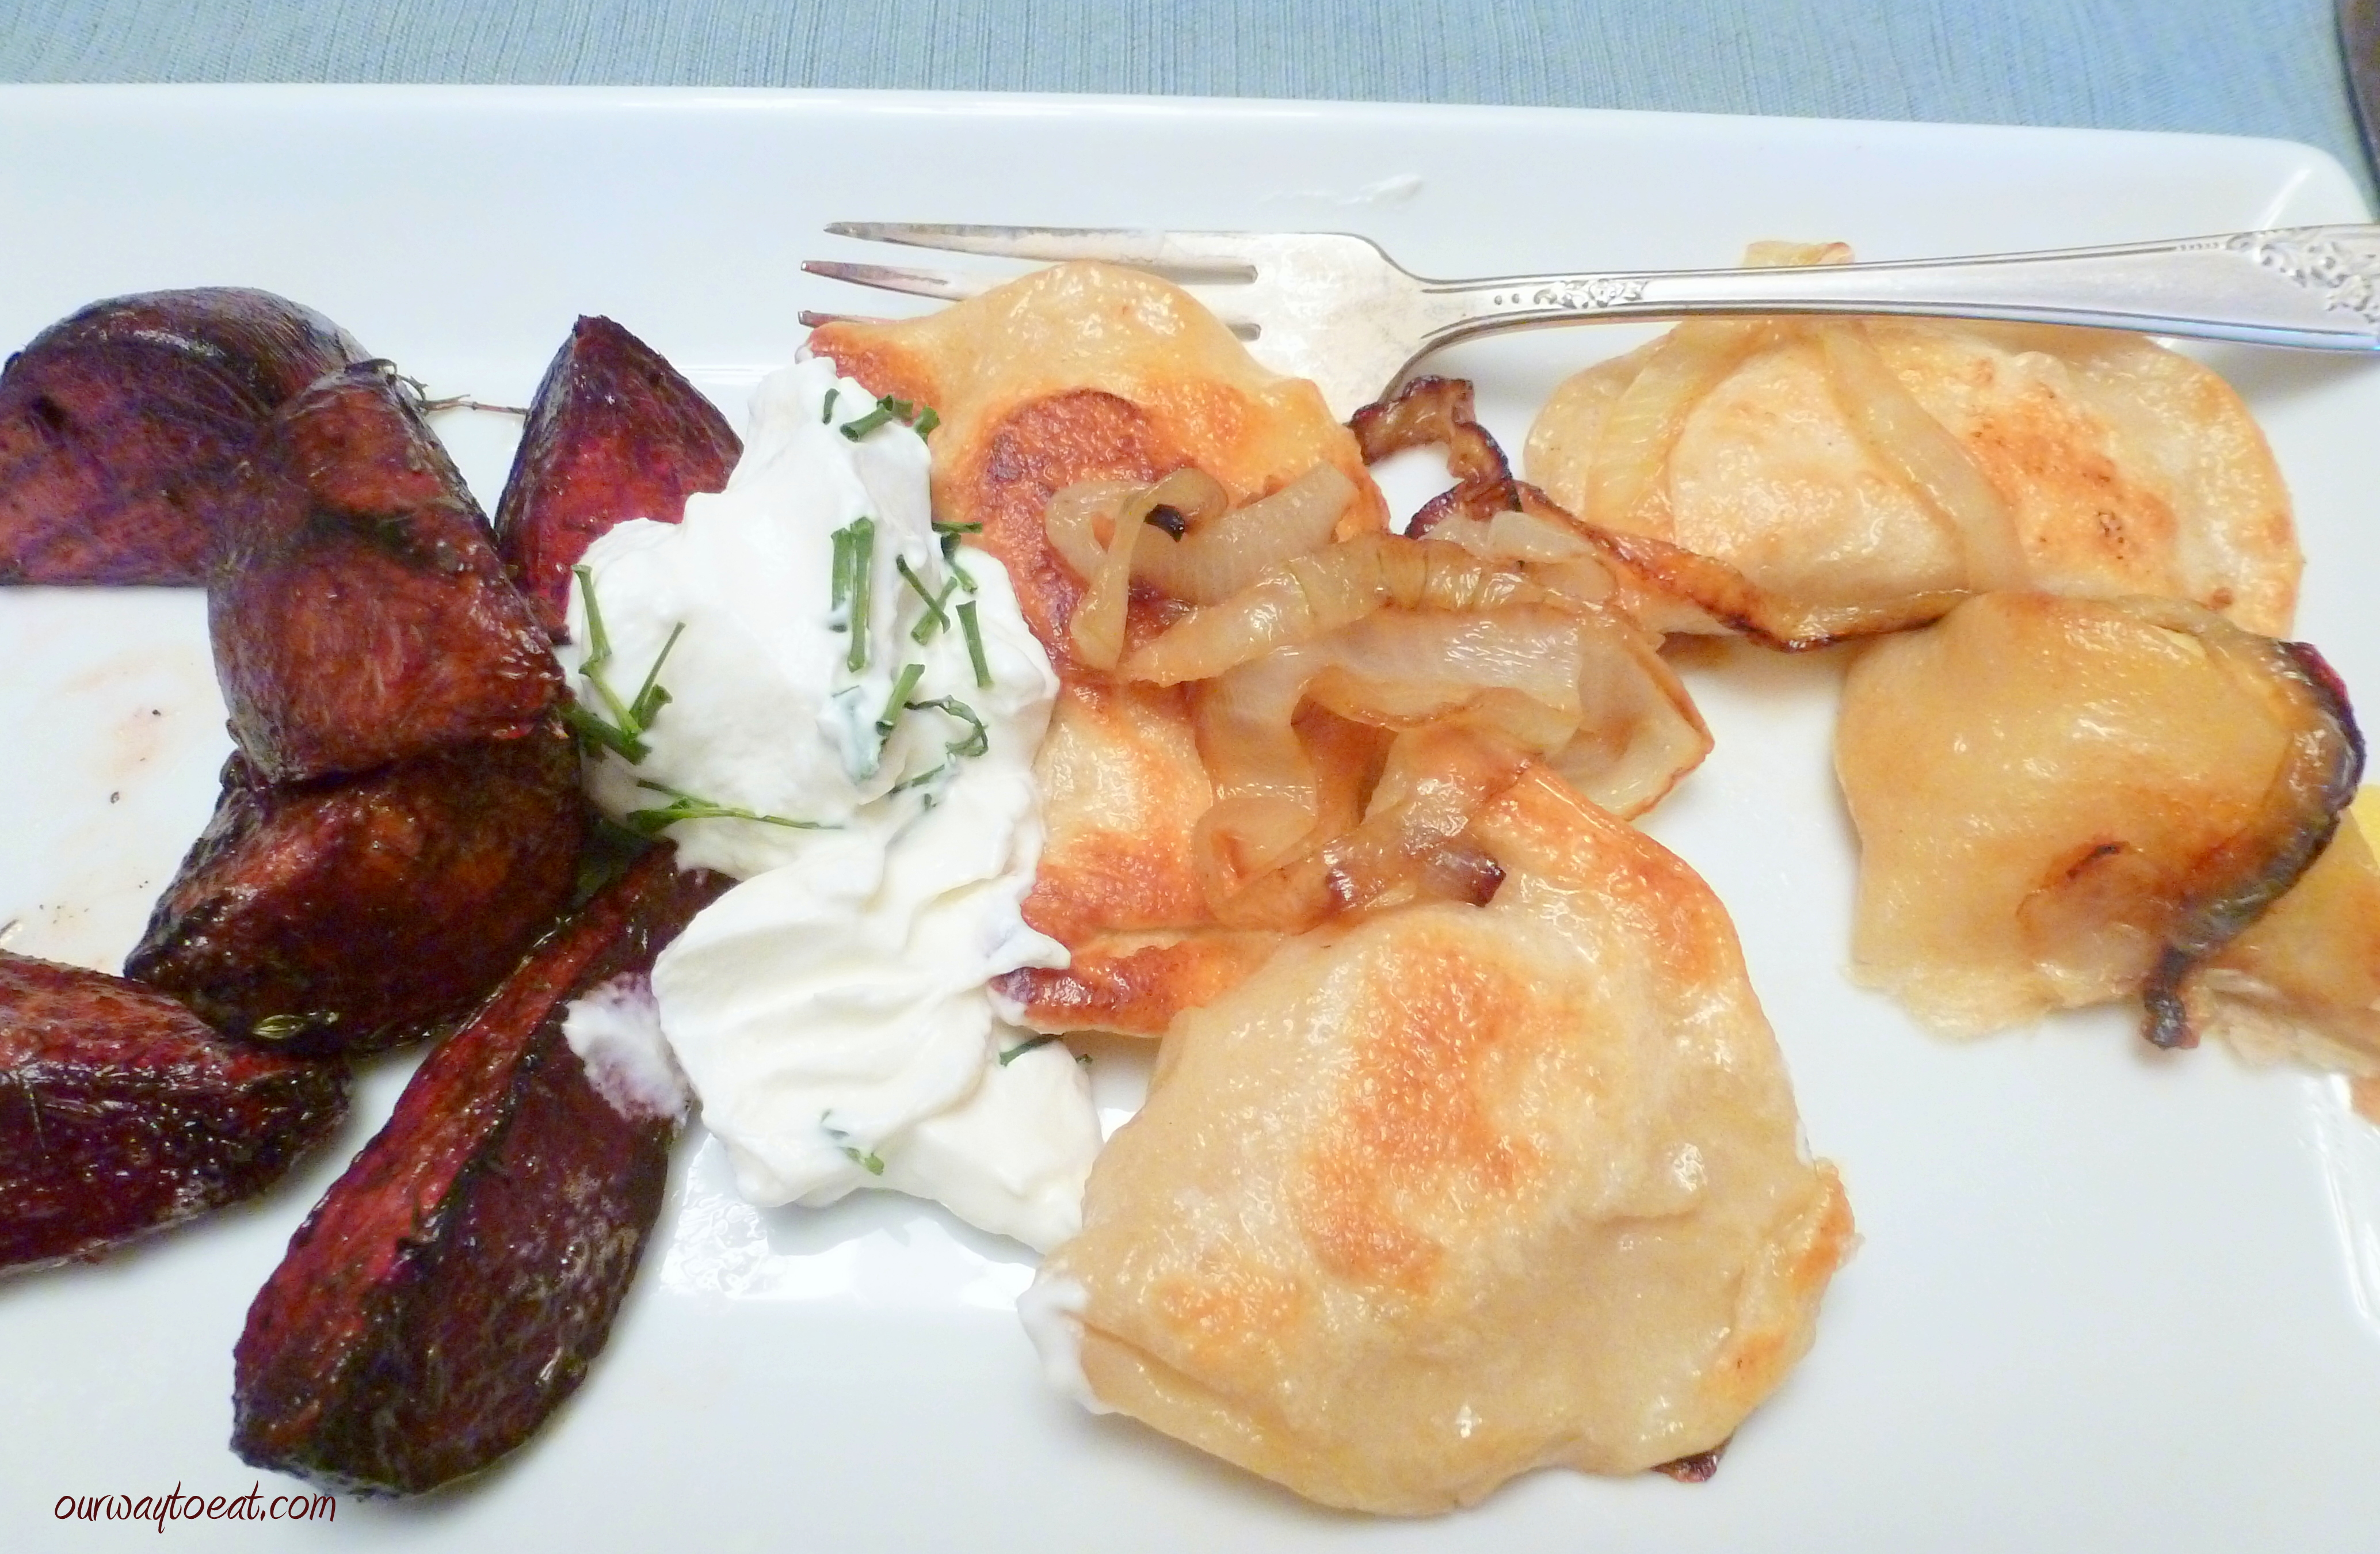
 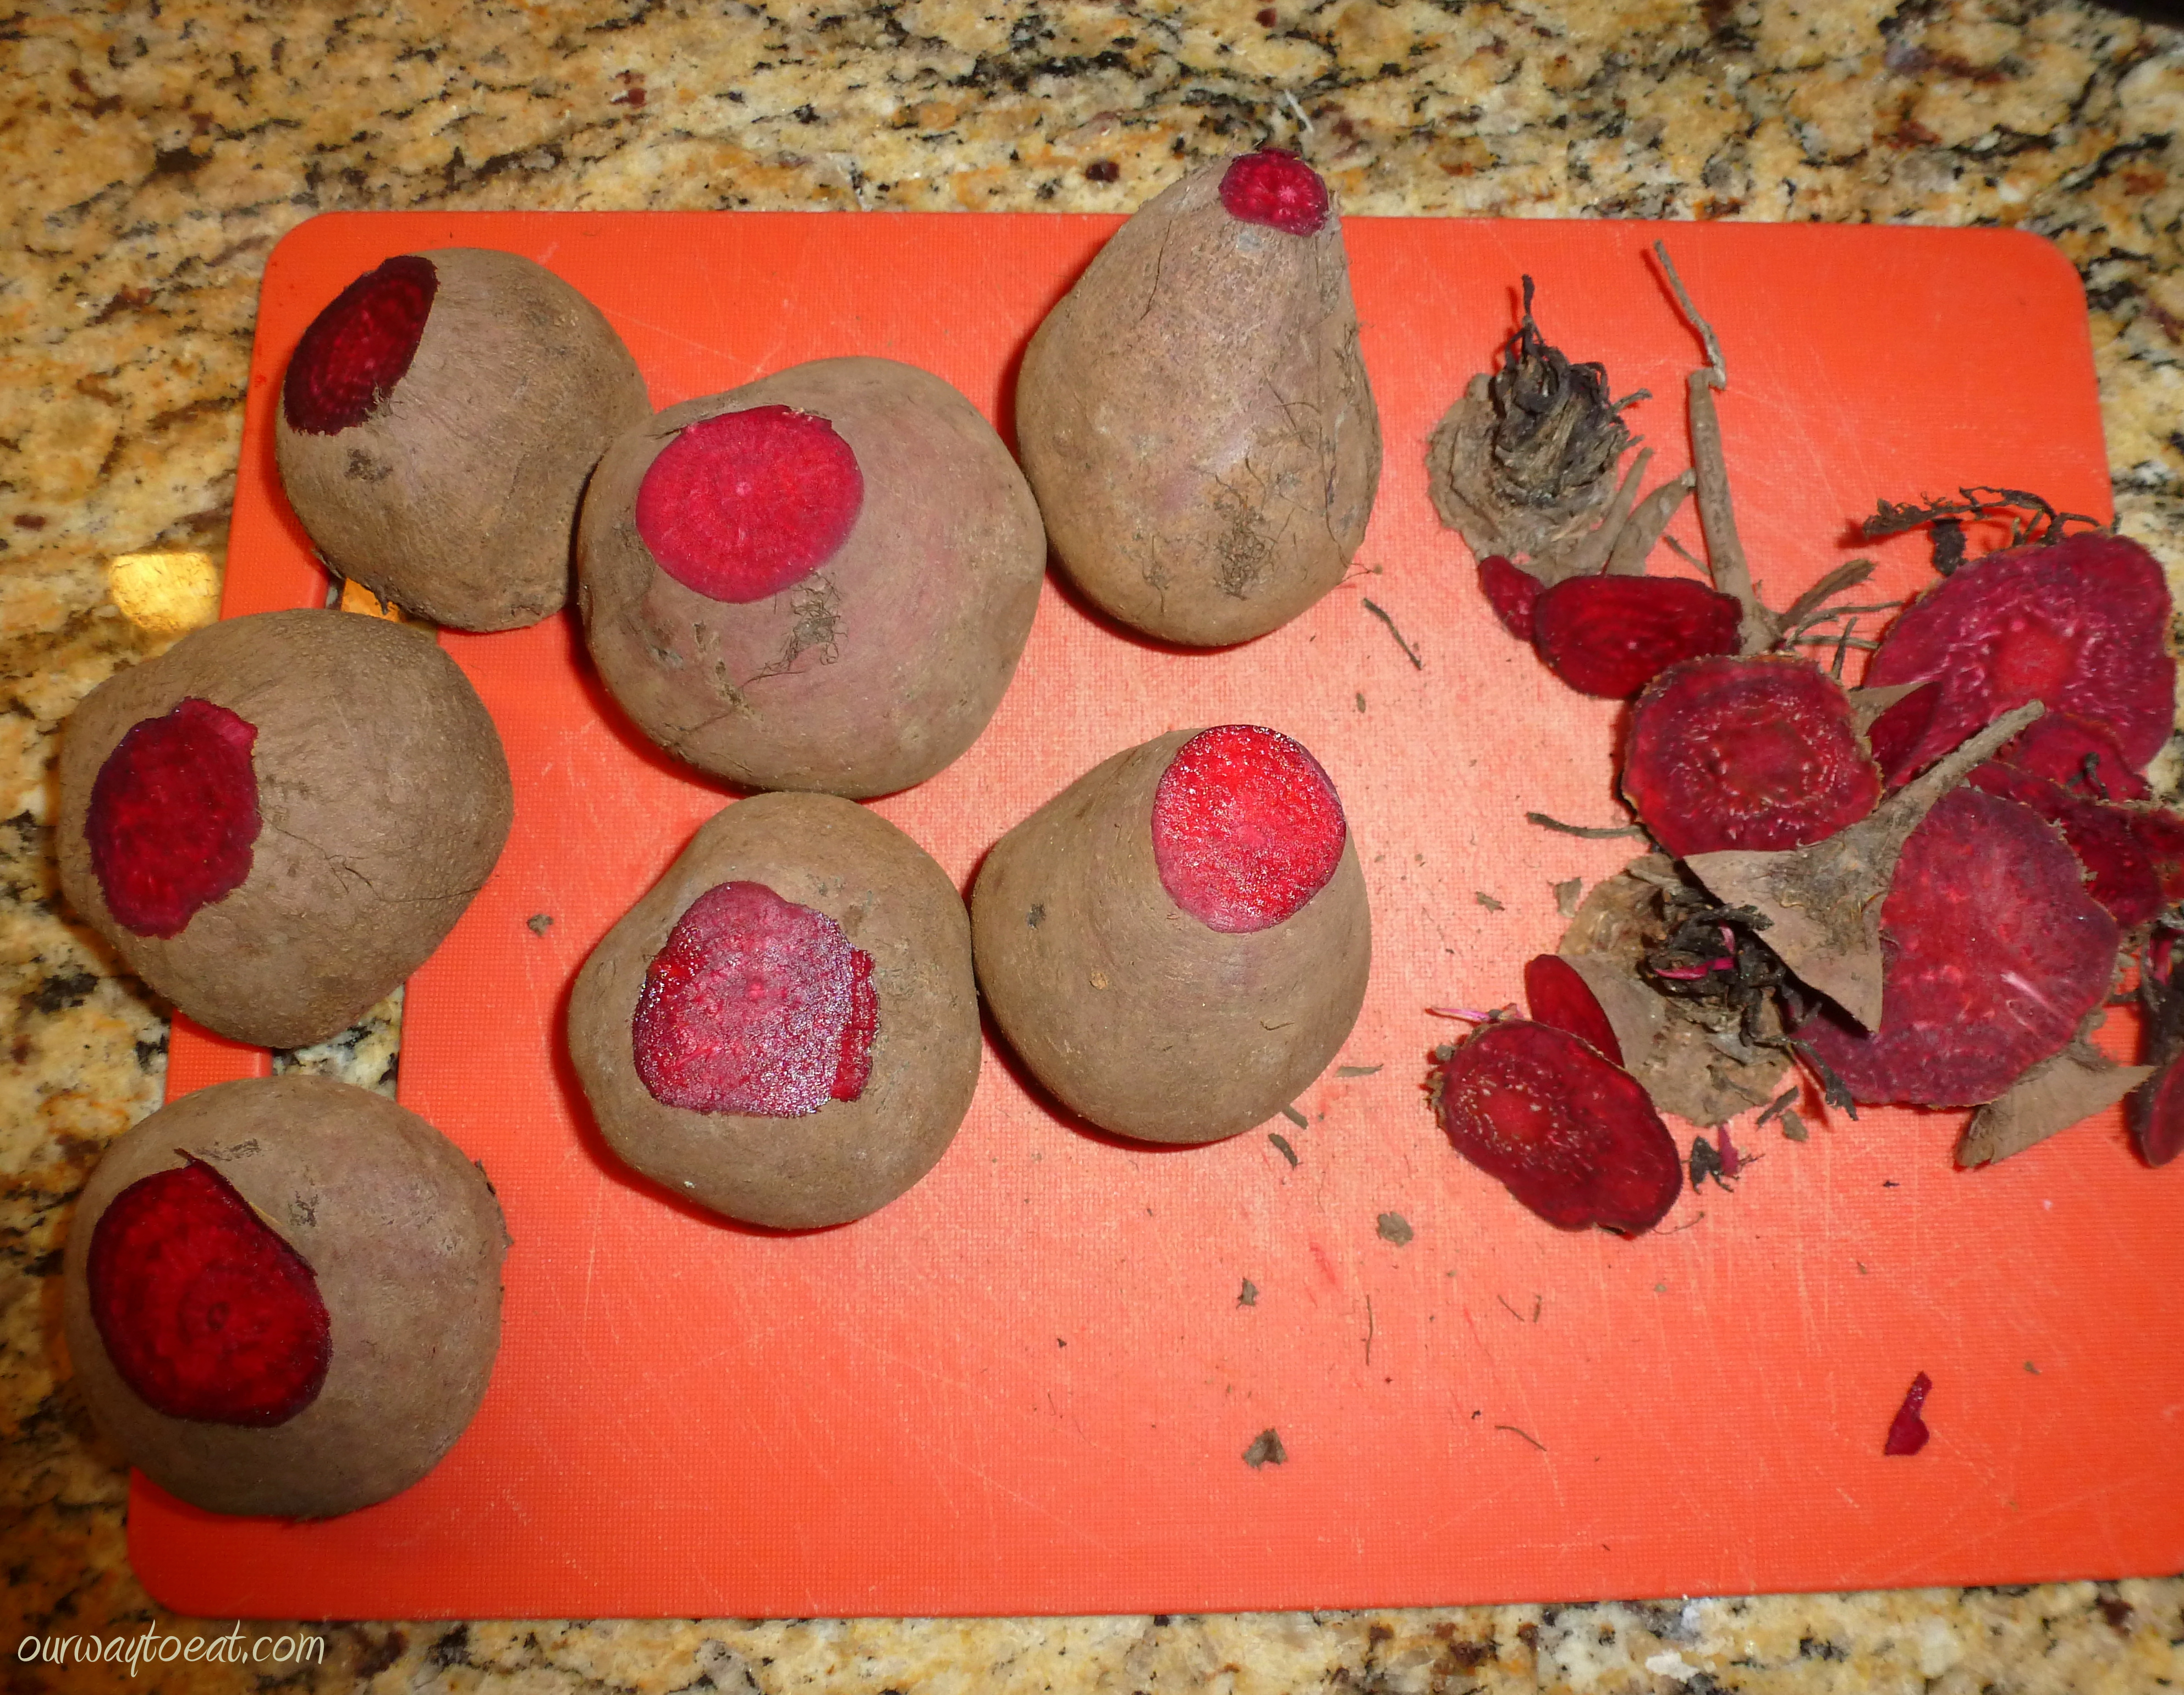 Roasted red beets are a good side dish to serve with perogies. So often I read recipes for roasting beets skin on and then slipping the skins off after they are roasted. I find this to be a messy way to nearly burn my fingertips and dye them pink. Instead, I peeled and sliced red beets before roasting them.
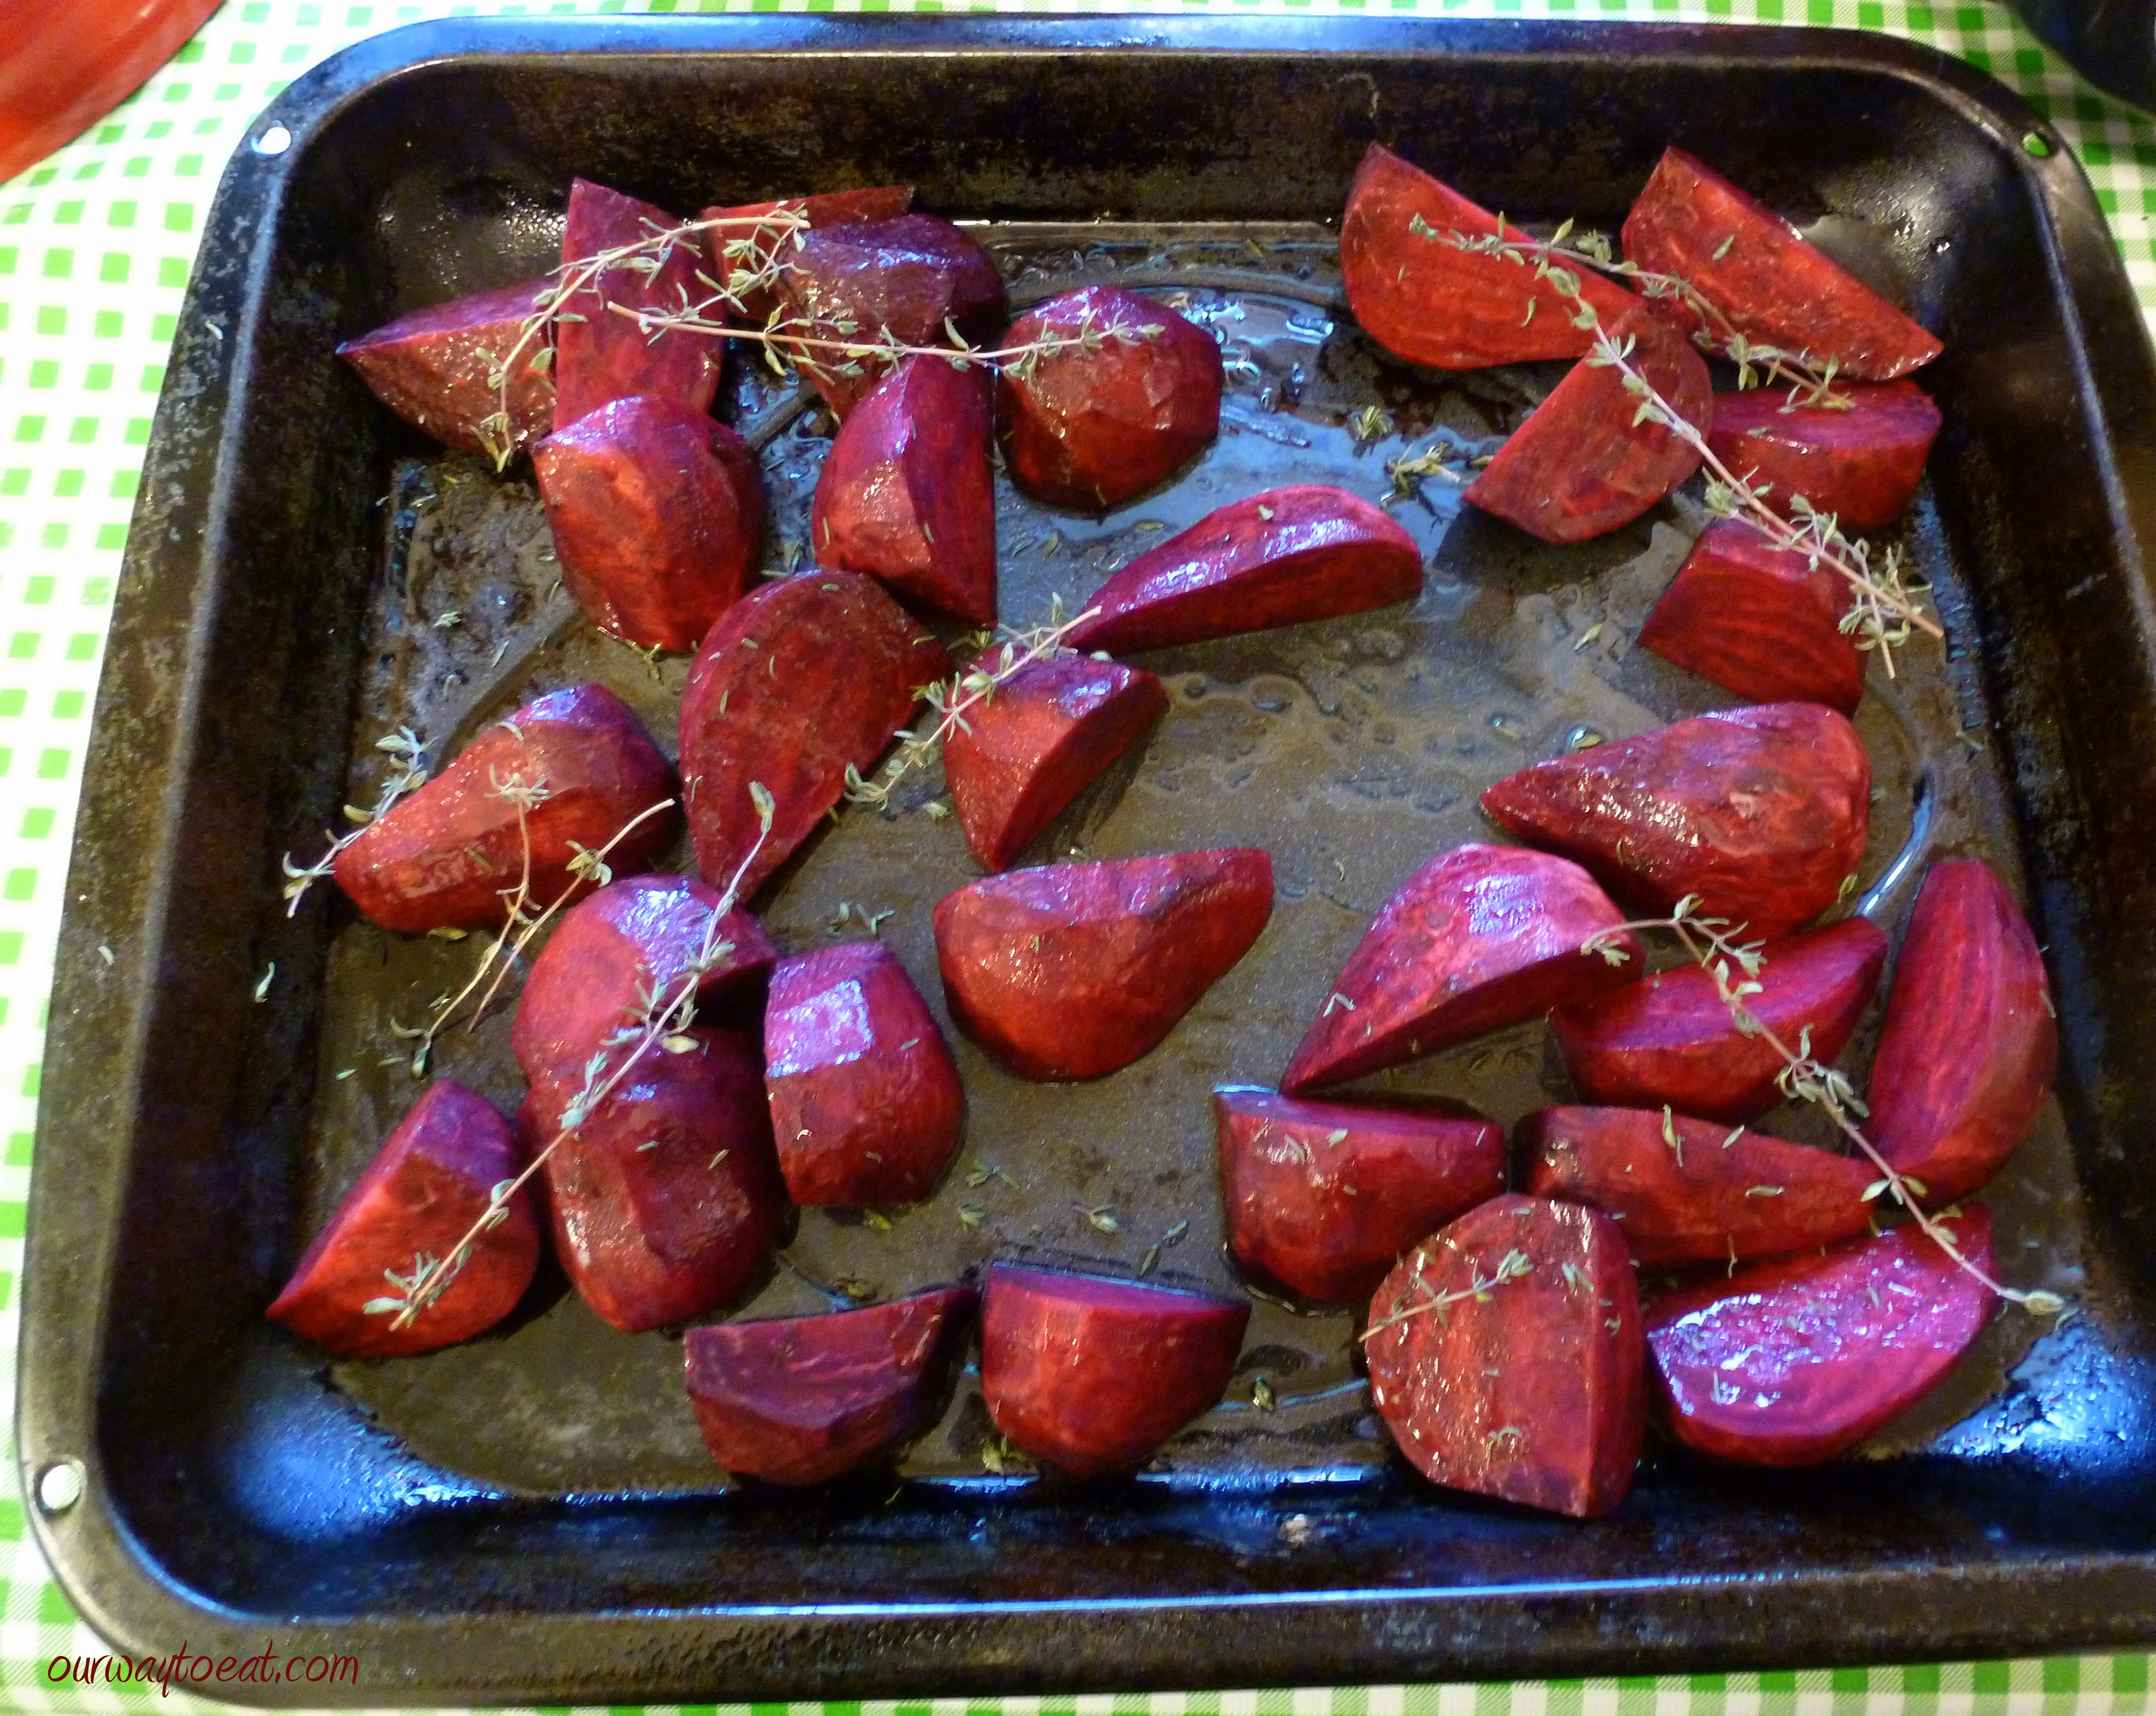 I coated them lightly in olive oil and sprinkled over some thyme from our garden that I saved and dried, and roasted the beets at 425 degrees for about 40 minutes.
I love the way roasting a vegetable with herbs deepens its flavor and intensifies its color. The aroma of roasting thyme is the inside-the-house equivalent to autumnal the scent of fallen leaves.
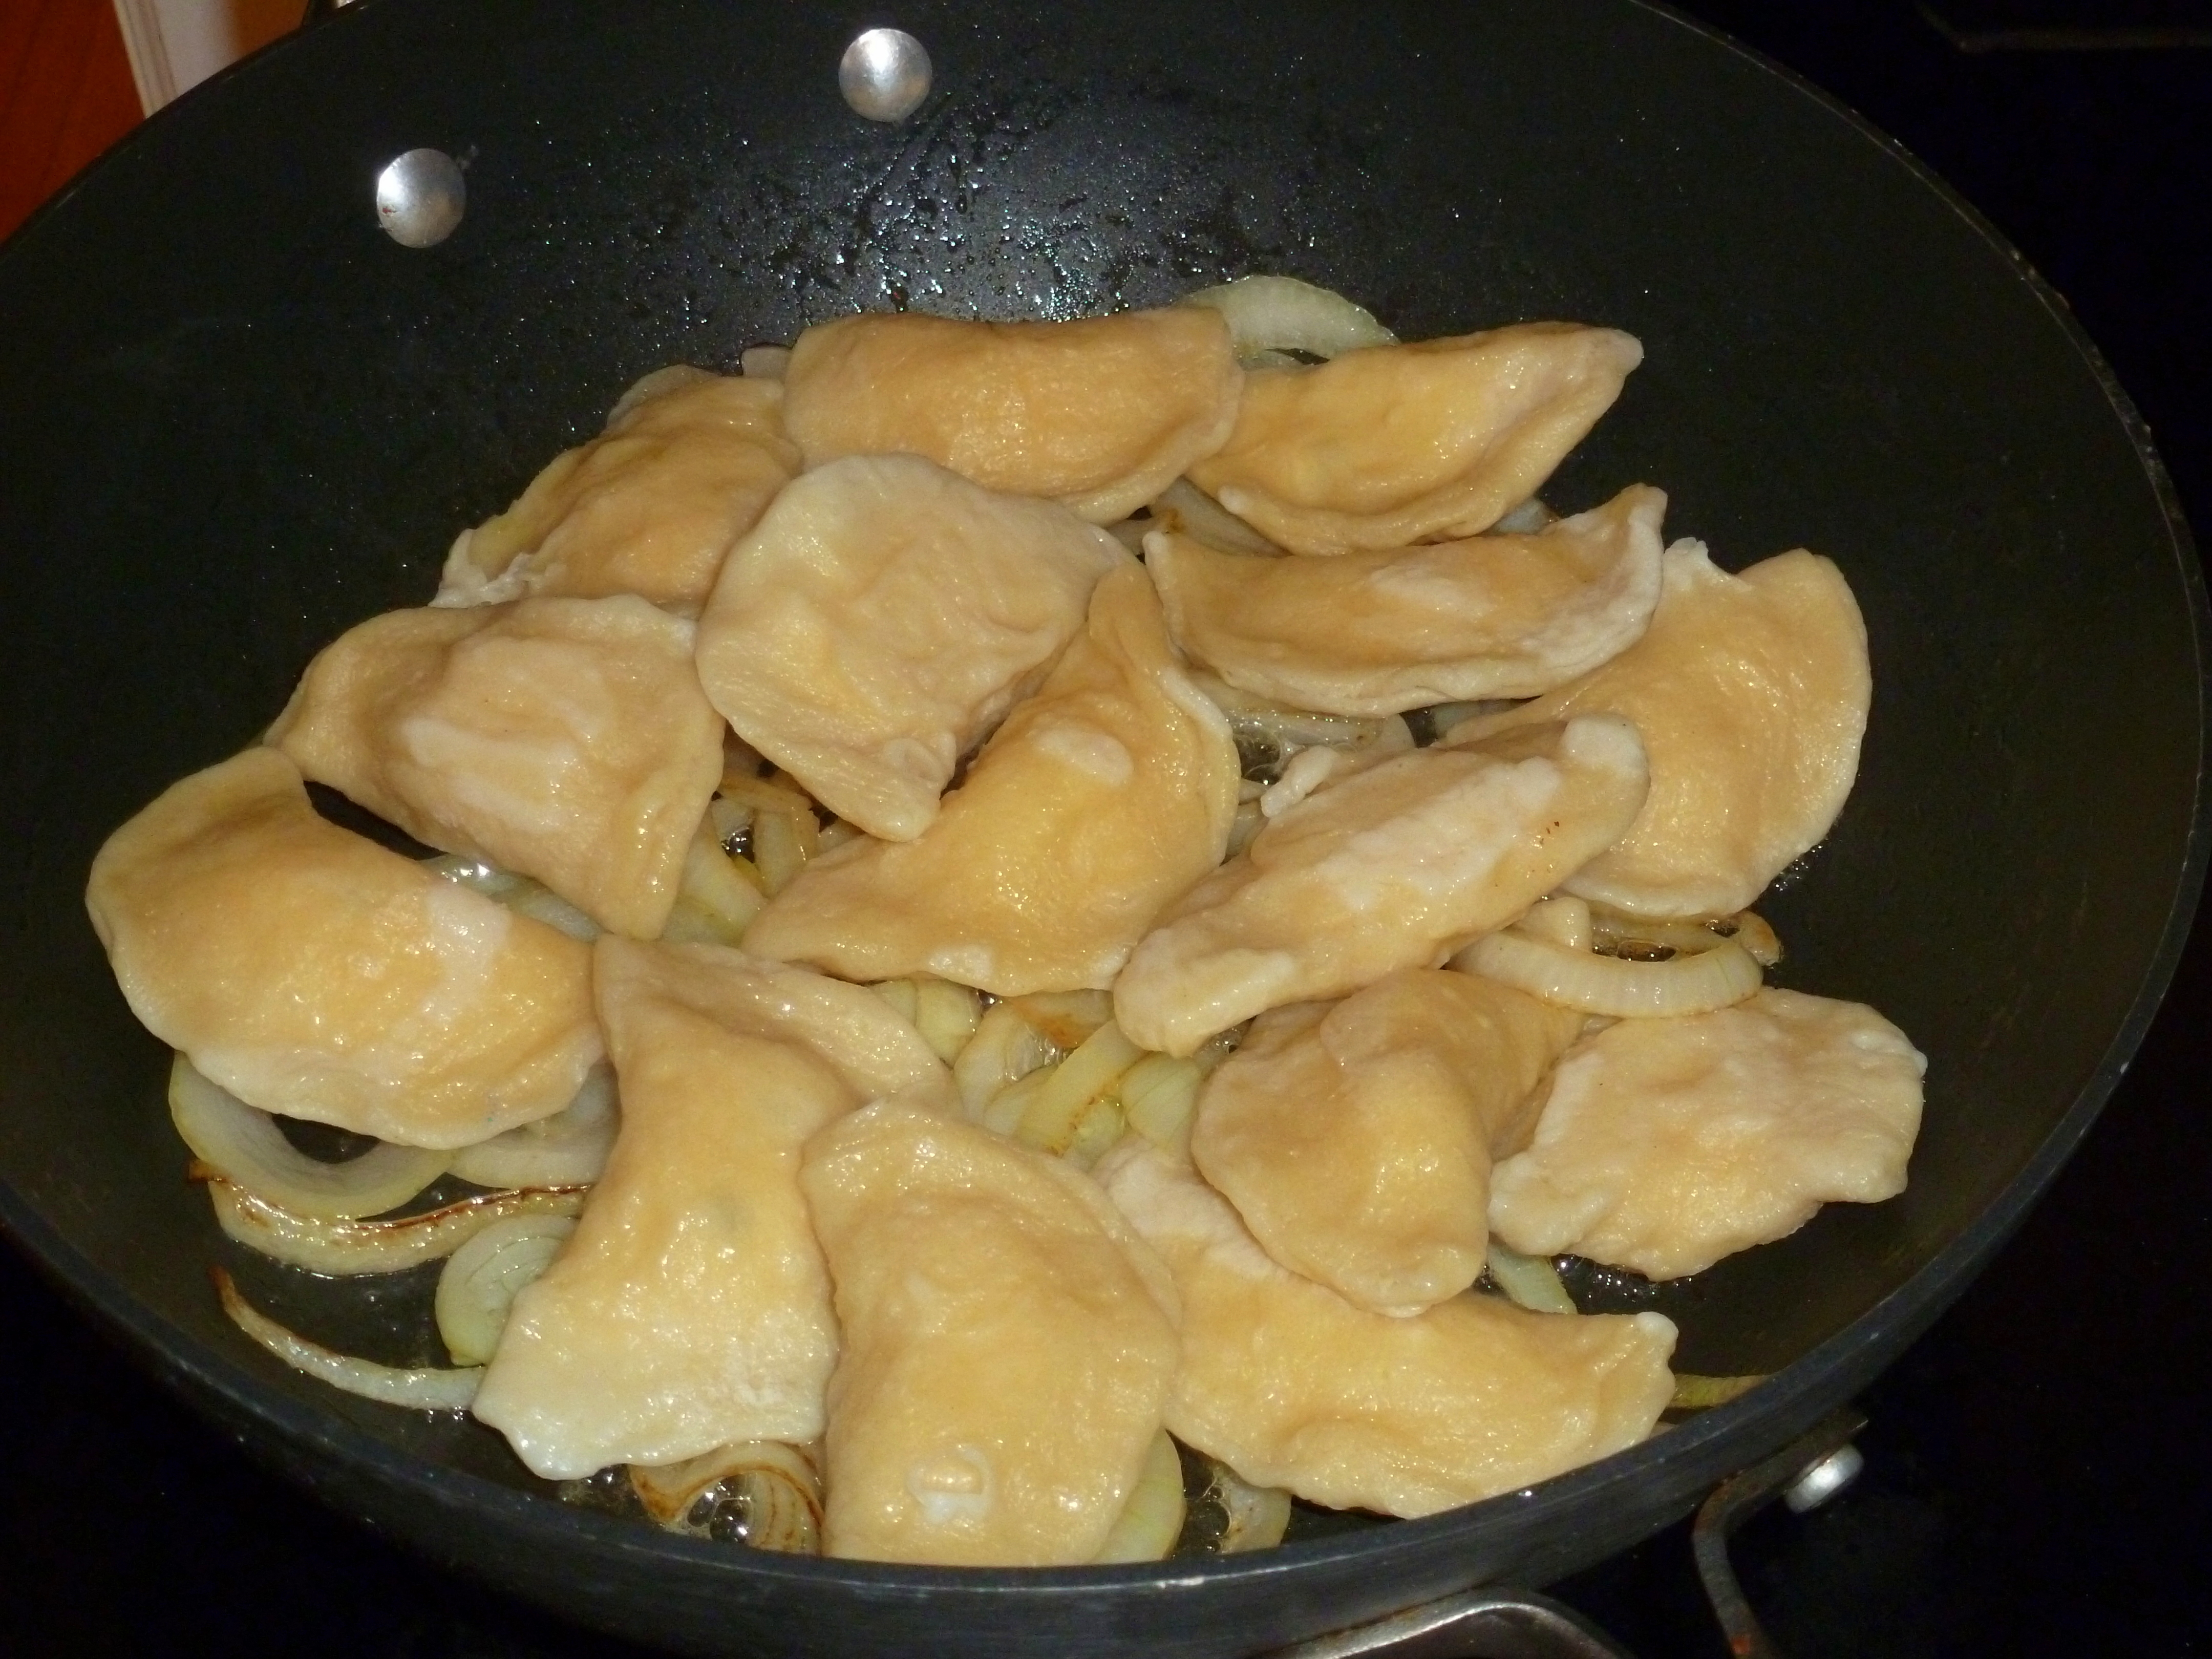 I fried our perogies in butter with sliced onions.
 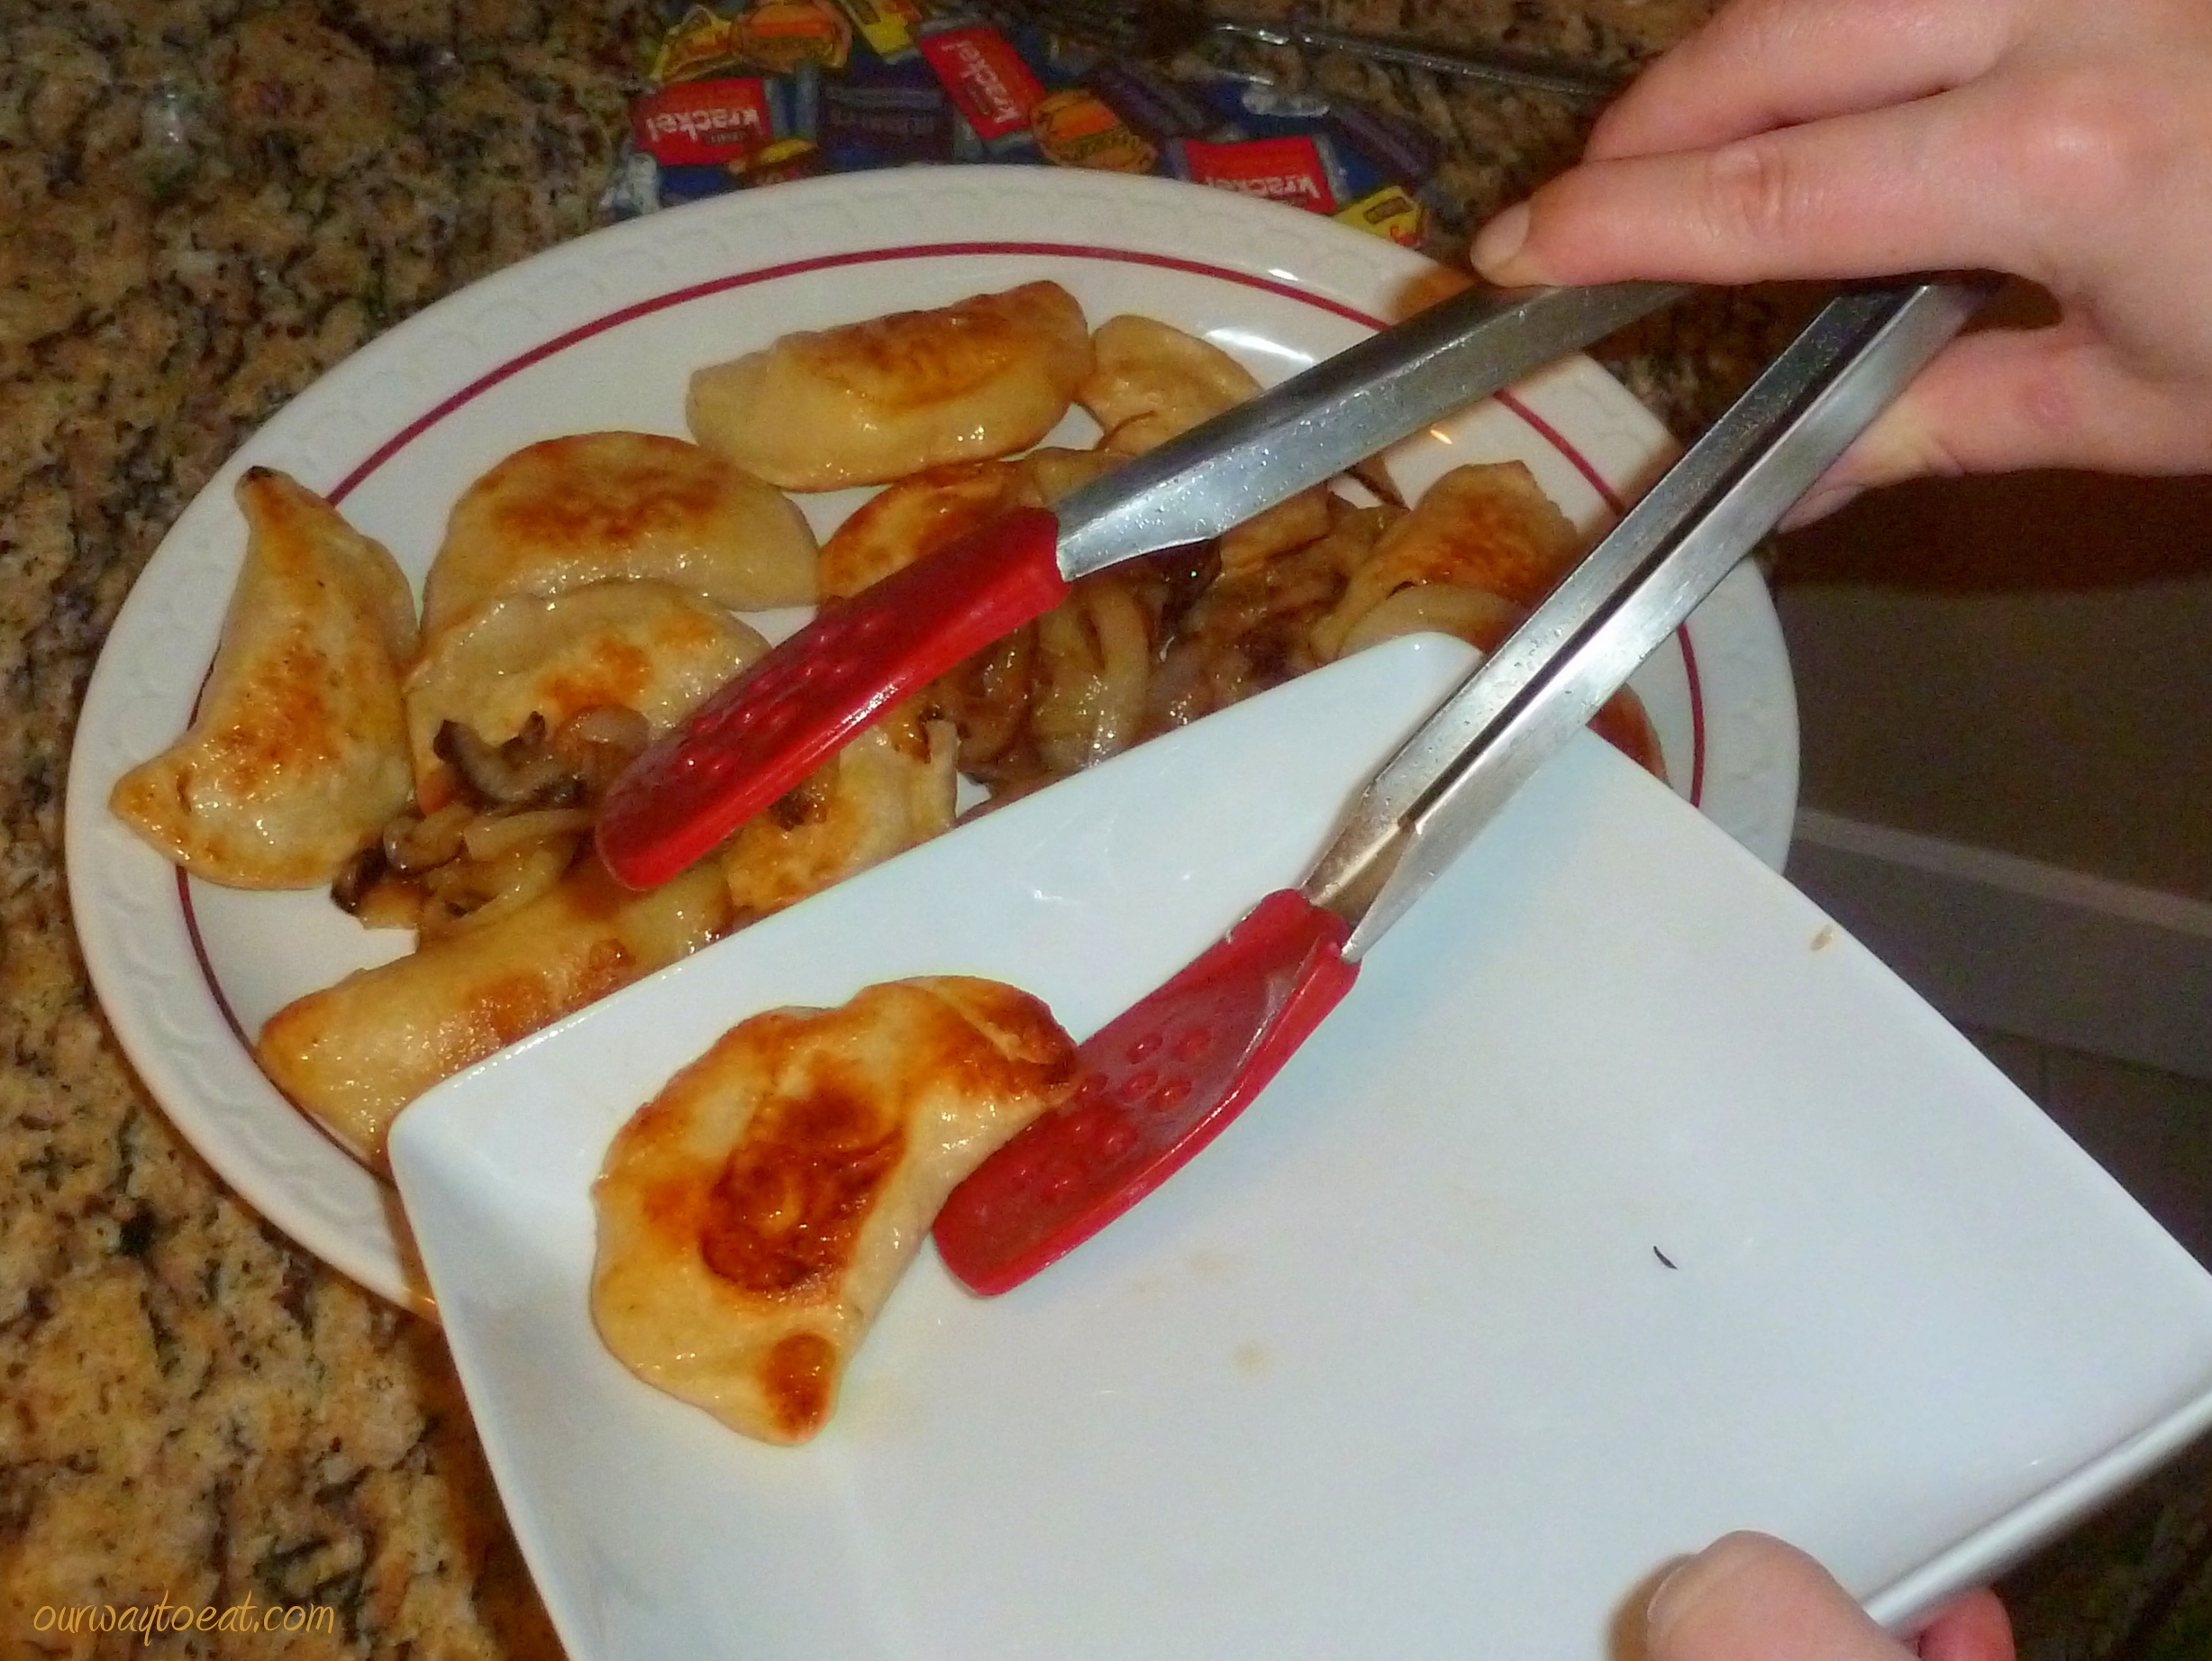 The results were exactly what we were hoping for– my perogies were homey, satisfying and so delicious that I could hardly believe I made them myself. The meal took me right home to Winnipeg, I will always be a North Ender at heart.
Cucumber Days
Take two, I had a few issues with my first post made from my Ipad, so I’ll try that again… 3 years into gardening, this is the first year we’ve had any success with cucumbers. This year, we are enjoying them regularly in salads, on tacos and most commonly sliced thin, perhaps peeled, and tossed into a bowl with cracked pepper, sliced purple or white onions, snipped fresh herbs, such as chives, flat-leaf parsley, or dill all soaked in white vinegar and a splash of water. This is a taste from childhood that I learned to love at my Grandma’s house, fresh from her garden. We are harvesting spicy Serrano and hot, citrusy Lemon Drop peppers every day. I have been chopping these and tossing them into the vinegar-water mixture. It mellows their bite enough to make them a perfect, punchy but palatable addition to the mix. I consider this sliced cucumber, onion, hot pepper and herb mixture a perfect summer side dish, snack, condiment and salad.
There are two schools of thought on the ubiquitous sliced cucumber side dish, one vinegary, like mine, and the other, a creamy version made with sour cream. Check out this recipe for the creamy version of sliced cukes on Deucecities Henhouse, a favorite Twin Cities based blog haunt of mine.
Watching the cukes grow has been almost as much fun as eating them. Ours are growing in all sorts of unconventional shapes. I spend time every week tying tomato plants to chicken wire and winding twine around bamboo poles to support green beans, peppers and peas. Cucumber vines take the initiative of sending out tendrils that stretch out until they find other plants and structures nearby, then curling the tendrils tightly around so they hang tight. Cucumbers are fully capable of supporting themselves.
The Summer Sandwich // Simple Dining, Al Fresco
 This post is one part ode to one of my favor summer meals and one part cautionary tale. I figure that this blog is about my life, including some of the great meals in it, so I will start with a brief account the day when I spent inadvertently spent $17.72 on 0.57 lbs of cheese. [Oopsie.]
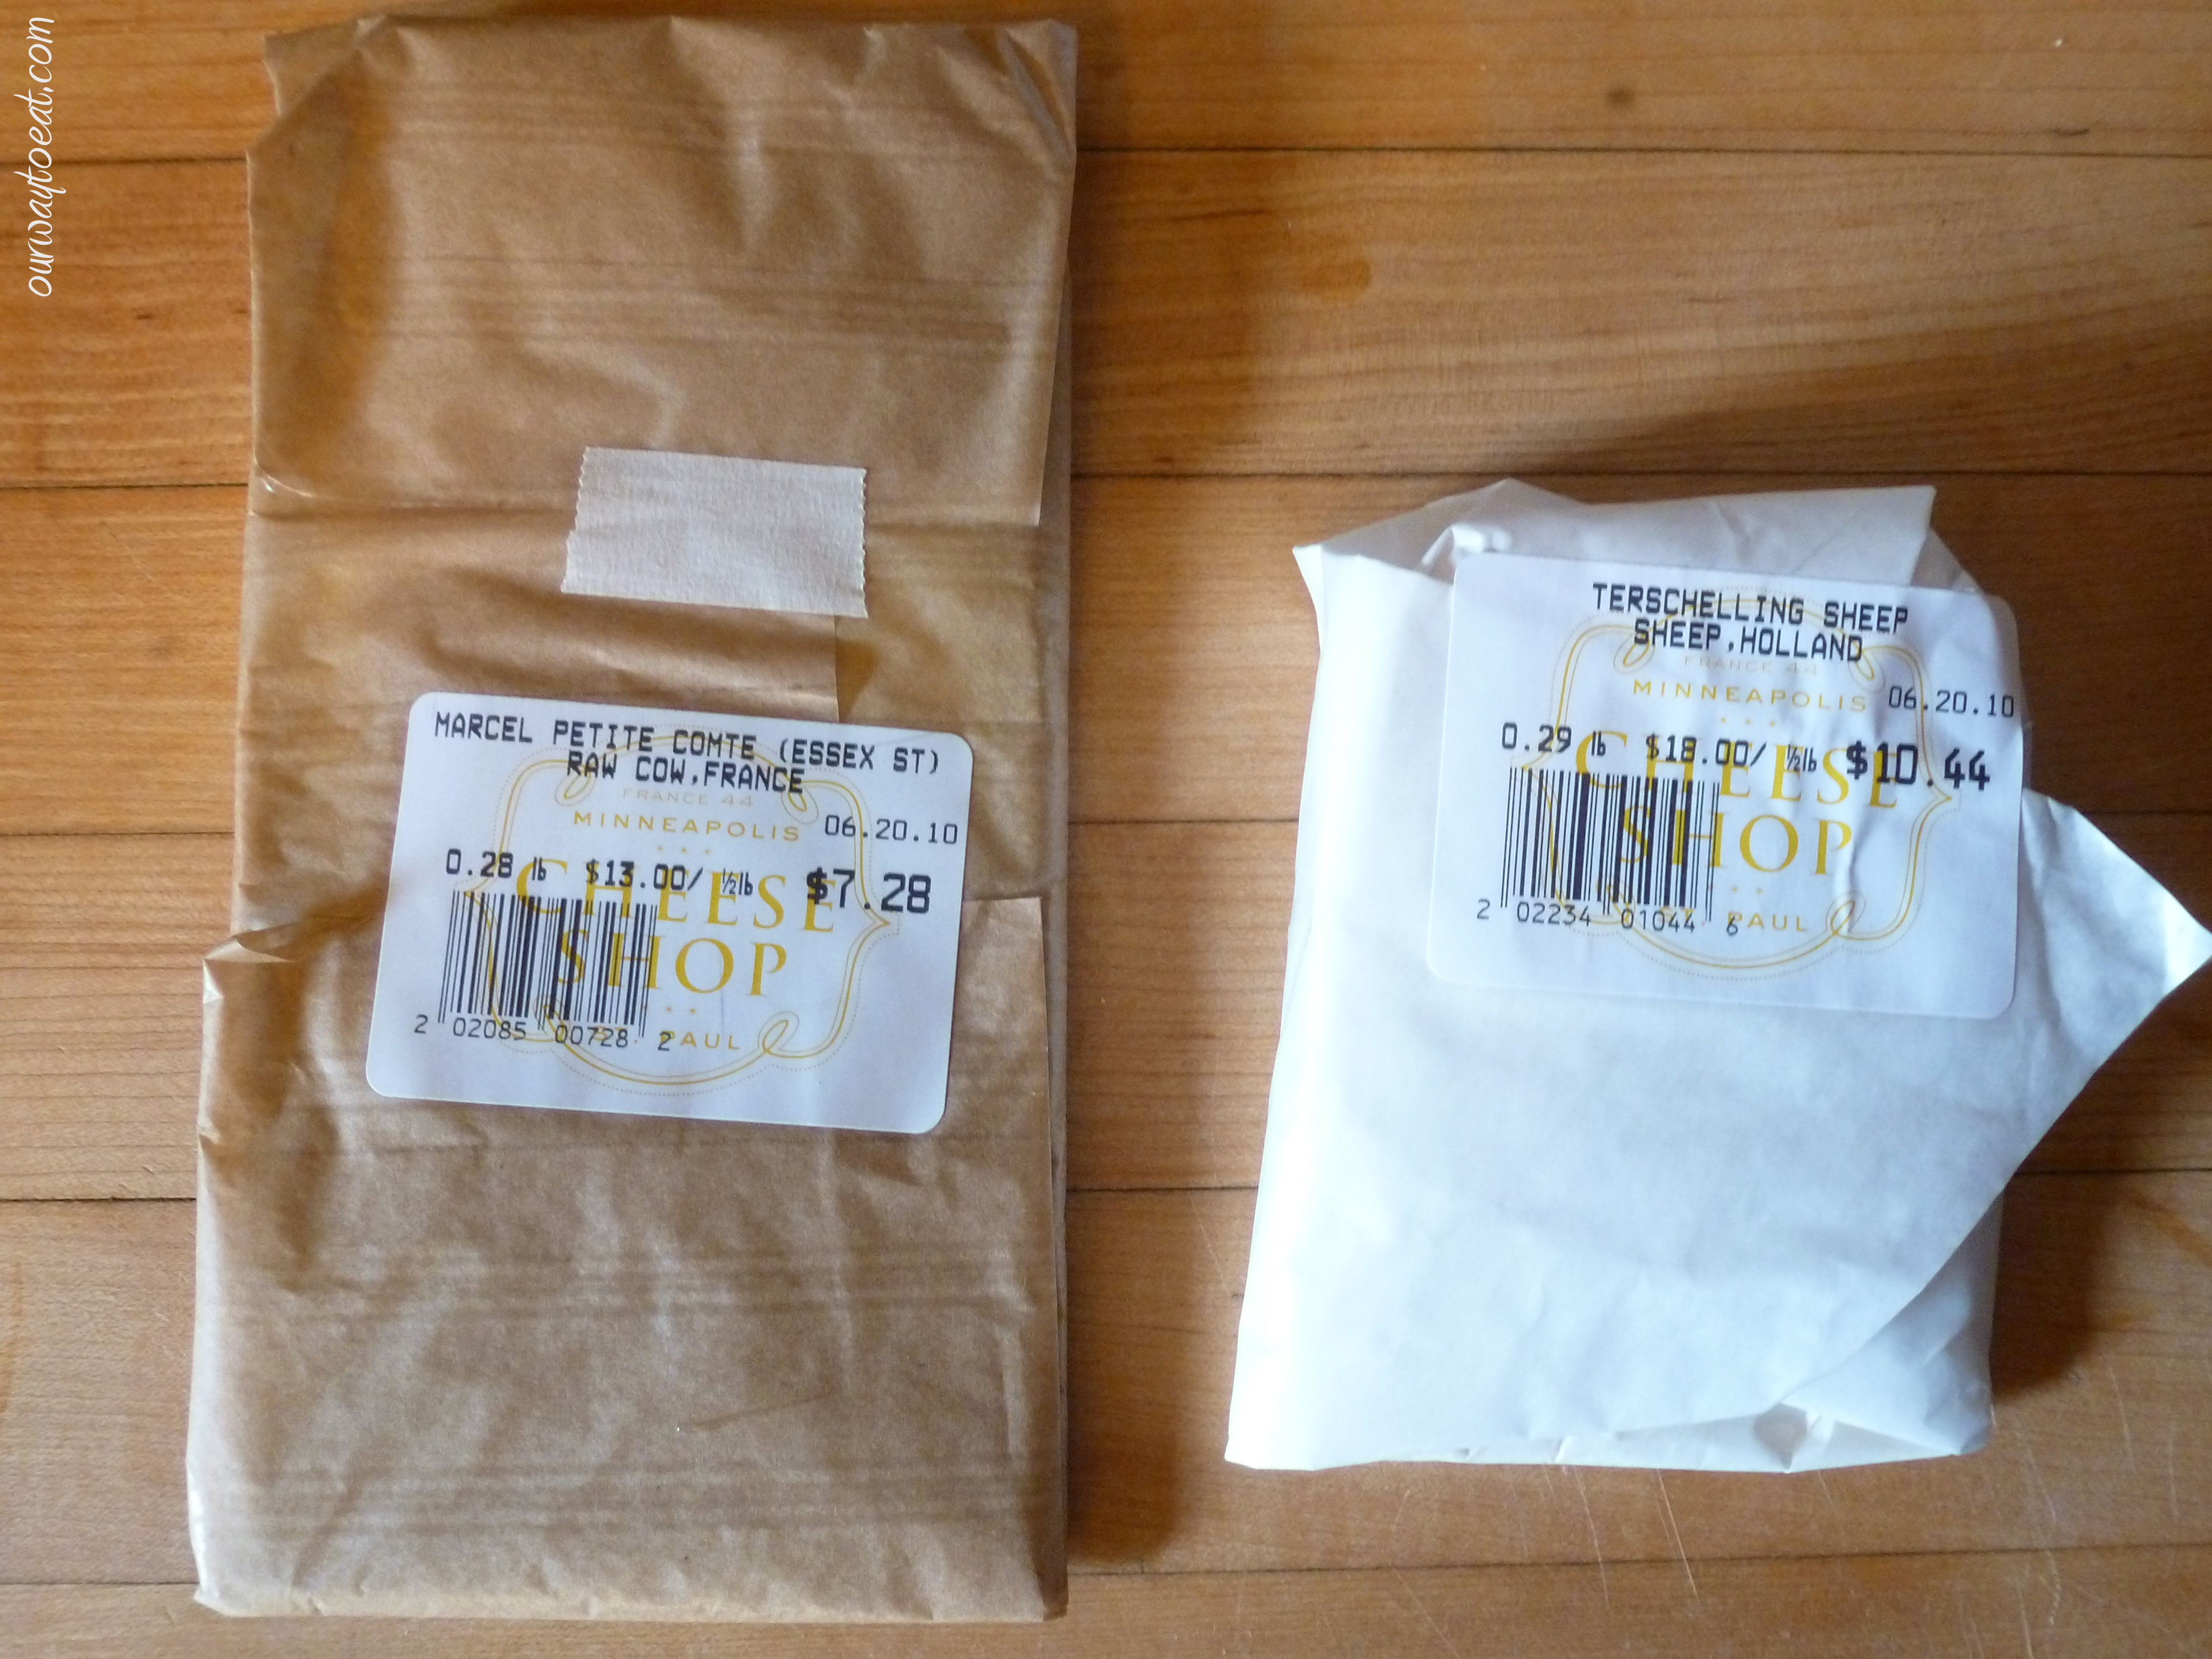
It was a typical Saturday morning. We started our day at the Saint Paul Farmer’s Market. I determined my mission that day was to purchase the components of a summer sandwich for our lunch. At the time, our garden still had a few weeks to go before it would have much to offer us. I bought vegetables, bread, and then we left the market and looped our way up Grand Avenue to the Saint Paul Cheese Shop. That place is pretty neat. Sampling is encouraged, so we tasted several paper-thin wisps of cheese the cheesemonger shaved neatly off of several wheels of cheese and dropped into our extended hands from the forked tip of the blade of his cheese knife. I let my guard down. It is atypical for me to make a mindless splurge without glancing at the price per half pound. I was in a cheese-induced stupor when I asked for a small wedge of Marcel Petite Comte raw cow’s milk cheese from France, and a wedge of Terchelling Sheep’s milk cheese from Holland. I’m sure there are people who routinely spend far more than this on cheese in any given week. I’m not knocking it and I might do it again at some point. The difference will be that I do it intentionally. As a consolation, at least the cheese was very, very good.
Whew. Now that I’ve made that confession to my friends and readers, let’s make a sandwich! A Summer Sandwich is quite simply a sandwich with any combination of meat or vegetarian meat substitute, seasonal vegetables, cheese and sandwich spreads piled on top of nice bread. 
I sliced a grainy loaf of bread and served the bread and cheese with our own cheese knives on wooden cutting boards. We eat most of our meals al fresco on our patio. It has been 90+ degrees farenheit there lately, but it is still very pleasant in the shade of a Maple Tree canopy.
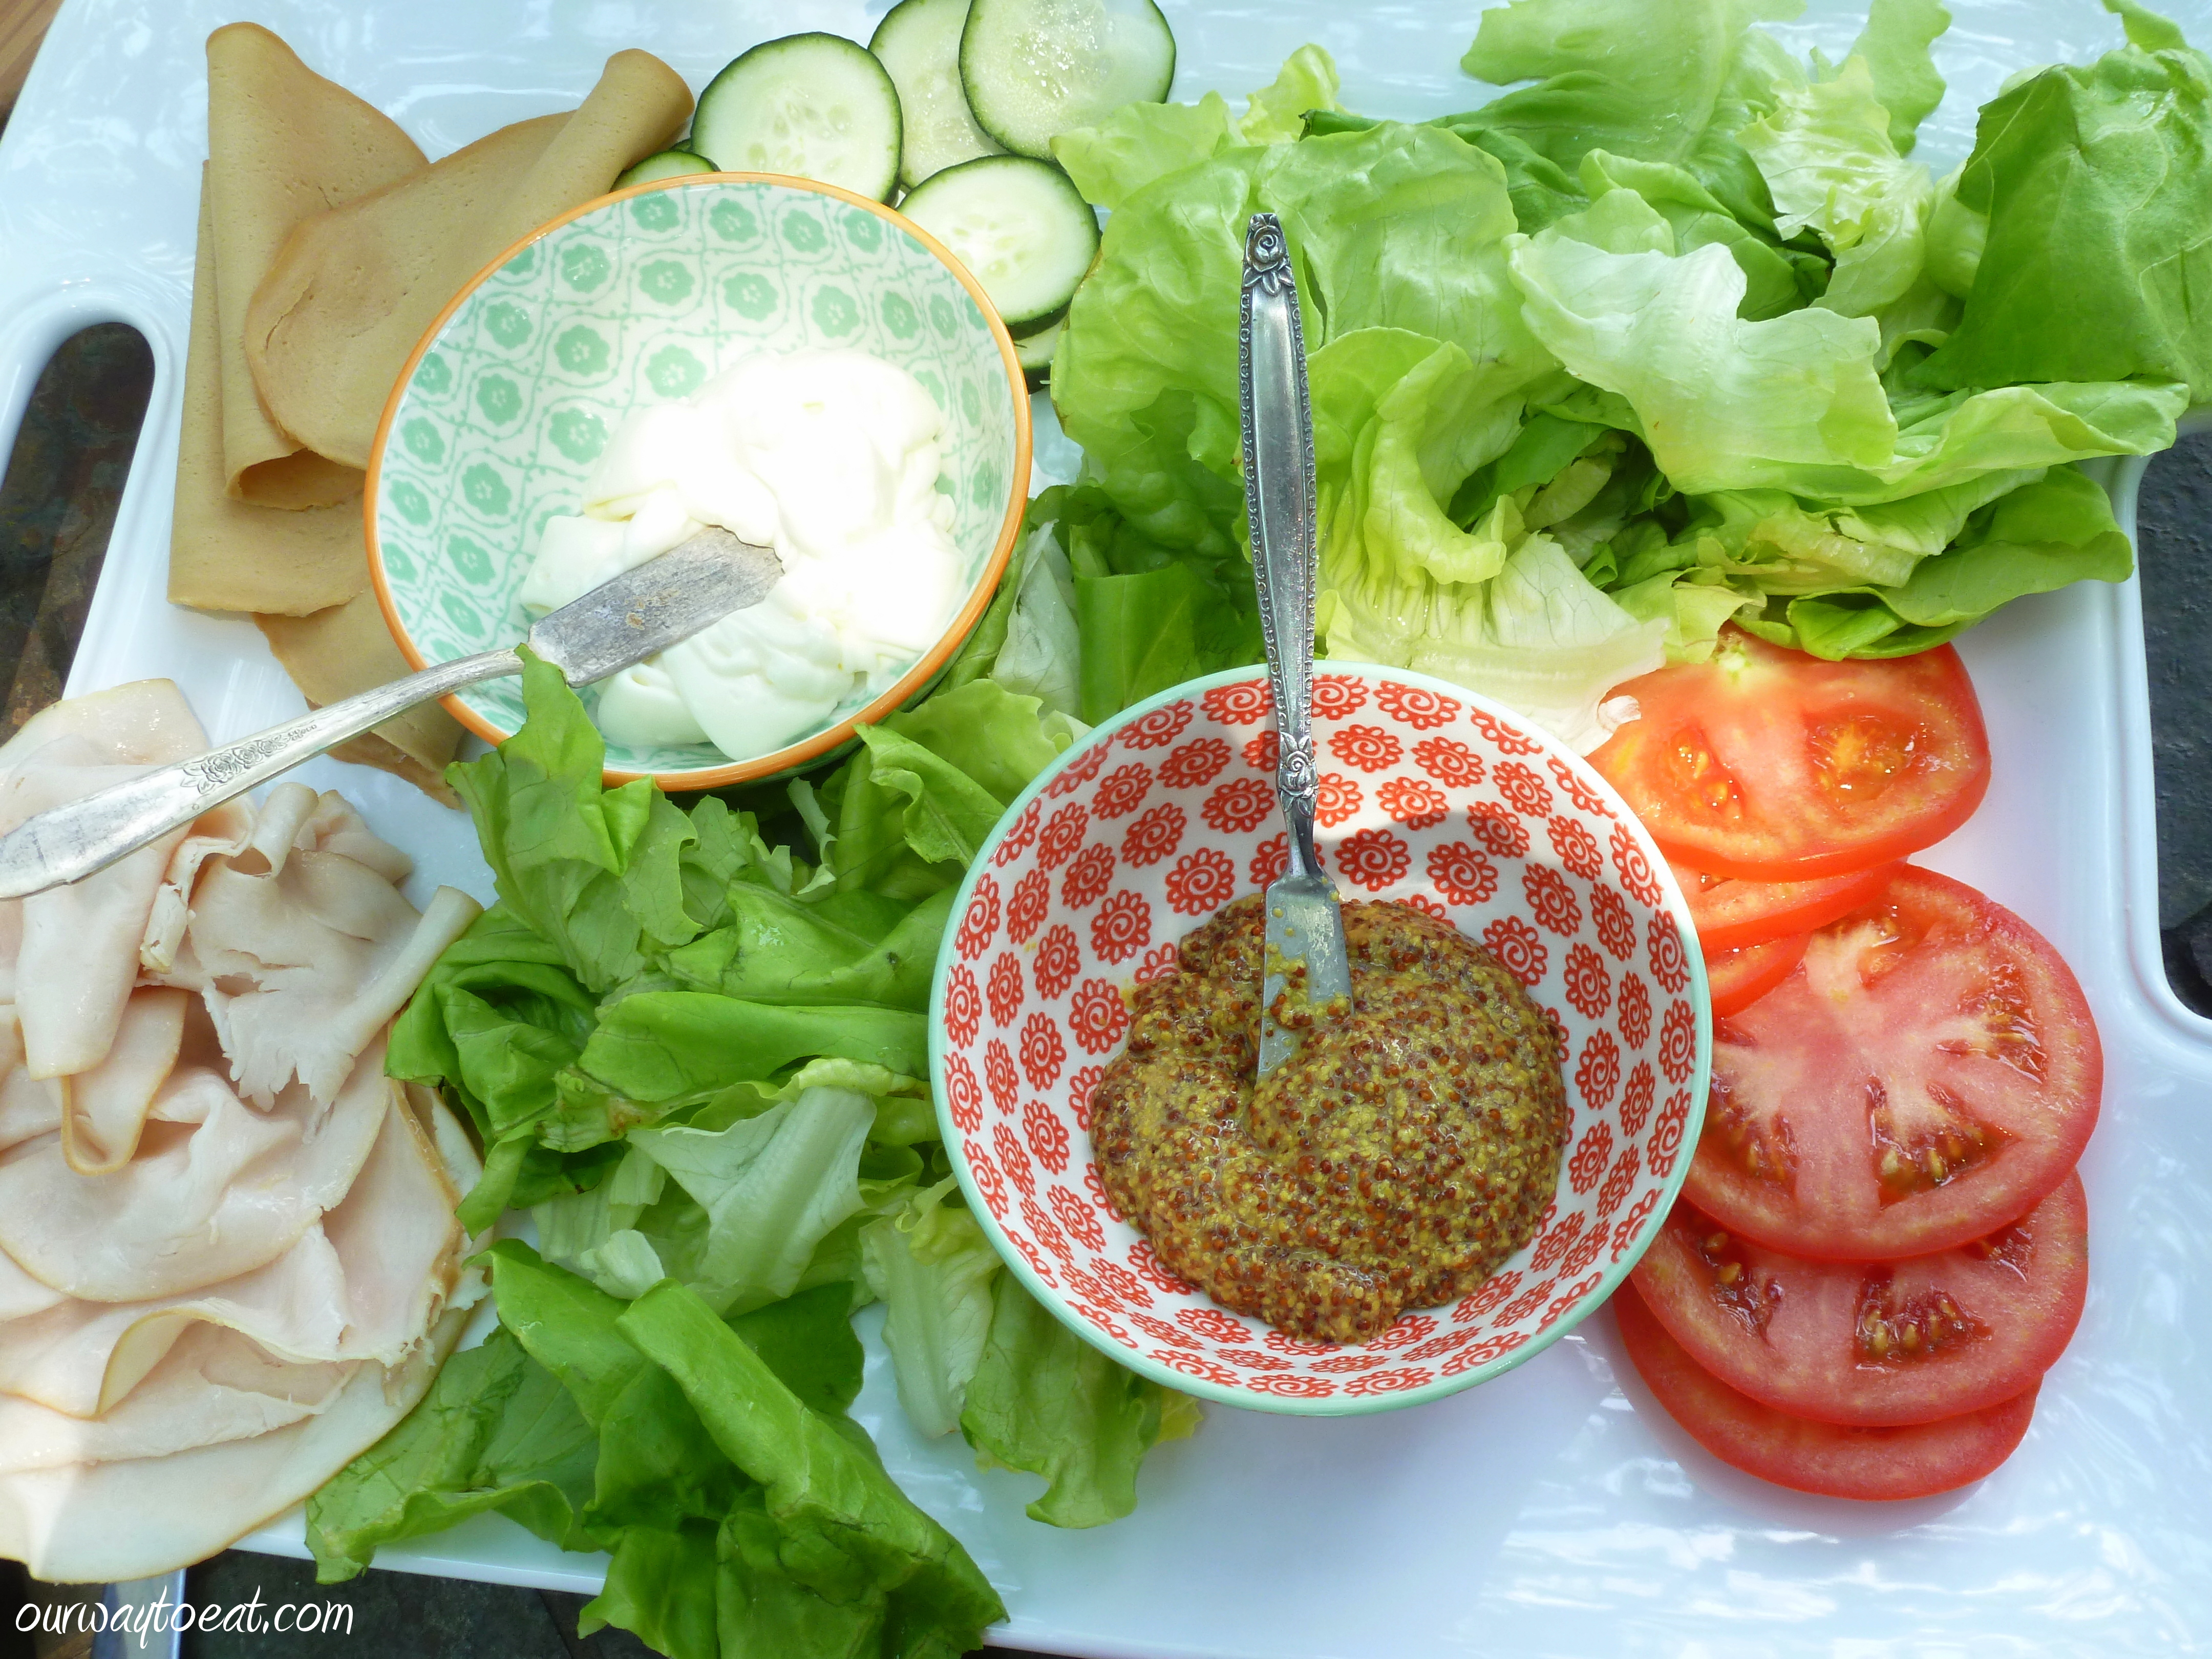
I filled a platter with sliced cucumber and tomato, garden lettuces, piles of deli turkey and tofurky, along with bowls of mayonnaise and grainy dijon mustard, and placed salt and pepper shakers on the table. The secret to the perfect summer sandwich is bringing out whatever looks good and fresh, and let each person assemble the sandwich they desire. 
If Freud were here, he’d say, “a sandwich is never just a sandwich.” It is the meal I ate on pebble beaches out of a cooler with my parents camping in Door County, Wisconsin in grade four. It is the BLT’s that beckoned numerous cousins, Uncles and Aunts to my Grandma’s farm house every July when the tomatoes were all ripe at once. It is the meal of lettuce, ham, turkey, tomato and cheese sandwiches on good sandwich bread that we shared with friends from Edmonton, Winnipeg, Saint Paul and Minneapolis on a lakeshore in Northern Minnesota after a long, hot day on the lake last year over the 4th of July long weekend. It is the halved baguettes piled with cheese, sliced tomato and a pile of pršut [for the meat eaters] that we ate on a secluded pebble beach a few months ago in Croatia. 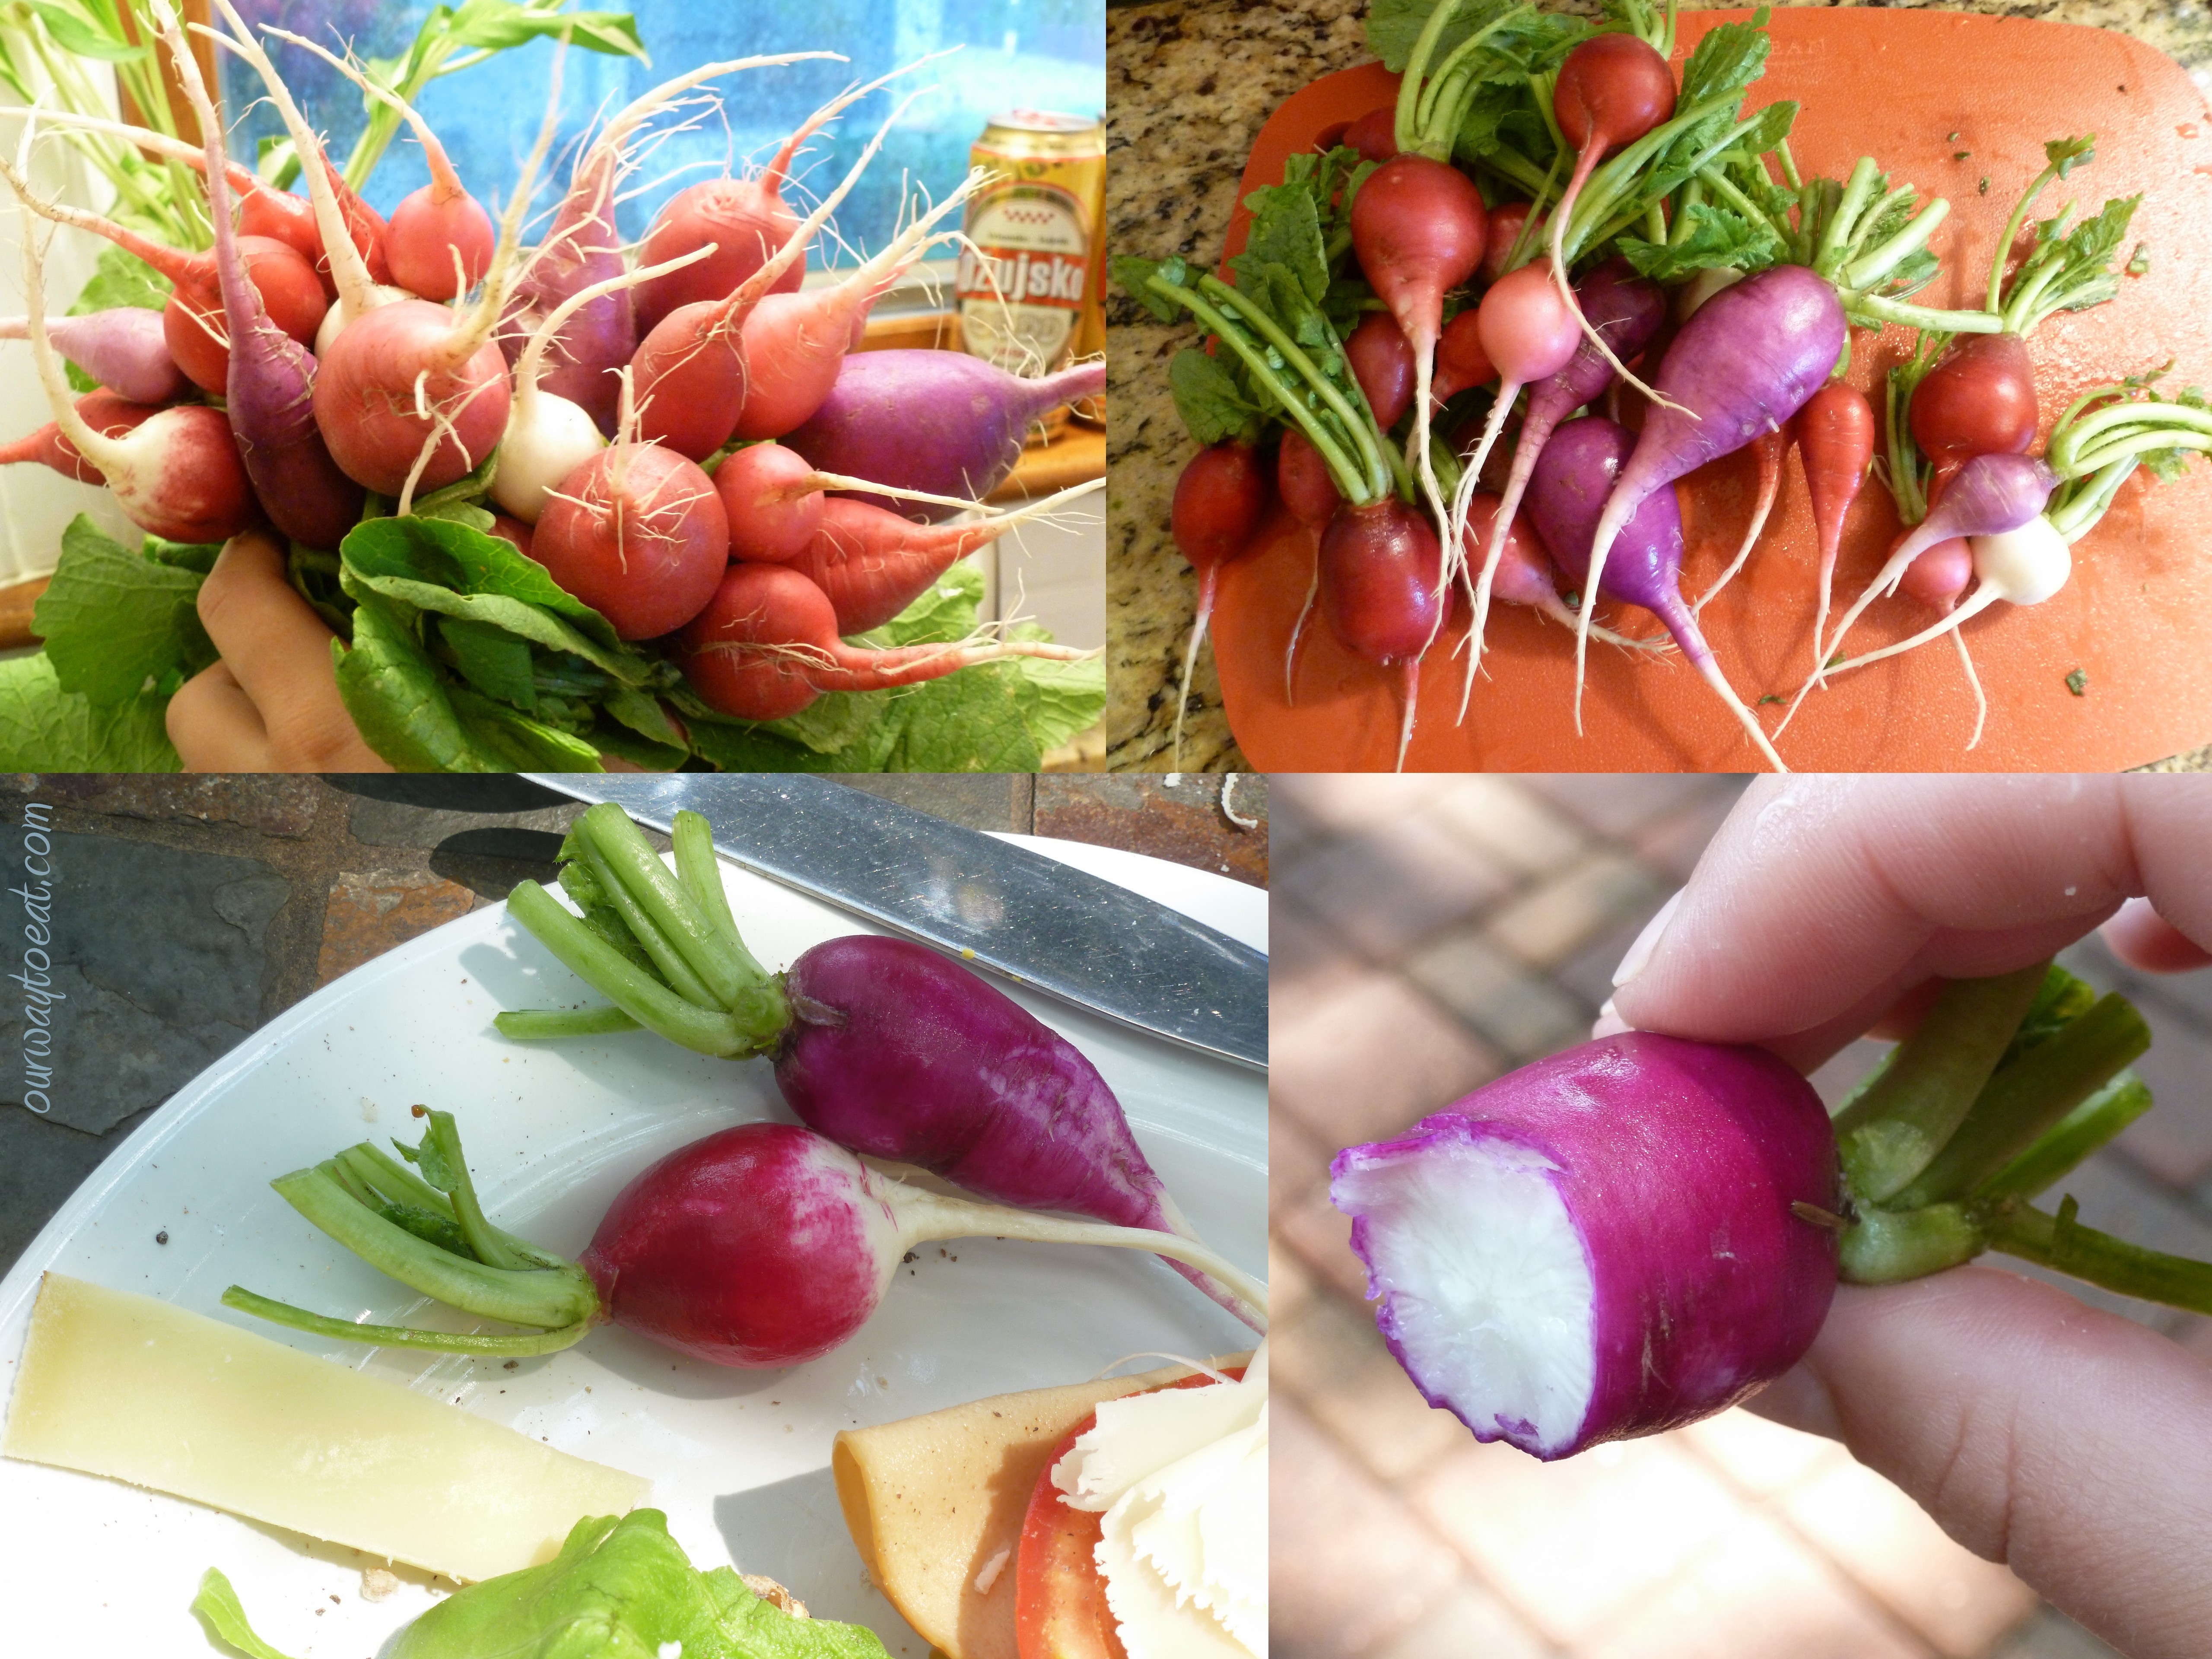
What is one to serve on the side? Well, nothing—any decent summer sandwich is in itself, a square meal. Or, if the mood strikes, some salty-crunchy potato chips, leftover potato salad out of the fridge, deviled eggs or summer fruit would all be the perfect compliment. On this particular day we rounded out our plates with bright, rainbow radishes that were too pretty to slice or even to remove the stem. Sure, they could have been thinly sliced and piled on the sandwich, but they were refreshing, spicy perfection and a visual treat perched on the side our plates. 
A Summer Sandwich is simple perfection. No matter what fresh fixings are available, where you are, or what time it is, a sandwich satisfies hunger. A sandwich feeds a crowd with varied tastes, comes together easily and is a perfect meal to eat outdoors on a hot July day. 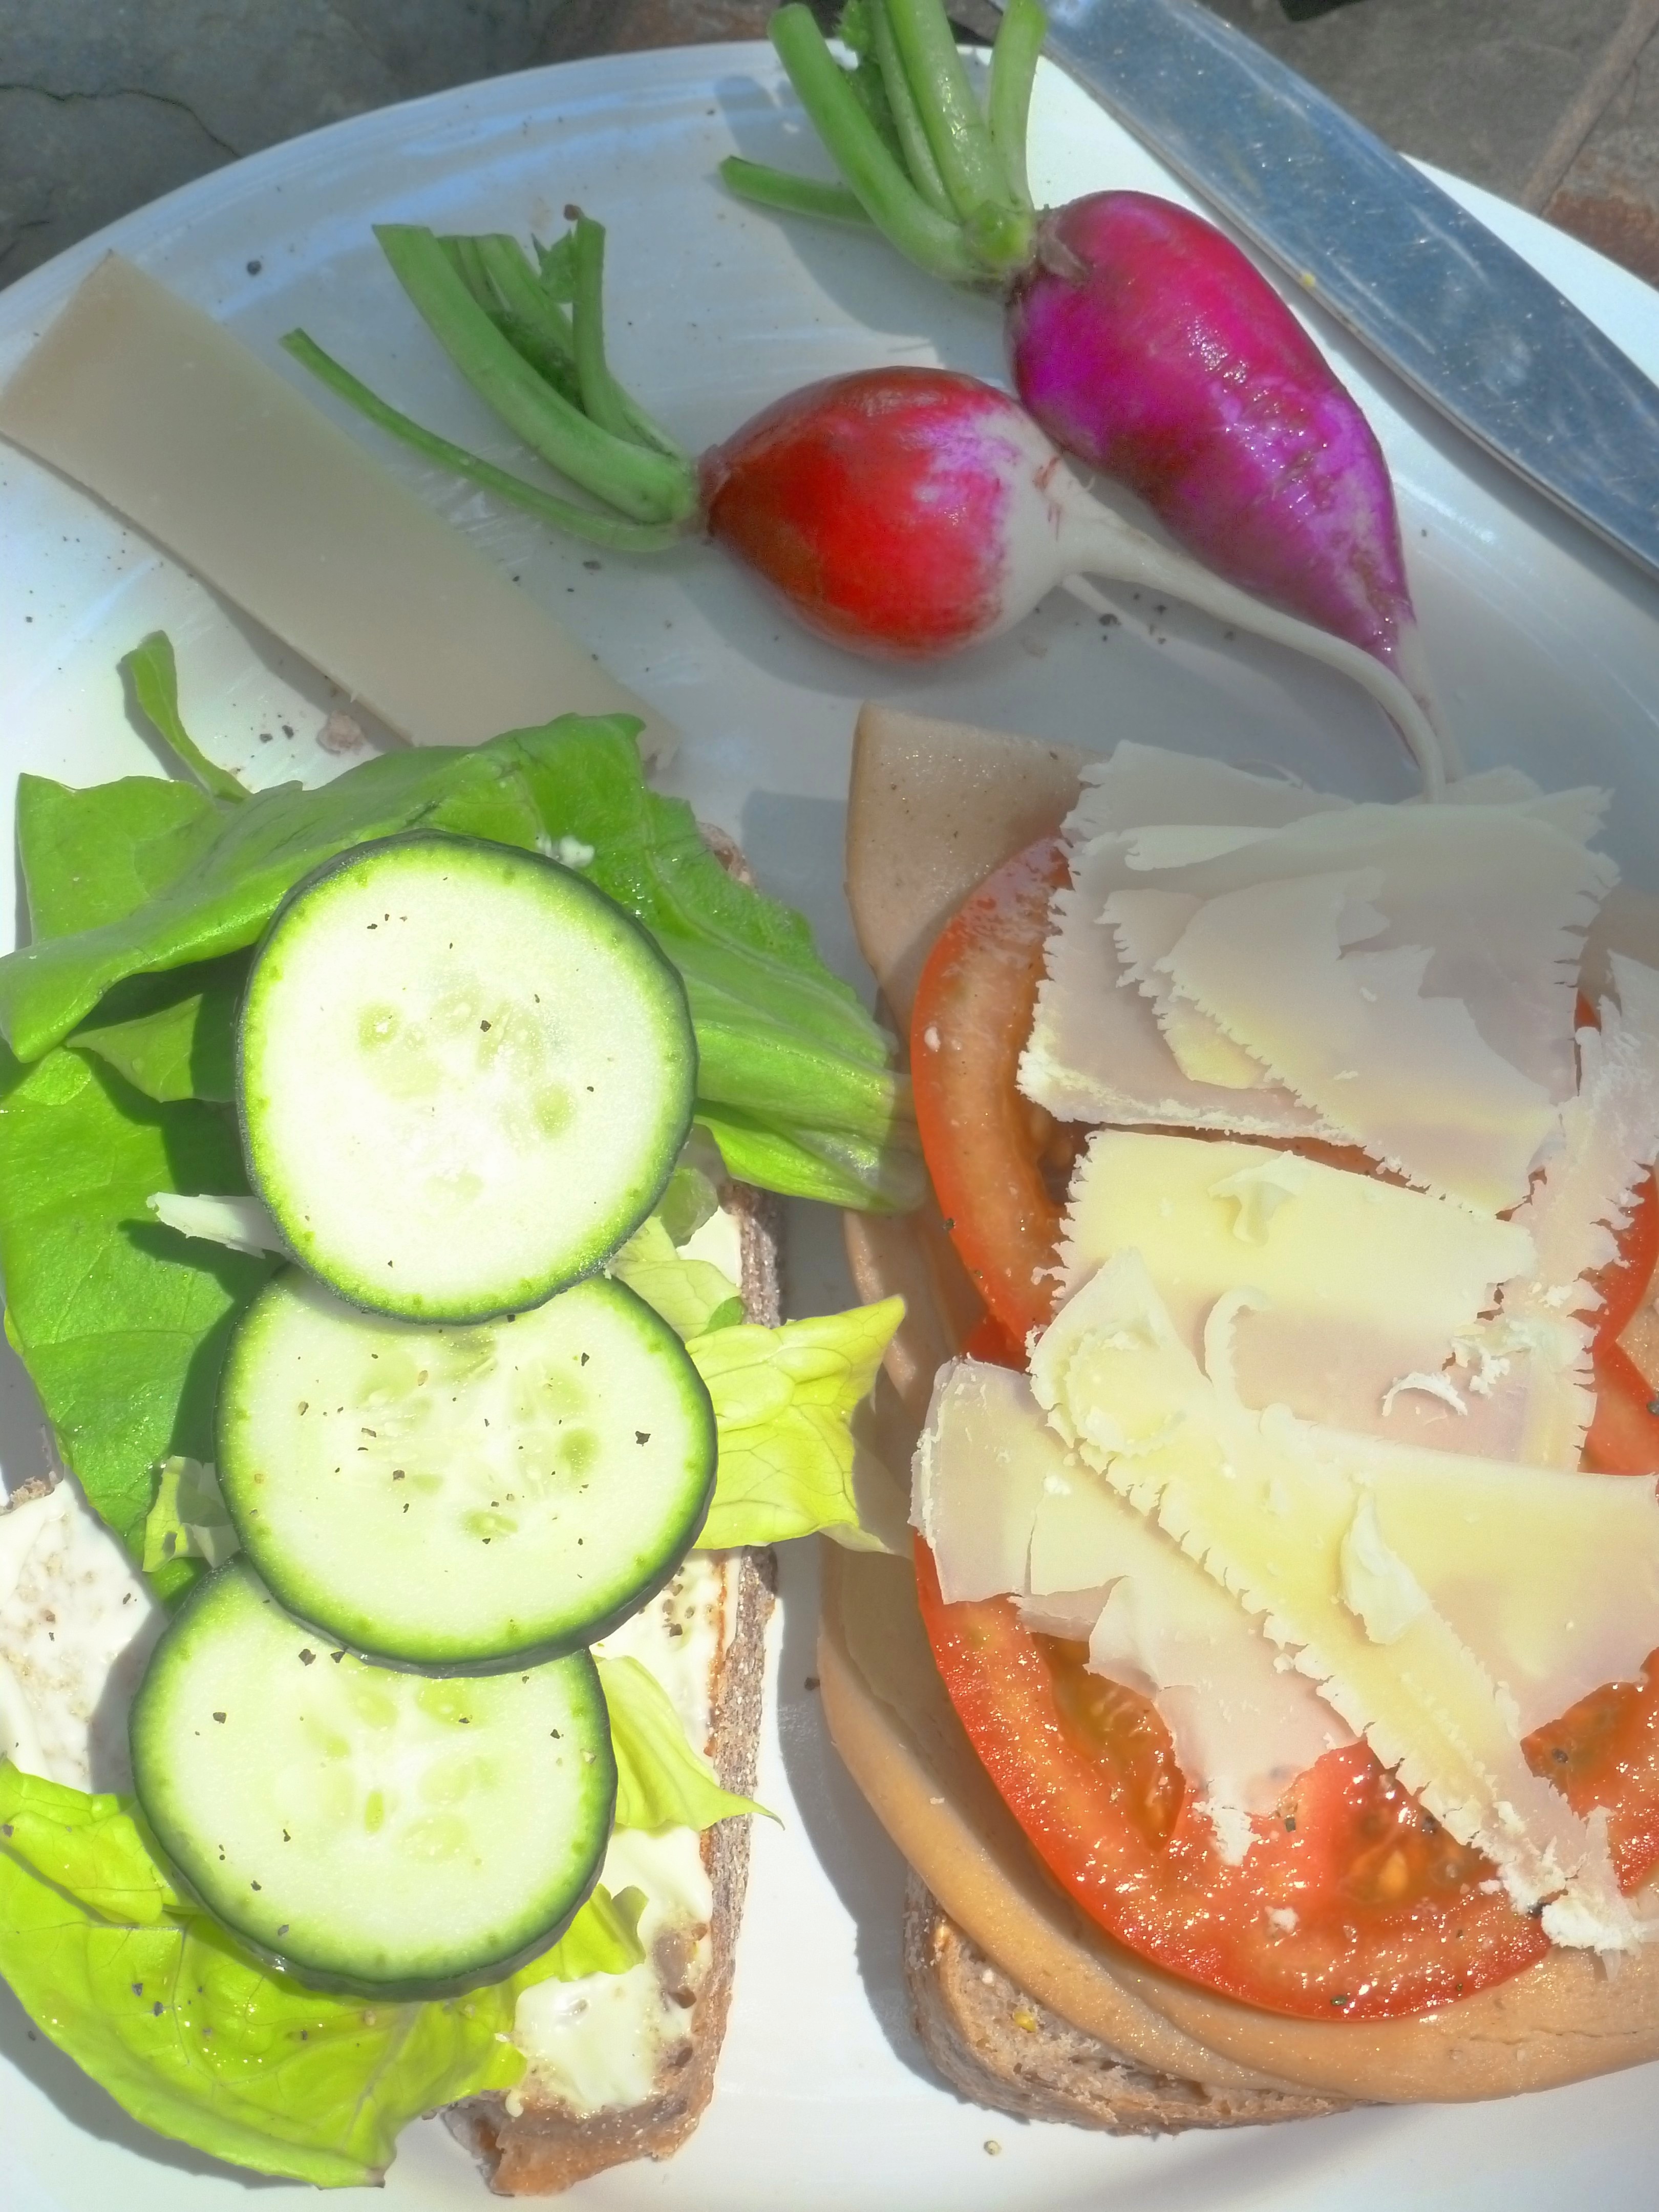
And the cheese?
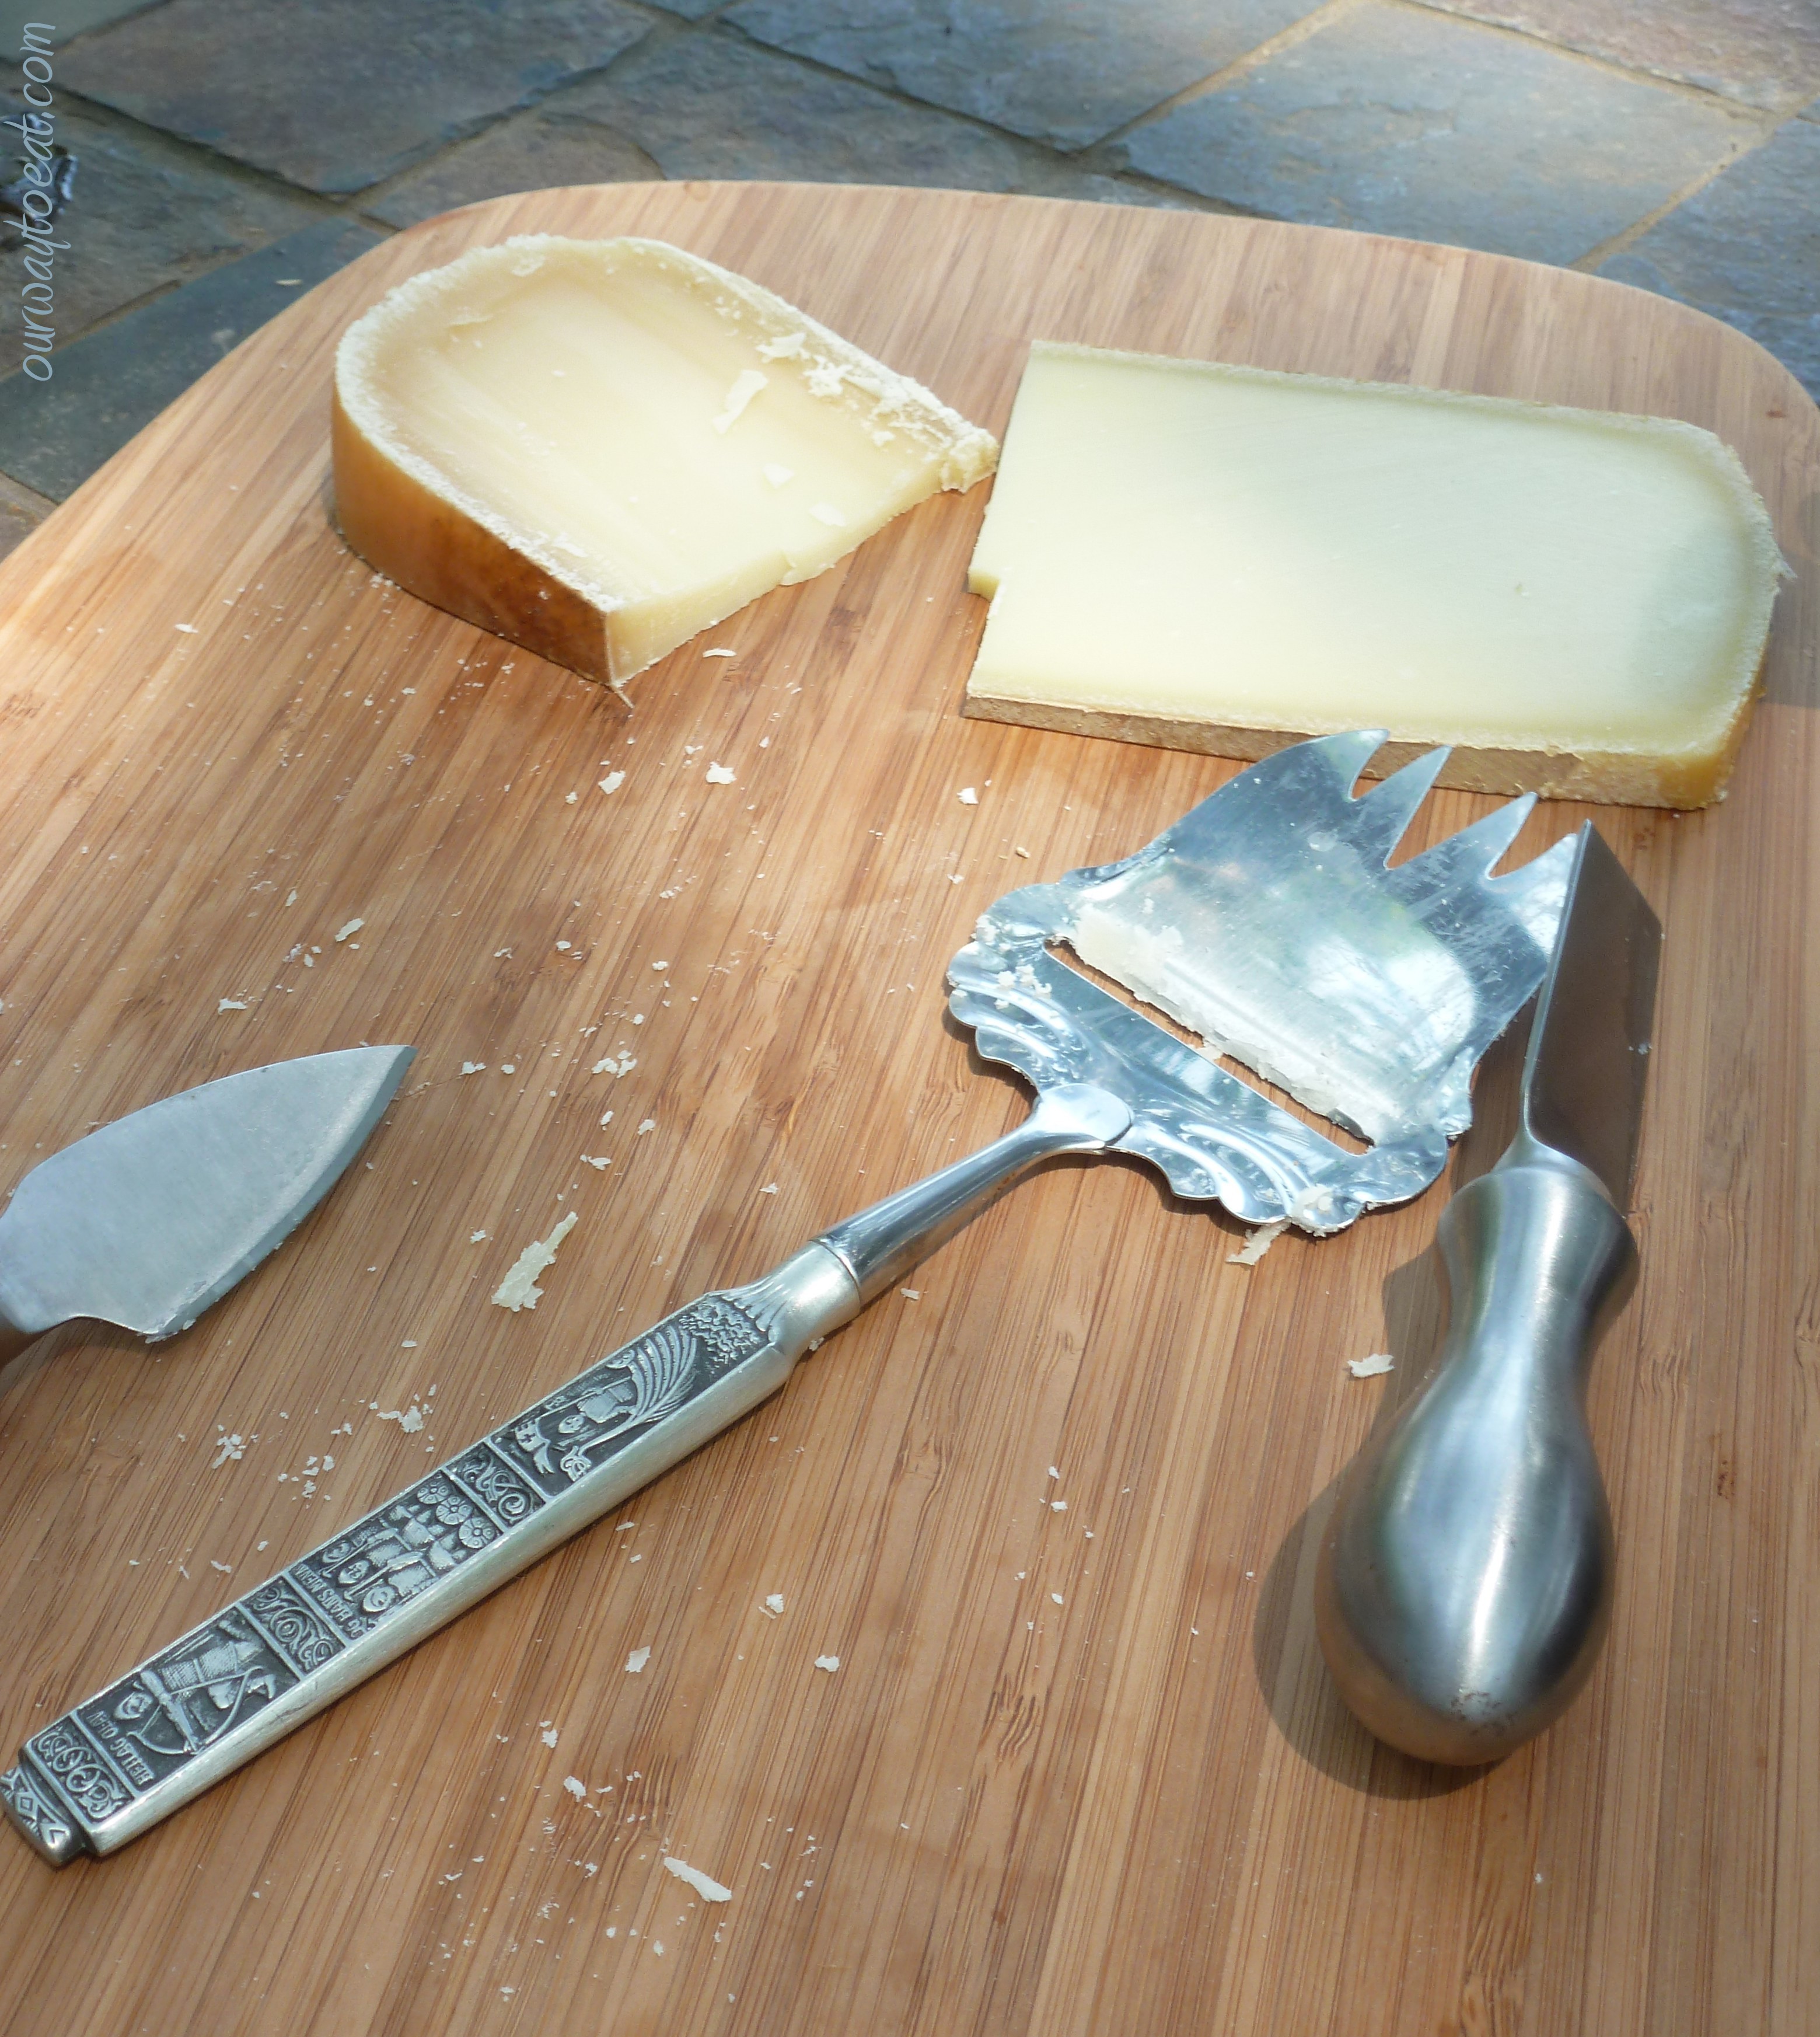 We’re still working our way through it, and savoring every little morsel–we figure it cost us about 8 cents per crumb.
Pioneer Woman’s Spicy Mac and Cheese–Lightened Up
We just returned home after being out of town for several days. Even though we’re low on groceries, and a little tired out from a late-night flight, I still wanted to eat something home-made for supper. If you ask me, a delicious bowl of creamy Macaroni and Cheese is the best way to welcome yourself home. A while back, I read a recipe for Spicy Macaroni and Cheese on the Pioneer Woman, a popular blog by Ree Drummond, a real life Ranch-Mom and author of hearty homespun recipes from the Oklahoma frontier. When I read the original recipe I thought it looked yummy, but I also thought the fat content was a little over the top for a person who hasn’t been out wrassling cattle all afternoon. Last night, I made a skillet of Spicy Mac with a few modifications that lightened up an ingredient list that is a little too rich for my blood and within the constraints of a nearly-empty refrigerator
My recipe takes most cues from the Pioneer Woman version. I started assembling my “cast of characters” to make sure I had enough of the main ingredients to make the recipe. 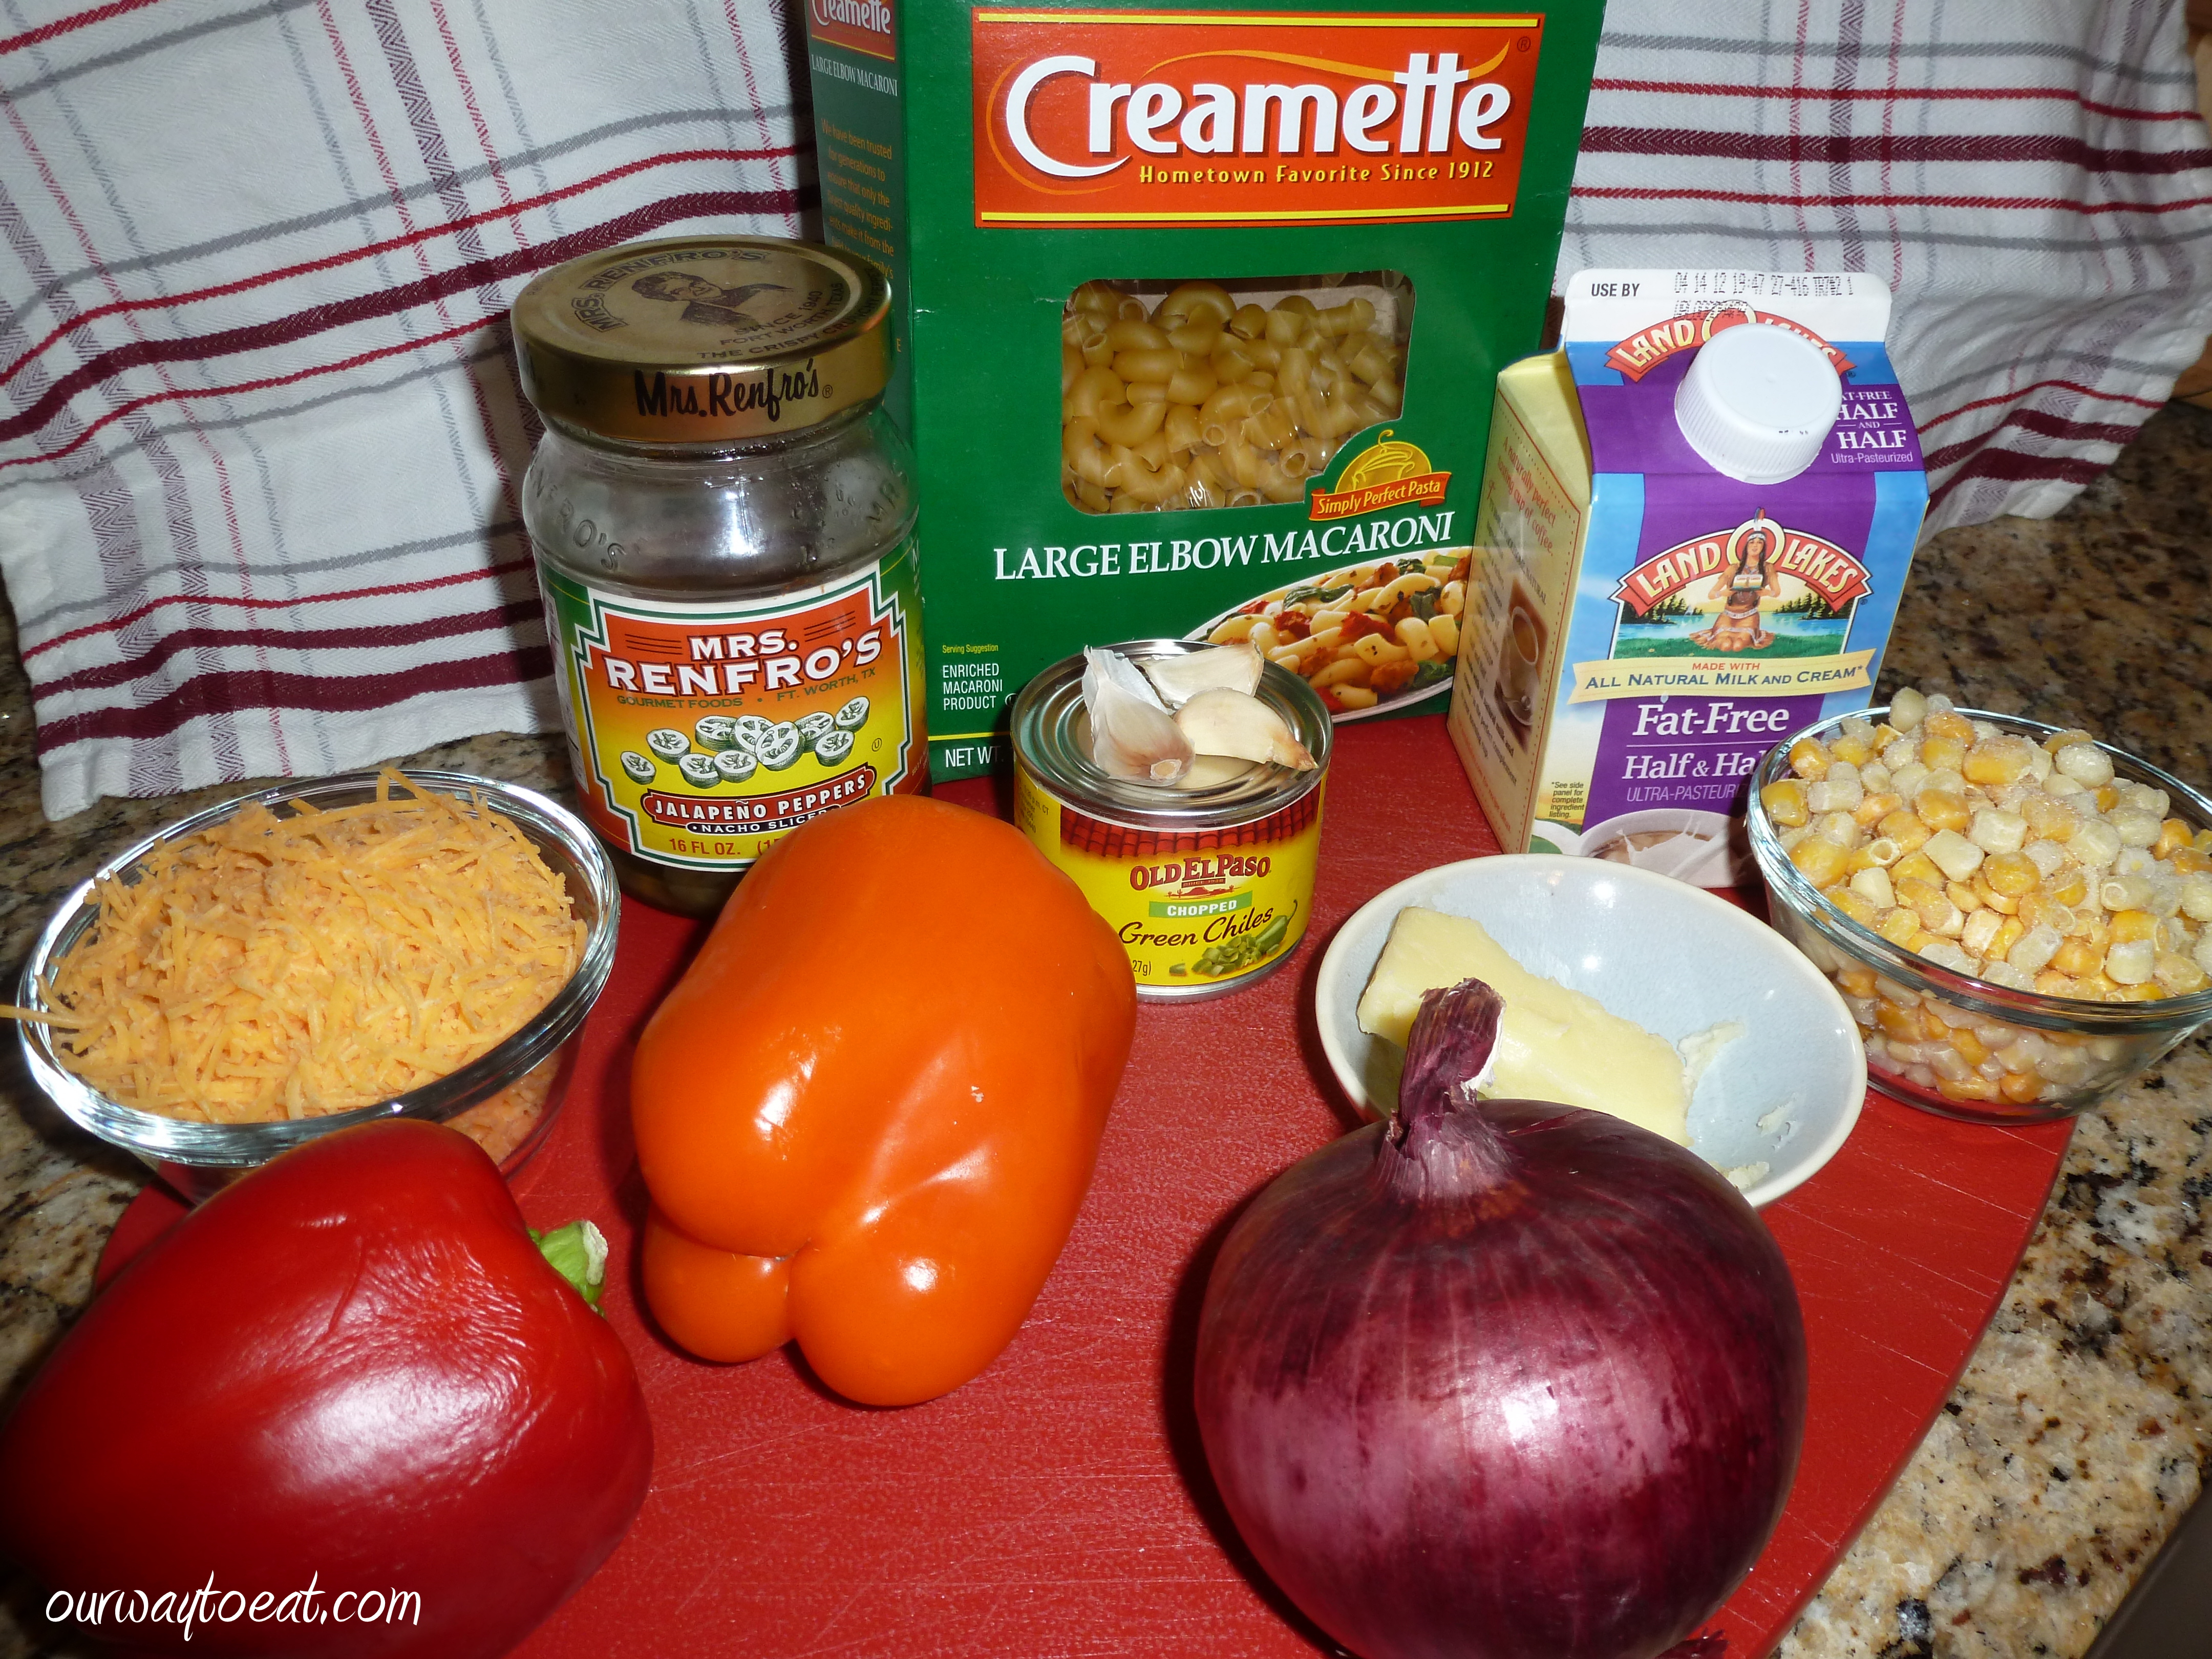 If you are up for using 2 Tablespoons of Butter and a Cup of Heavy Cream in your spicy Mac and Cheese, you can follow this link back to Pioneer Woman to follow the original recipe. I’m sure it would be over-the-top delicious. I reduced the butter, used fat-free half and half, had to substitute jalapenos from a jar for fresh, and sharp cheddar for pepper jack cheese because that was all there was in the fridge. I added orange bell pepper to the ingredient list because I had one. I love making my meals into a colorful, antioxidant-rich rainbow. I am not going to pull any punches, my Spicy Mac wasn’t exactly “light,” but the slight adjustments brought the calorie-count down into a normal range for a serving of a satisfying size. I didn’t leave anything out that added flavor.
Ingredients:
- 4 cups cooked elbow macaroni (about 2 cups dry) or another small pasta such as cavatappi
- ½ tablespoon olive oil
- ½ finely diced red onion
- ½ red bell pepper – diced
- ½ orange bell pepper – diced
- 2 tablespoons jalapenos from a jar – finely diced
- 1 – 4 ounce can chopped green chilies
- 1 heaping cup of frozen corn
- 3 cloves garlic, peeled and chopped
- 1 cup fat free half and half – I use fat free half and half because it was the only dairy we had in the fridge. Milk with a fat content of your preference, half & half or the real deal heavy cream will all work wonderfully.
- 1 heaping cup of grated sharp cheddar, pepper jack or Monterrey Jack cheese
- ¼ teaspoon to 2 Tablespoons butter – optional
- Salt & Pepper to taste
 The entire dish took about 30 minutes, start to finish. I began by filling a sauce pan of water with a dash of salt to boil for the pasta, and heating a skillet with a small glug of olive oil over medium heat.
  While those warmed up, I chopped the red onion, red and orange peppers into small chunks of a similar size. I chopped a few forkfuls of jalapenos from the jar. The next time I make this, I will of course try to have a fresh jalapeno, but if I don’t, I will probably use more of the jarred jalapenos. The jalapeno adds most of the heat, and quantities can be adjusted up or down depending on your spice tolerance.
  I sautéed the onion and garlic a few minutes before adding the bell pepper.
 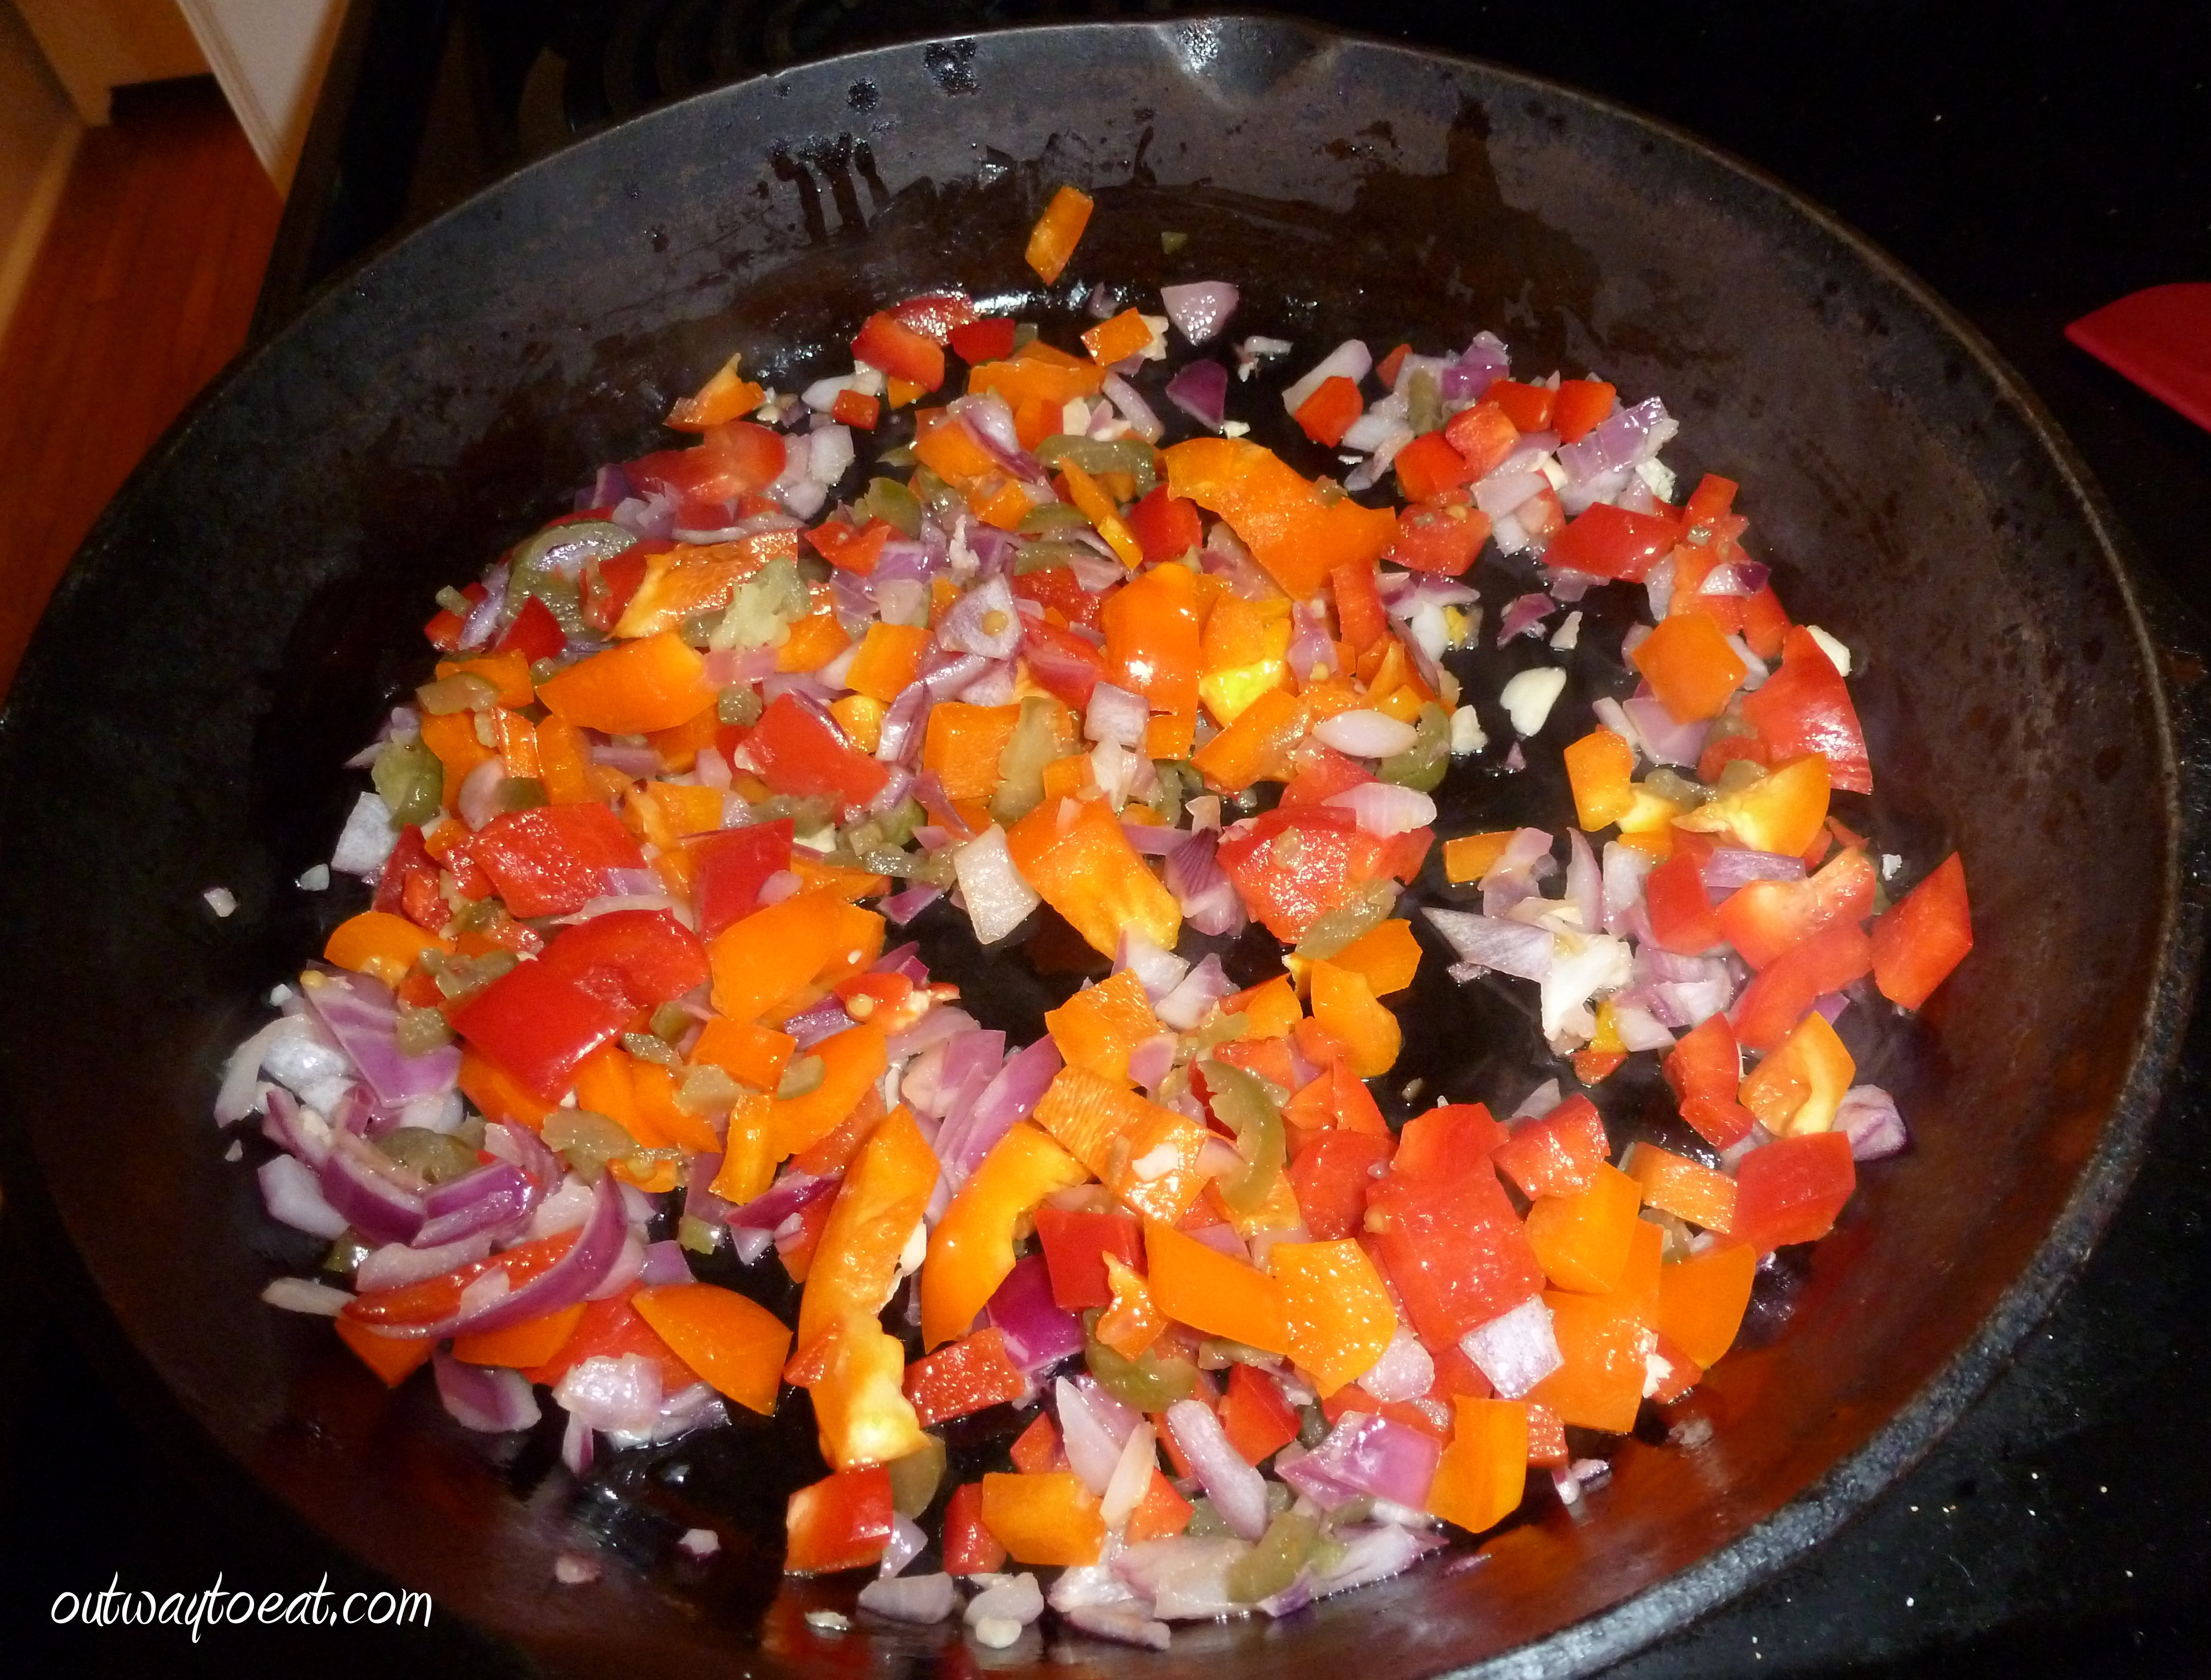 At the same time, I started boiling the noodles to a little less than “done” so they could cook a little more in the sauce to become al dente.
 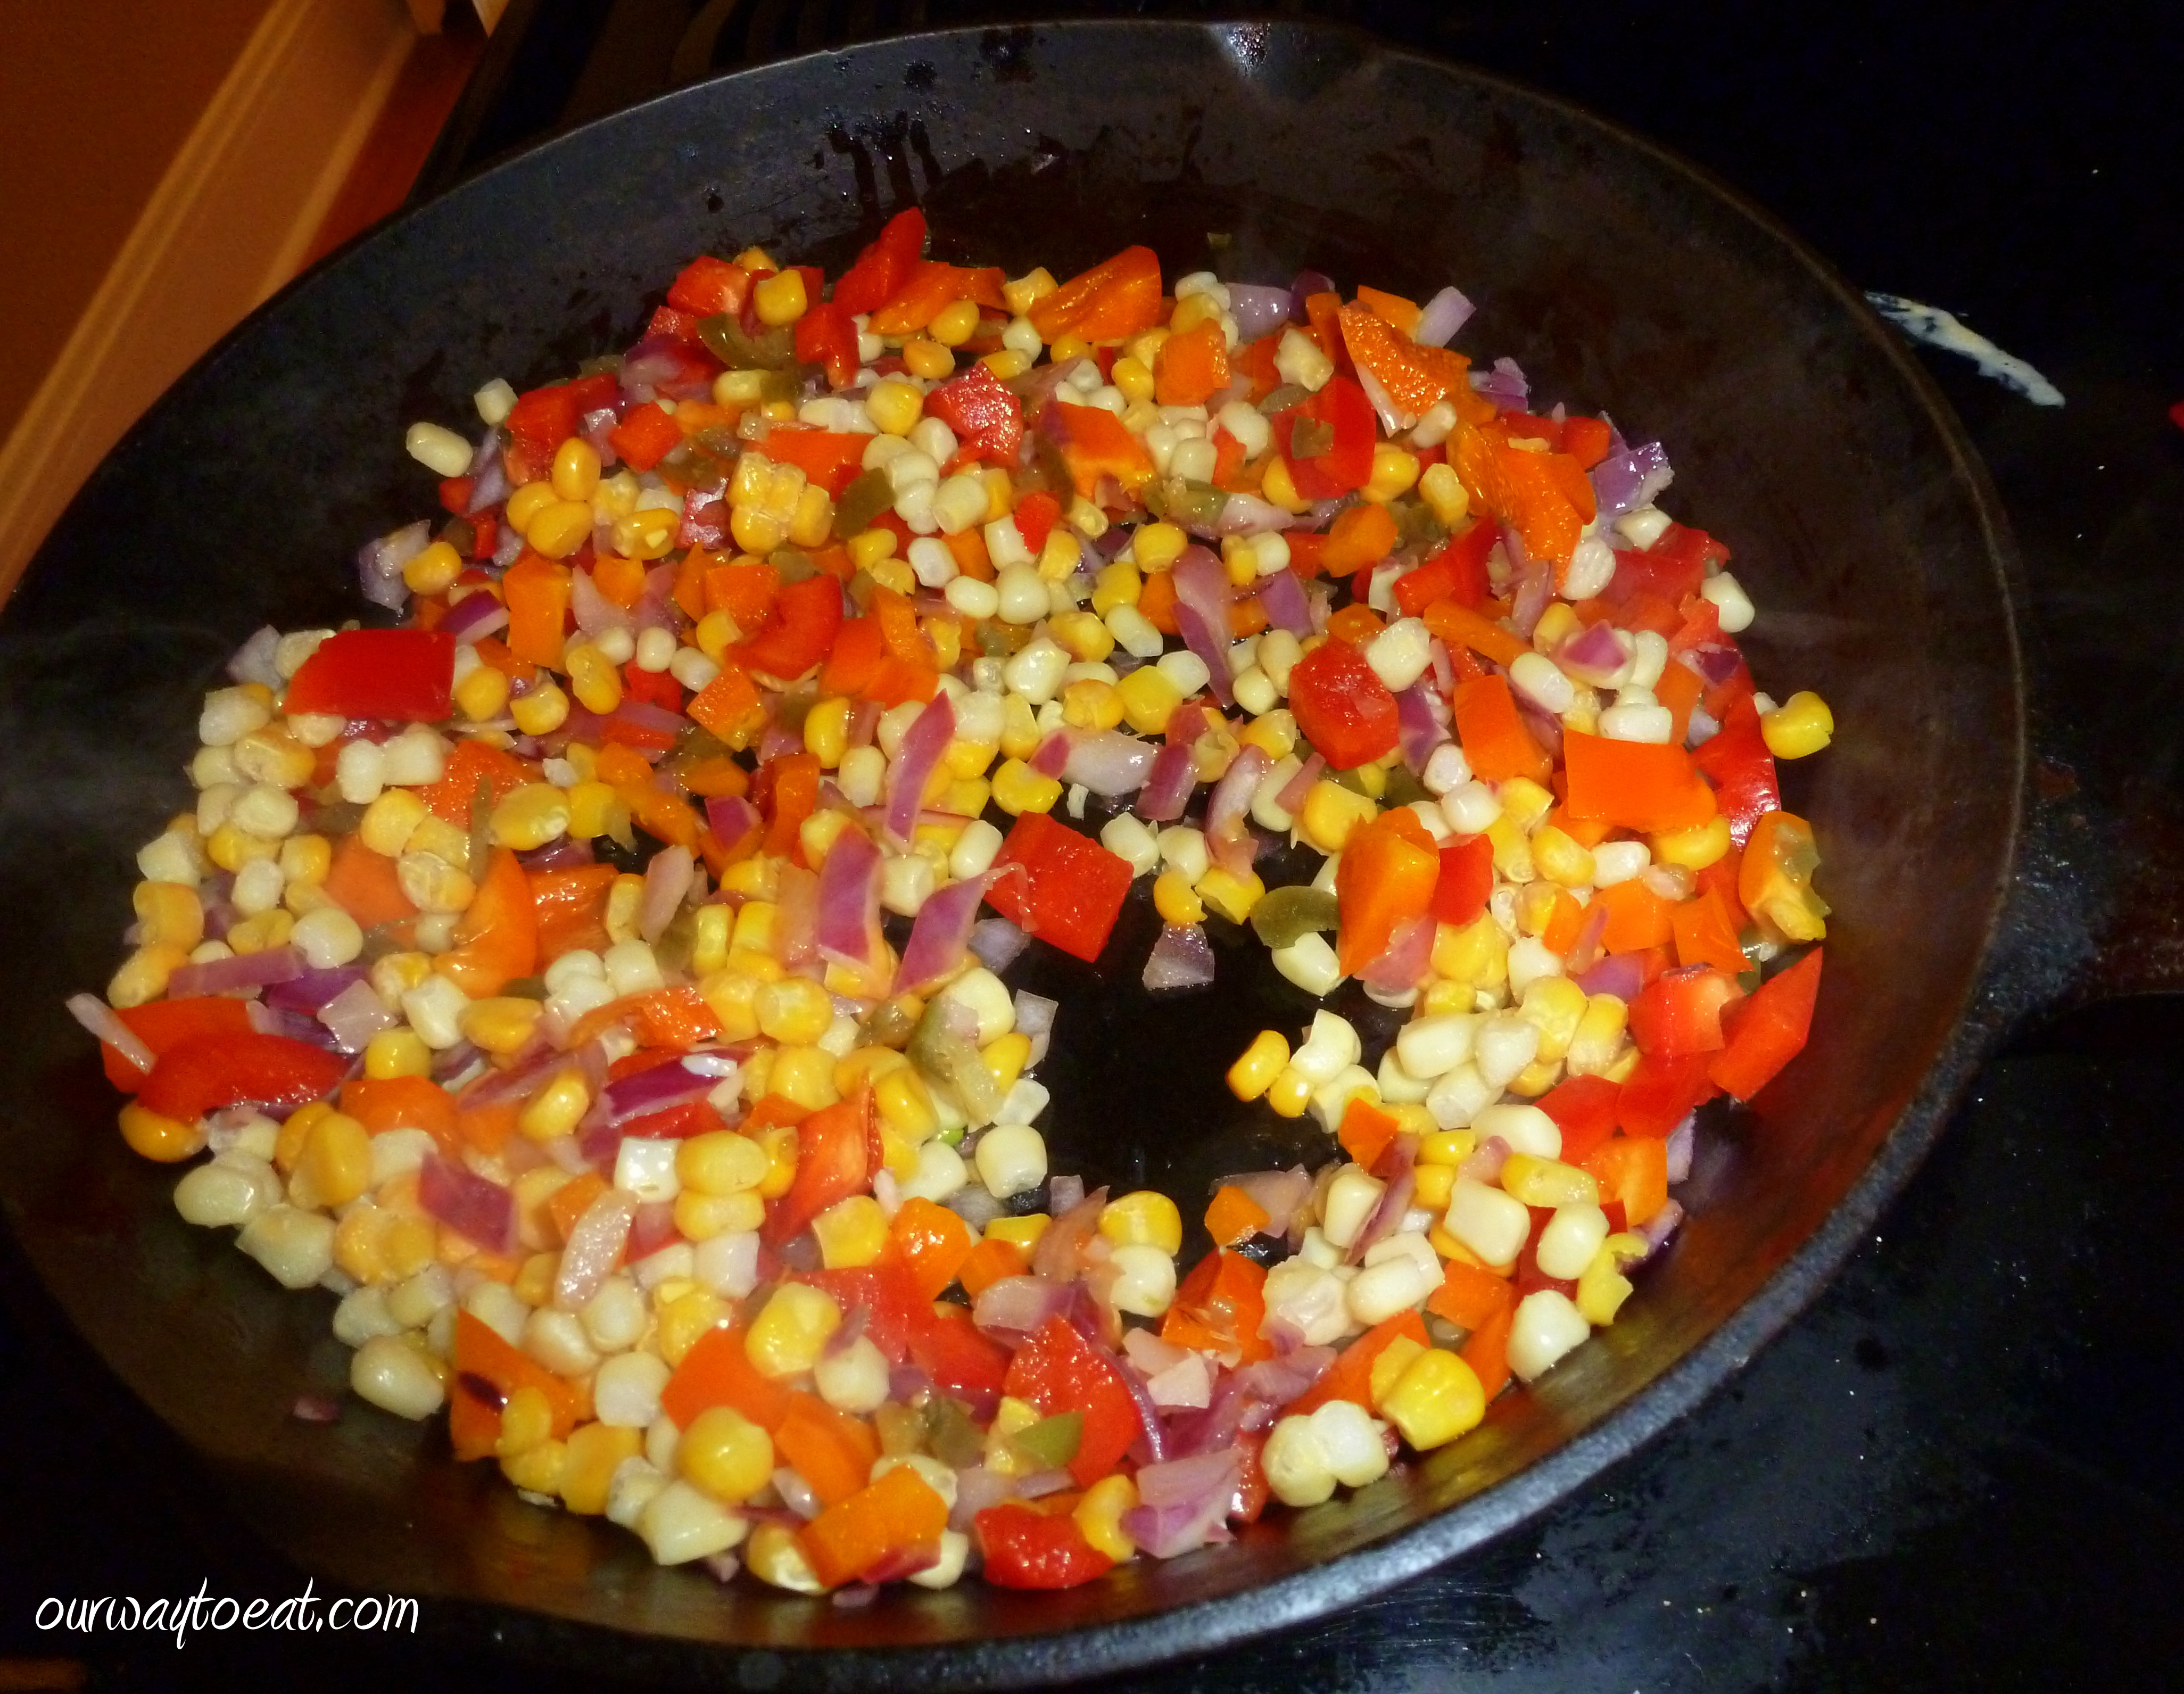 When the onions, bell peppers, garlic and jalapenos were bright and heading toward tender-crisp, I added a heaped cup of frozen corn.
  When the veggies were cooking, but still had crunch, I added a can of diced green chilis. Diced green chilies have become a pantry staple in our house. They are mild and they add a smoky complexity to Southwest and Mexican soups and stews without too much heat. When the veggies were nearly done, I turned off the heat in the skillet, and drained the pasta. The sauce is extremely simple, which is a plus. This is the perfect macaroni and cheese to make when you don’t have the time, or the desire to monkey around making a roux.
  I simply added the fat free half and half and cheese to the skillet and stirred it gently into the vegetables. A skillet retains heat for a long time, so it was warm enough to warm the “cream” and melt the cheese.
  Finally, I added the pasta to the skillet.
 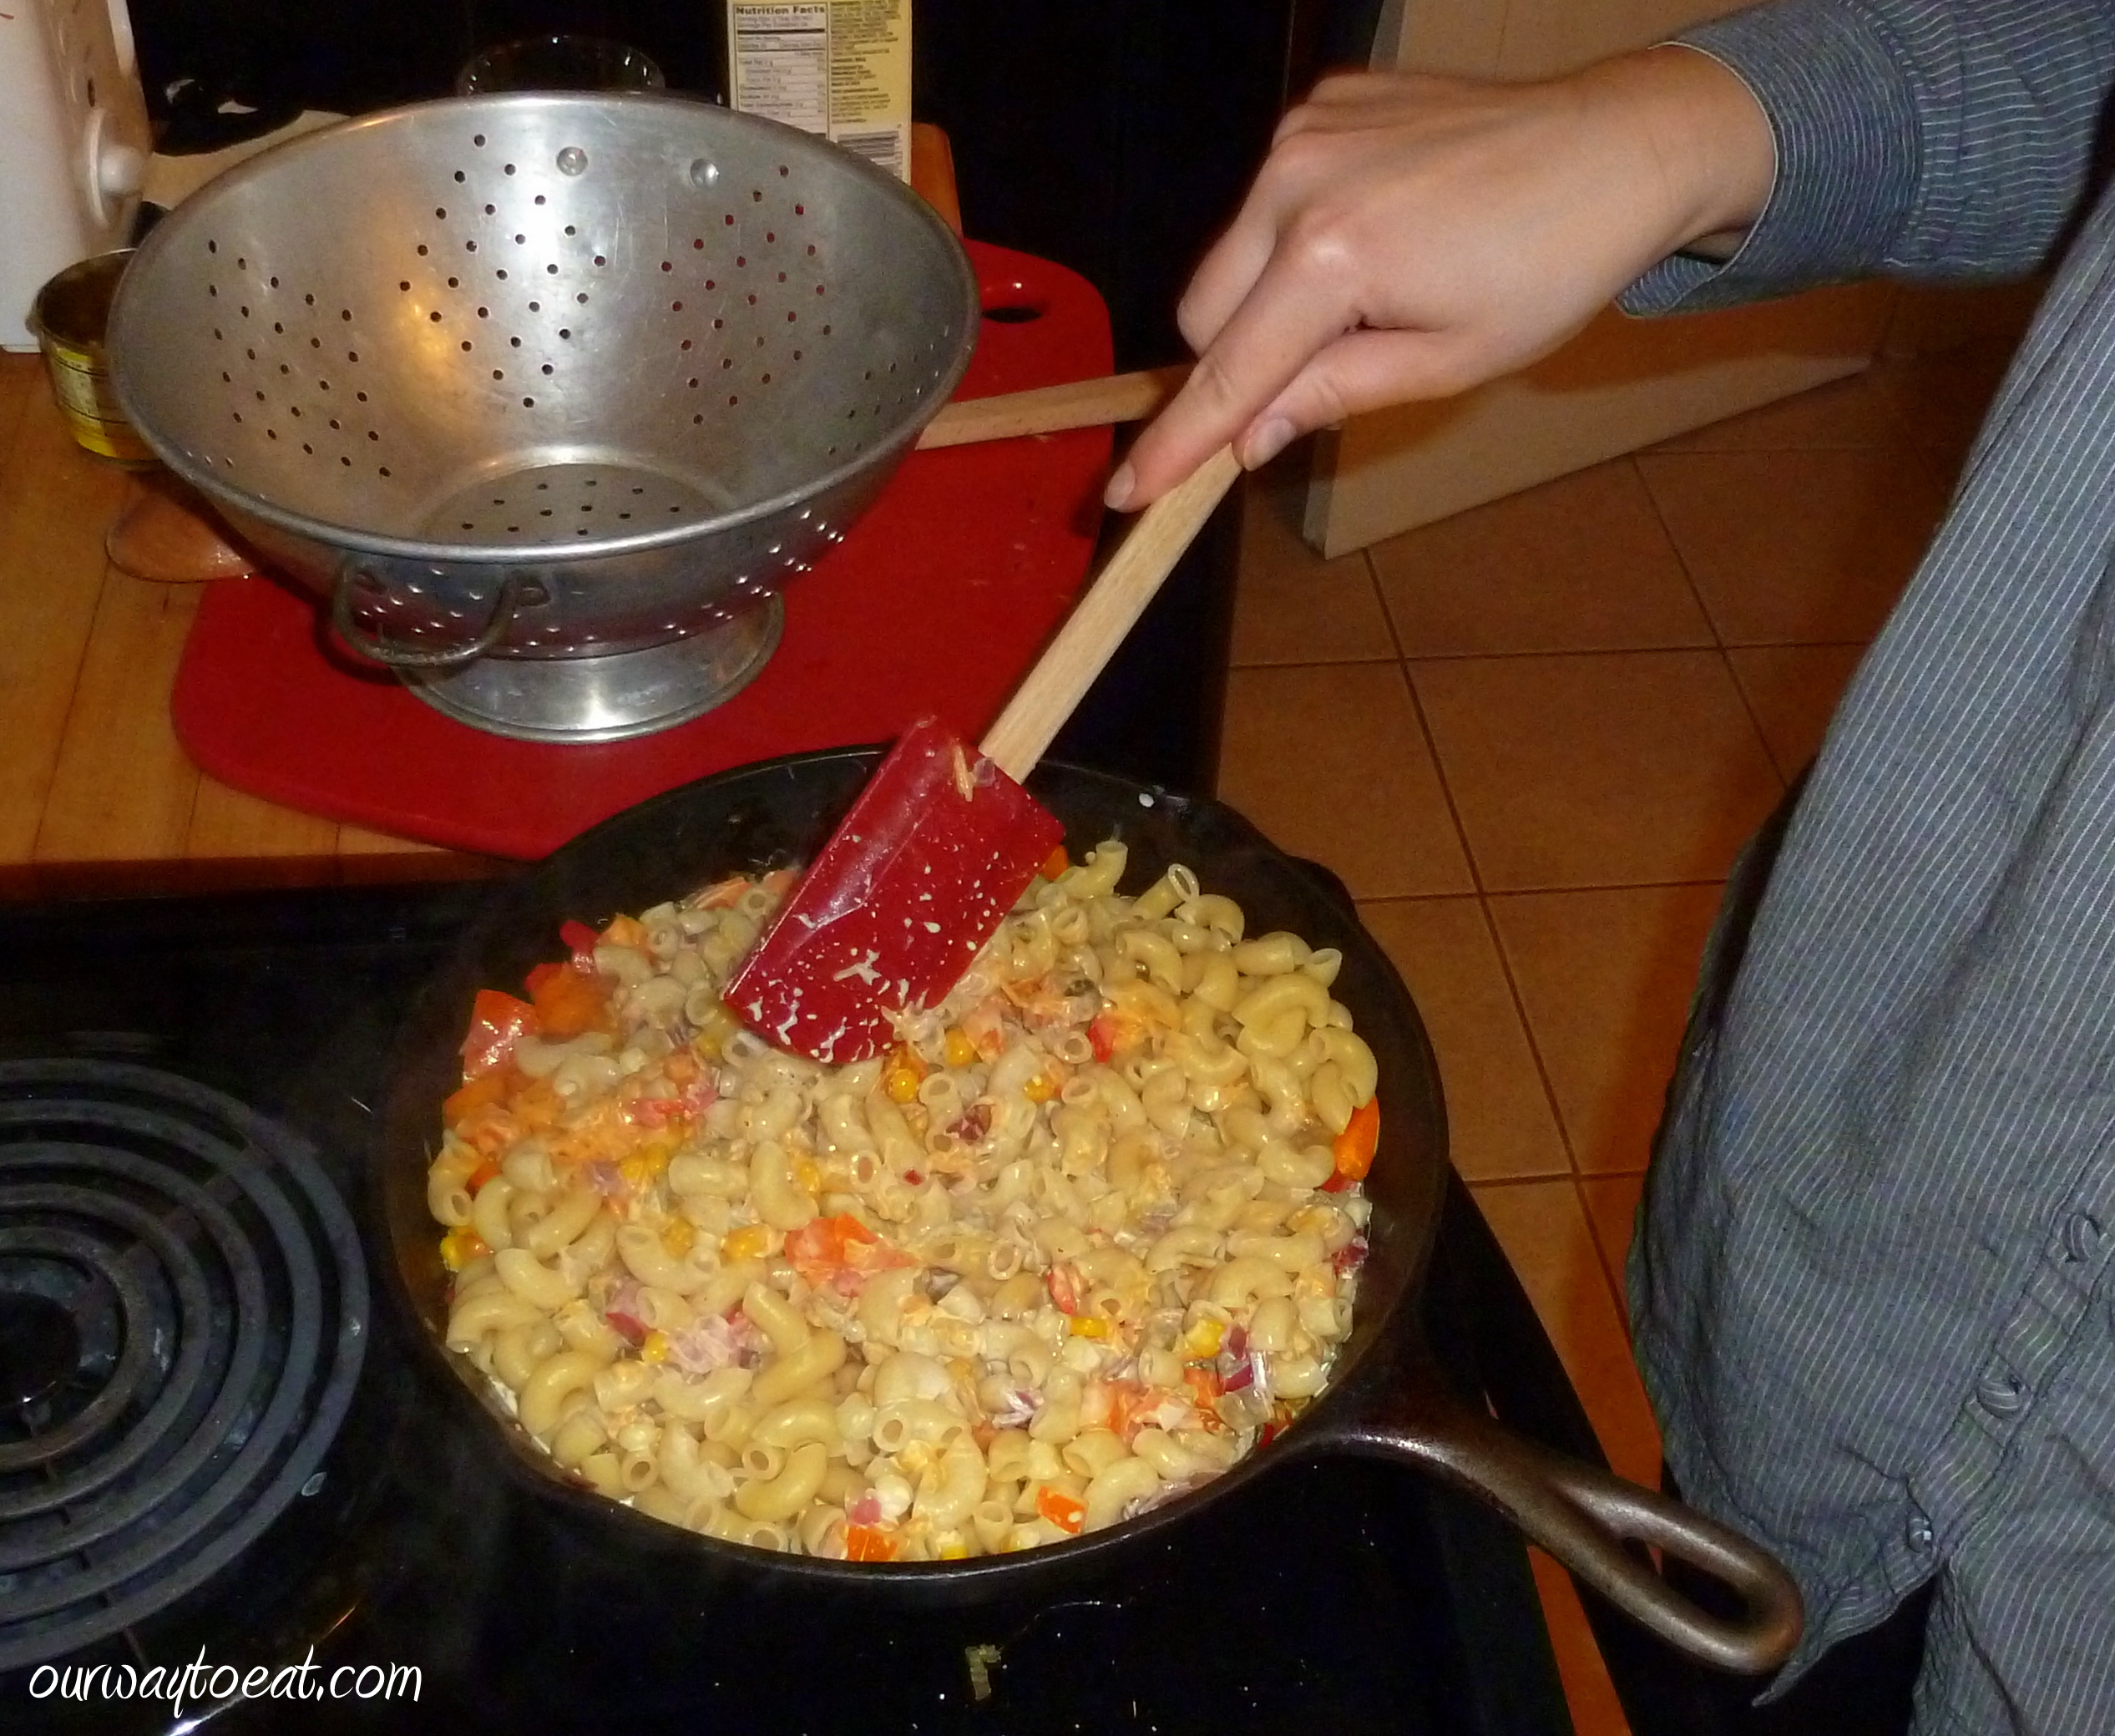 I stirred gently to combine the pasta, veggies and sauce in the skillet.
  Per Ree’s advice, I added a little extra cheese to thicken the sauce a bit. Instead of the two pats of butter from the original recipe, I stirred in just the tiniest bit of butter. You could totally leave the butter out and you probably wouldn’t miss it, even though the silkiness it adds to the sauce is quite nice.
 Channeling Pioneer Woman, I served the Spicy Mac right from the skillet, frontier style. We enjoyed the rainbow of veggies, the warming spiciness and of course, the cheesy, comforting macaroni noodles. Ah, we’re home. When I make this again, I would probably up the spice a notch or two… something red, a little Smoked Paprika, Cayenne Pepper, Chili Powder or Chili Flakes, perhaps?
The Spicy Mac also passed the lunch test. We both enjoyed a second serving with a small salad for lunch the next day. Ree Drummond suggests this as a dish to be served alongside a juicy steak. I might just do that the next time I need a meatless dish when my pardner is grilling steak. We both thought this Mac & Cheese stood well all alone. I recommend serving it alone with salt and pepper on the table and a cold beer, or a tall glass of milk.
*I like to welcome myself home with Mac & Cheese, I also like to eat Mac & Cheese when I’m dining alone, when we have something to celebrate, on a rainy day, and for no reason at all. If you’ve been here before you will note that Mac & Cheese in all forms is my favorite.


