Bjorn started brewing beer last year, and we enjoyed his first efforts very much. He uses brewing kits from Northern Brewer, a brewing supply store here in Saint Paul. A kit is a great way to learn the brewing process, which is fairly involved, and still expect tasty, drinkable results. Now that it is fall, it is time to begin brewing again. Last weekend, Bjorn started a batch of Brickwarmer, a Holiday Red Ale which should be ready in time for Thanksgiving dinner.
The day before brewing, Bjorn activates the yeast. Brewer’s yeast arrives in an envelope that is activated by smacking the package. The envelope expands for 2-12 hours. This can be added directly to cooled wort, or used to make a yeast starter which allows the yeast a chance to eat the wort and multiply before it is pitched, or added to the wort to begin fermentation. It also makes our kitchen smell like rising bread. To make the yeast starter, Bjorn heats water and adds malt extract and boils this mixture into wort. Once it has boiled for a while, the wort is cooled to 75° and yeast is added. This mixture in transferred to a flask which sits on a stir-plate for about a day. A small magnet inside the flask keeps the mixture stirring.
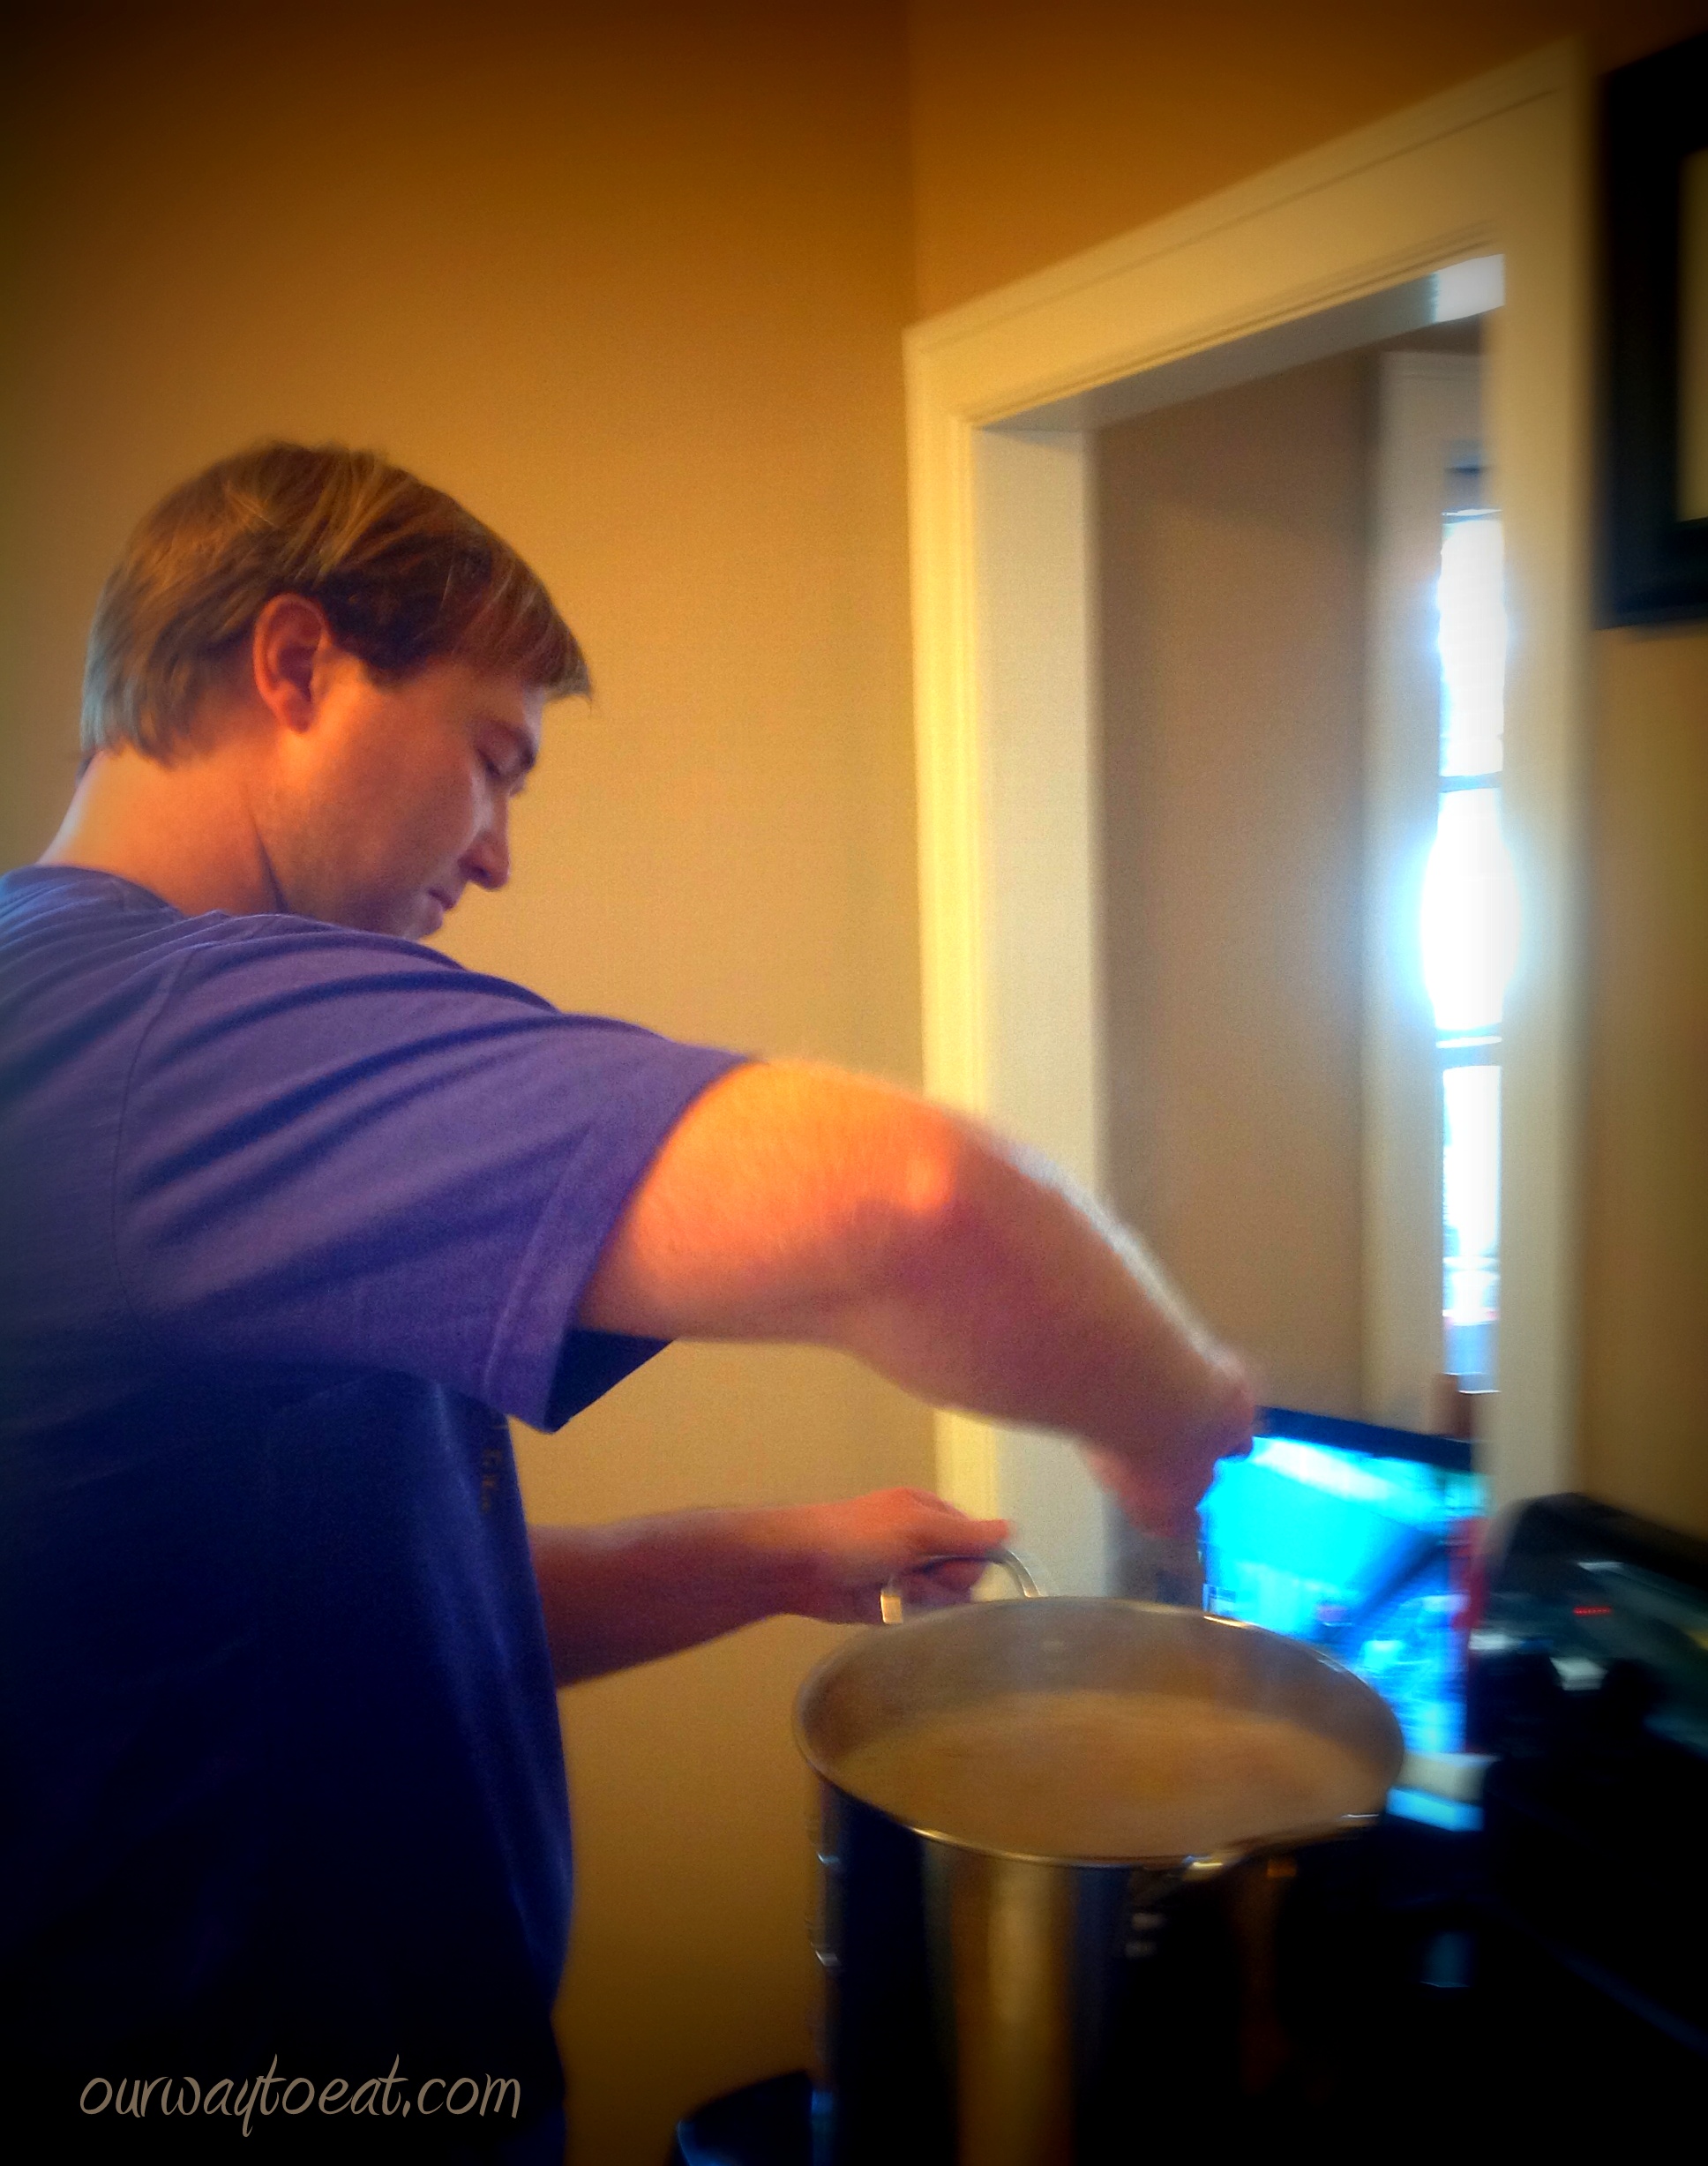
On brewing day, our house fills with steam and the heady aromas of yeast, malt and hops. Here, Bjorn is steeping specialty grain into the water to add colour and flavor.
Apparently, we’re not going observe the “Washing Vegetables Only” label on this washtub…here, malt extract is warming in hot water to help it pour easily.
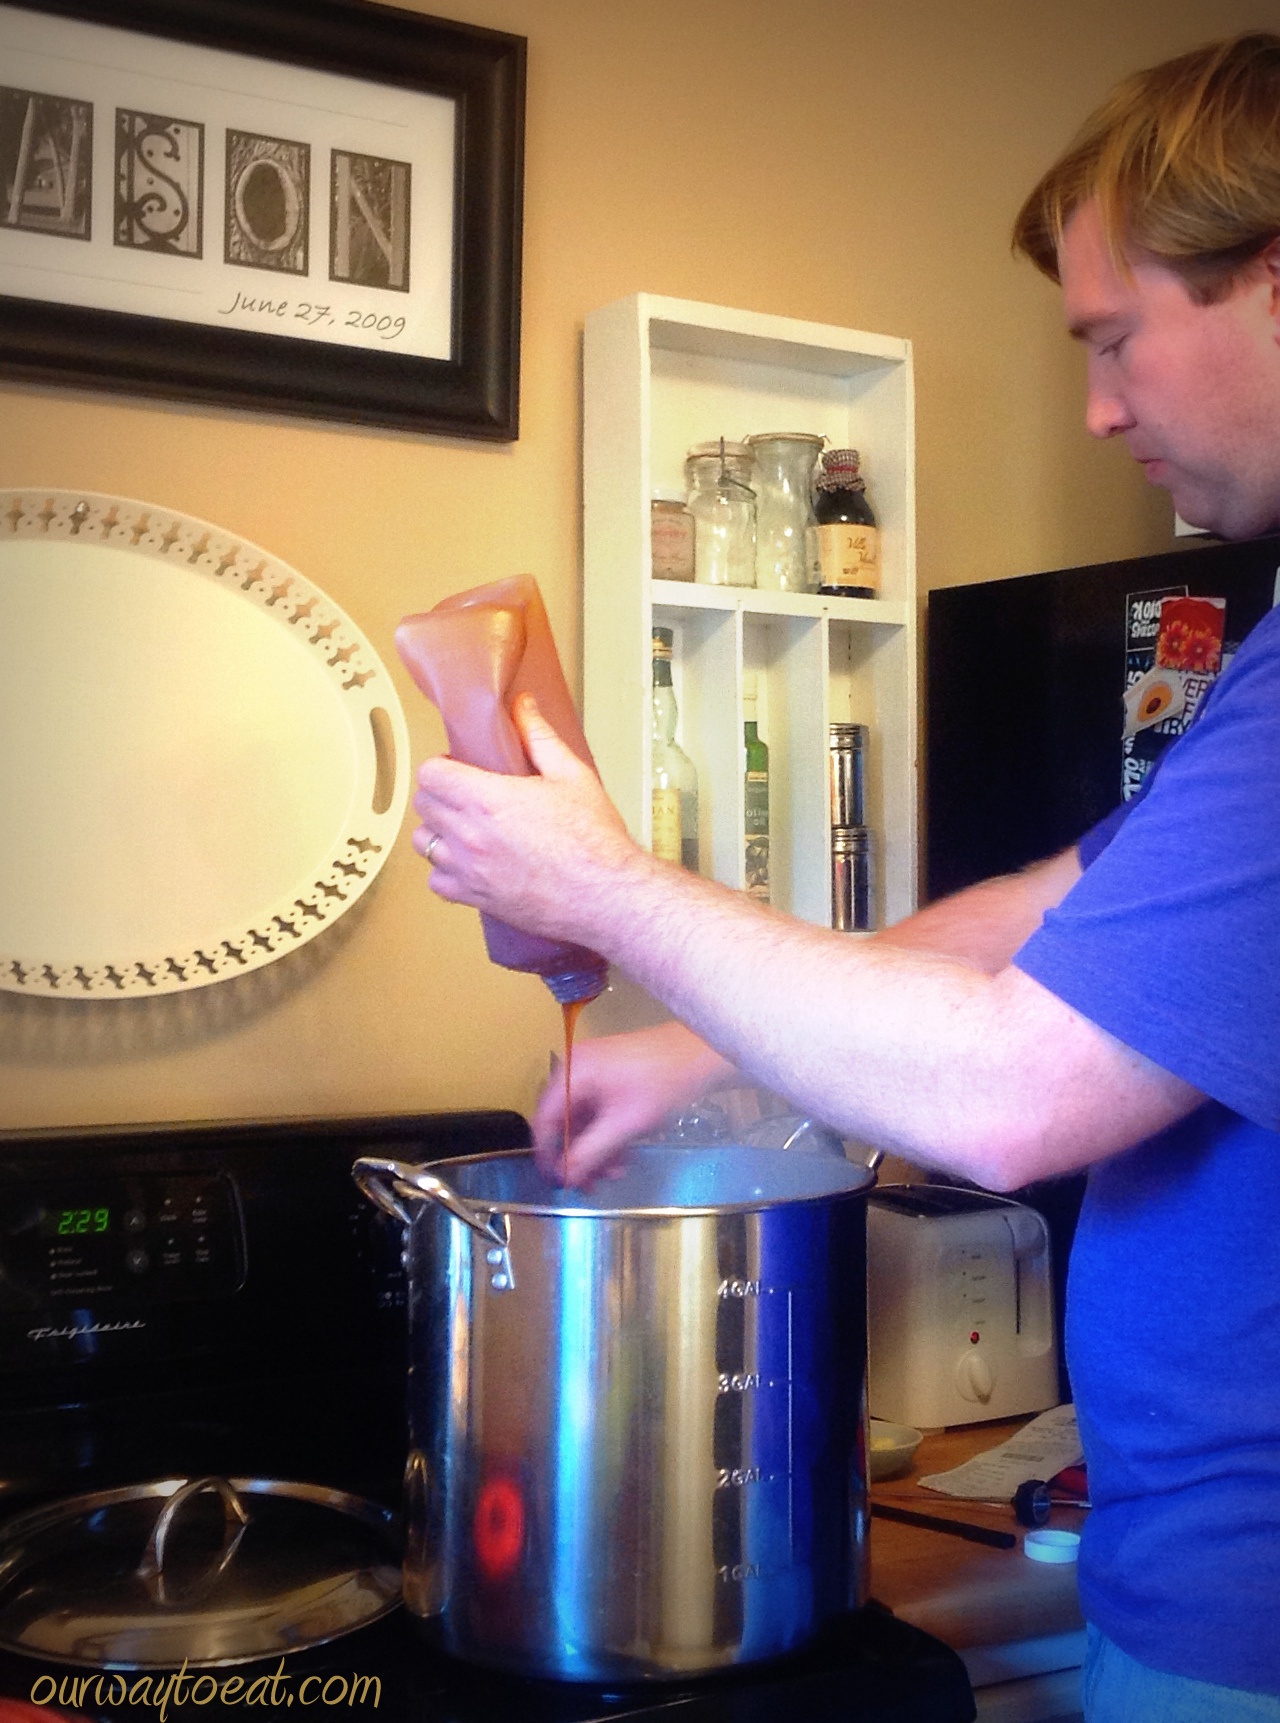
Bjorn making wort by adding the liquid malt extract to water.
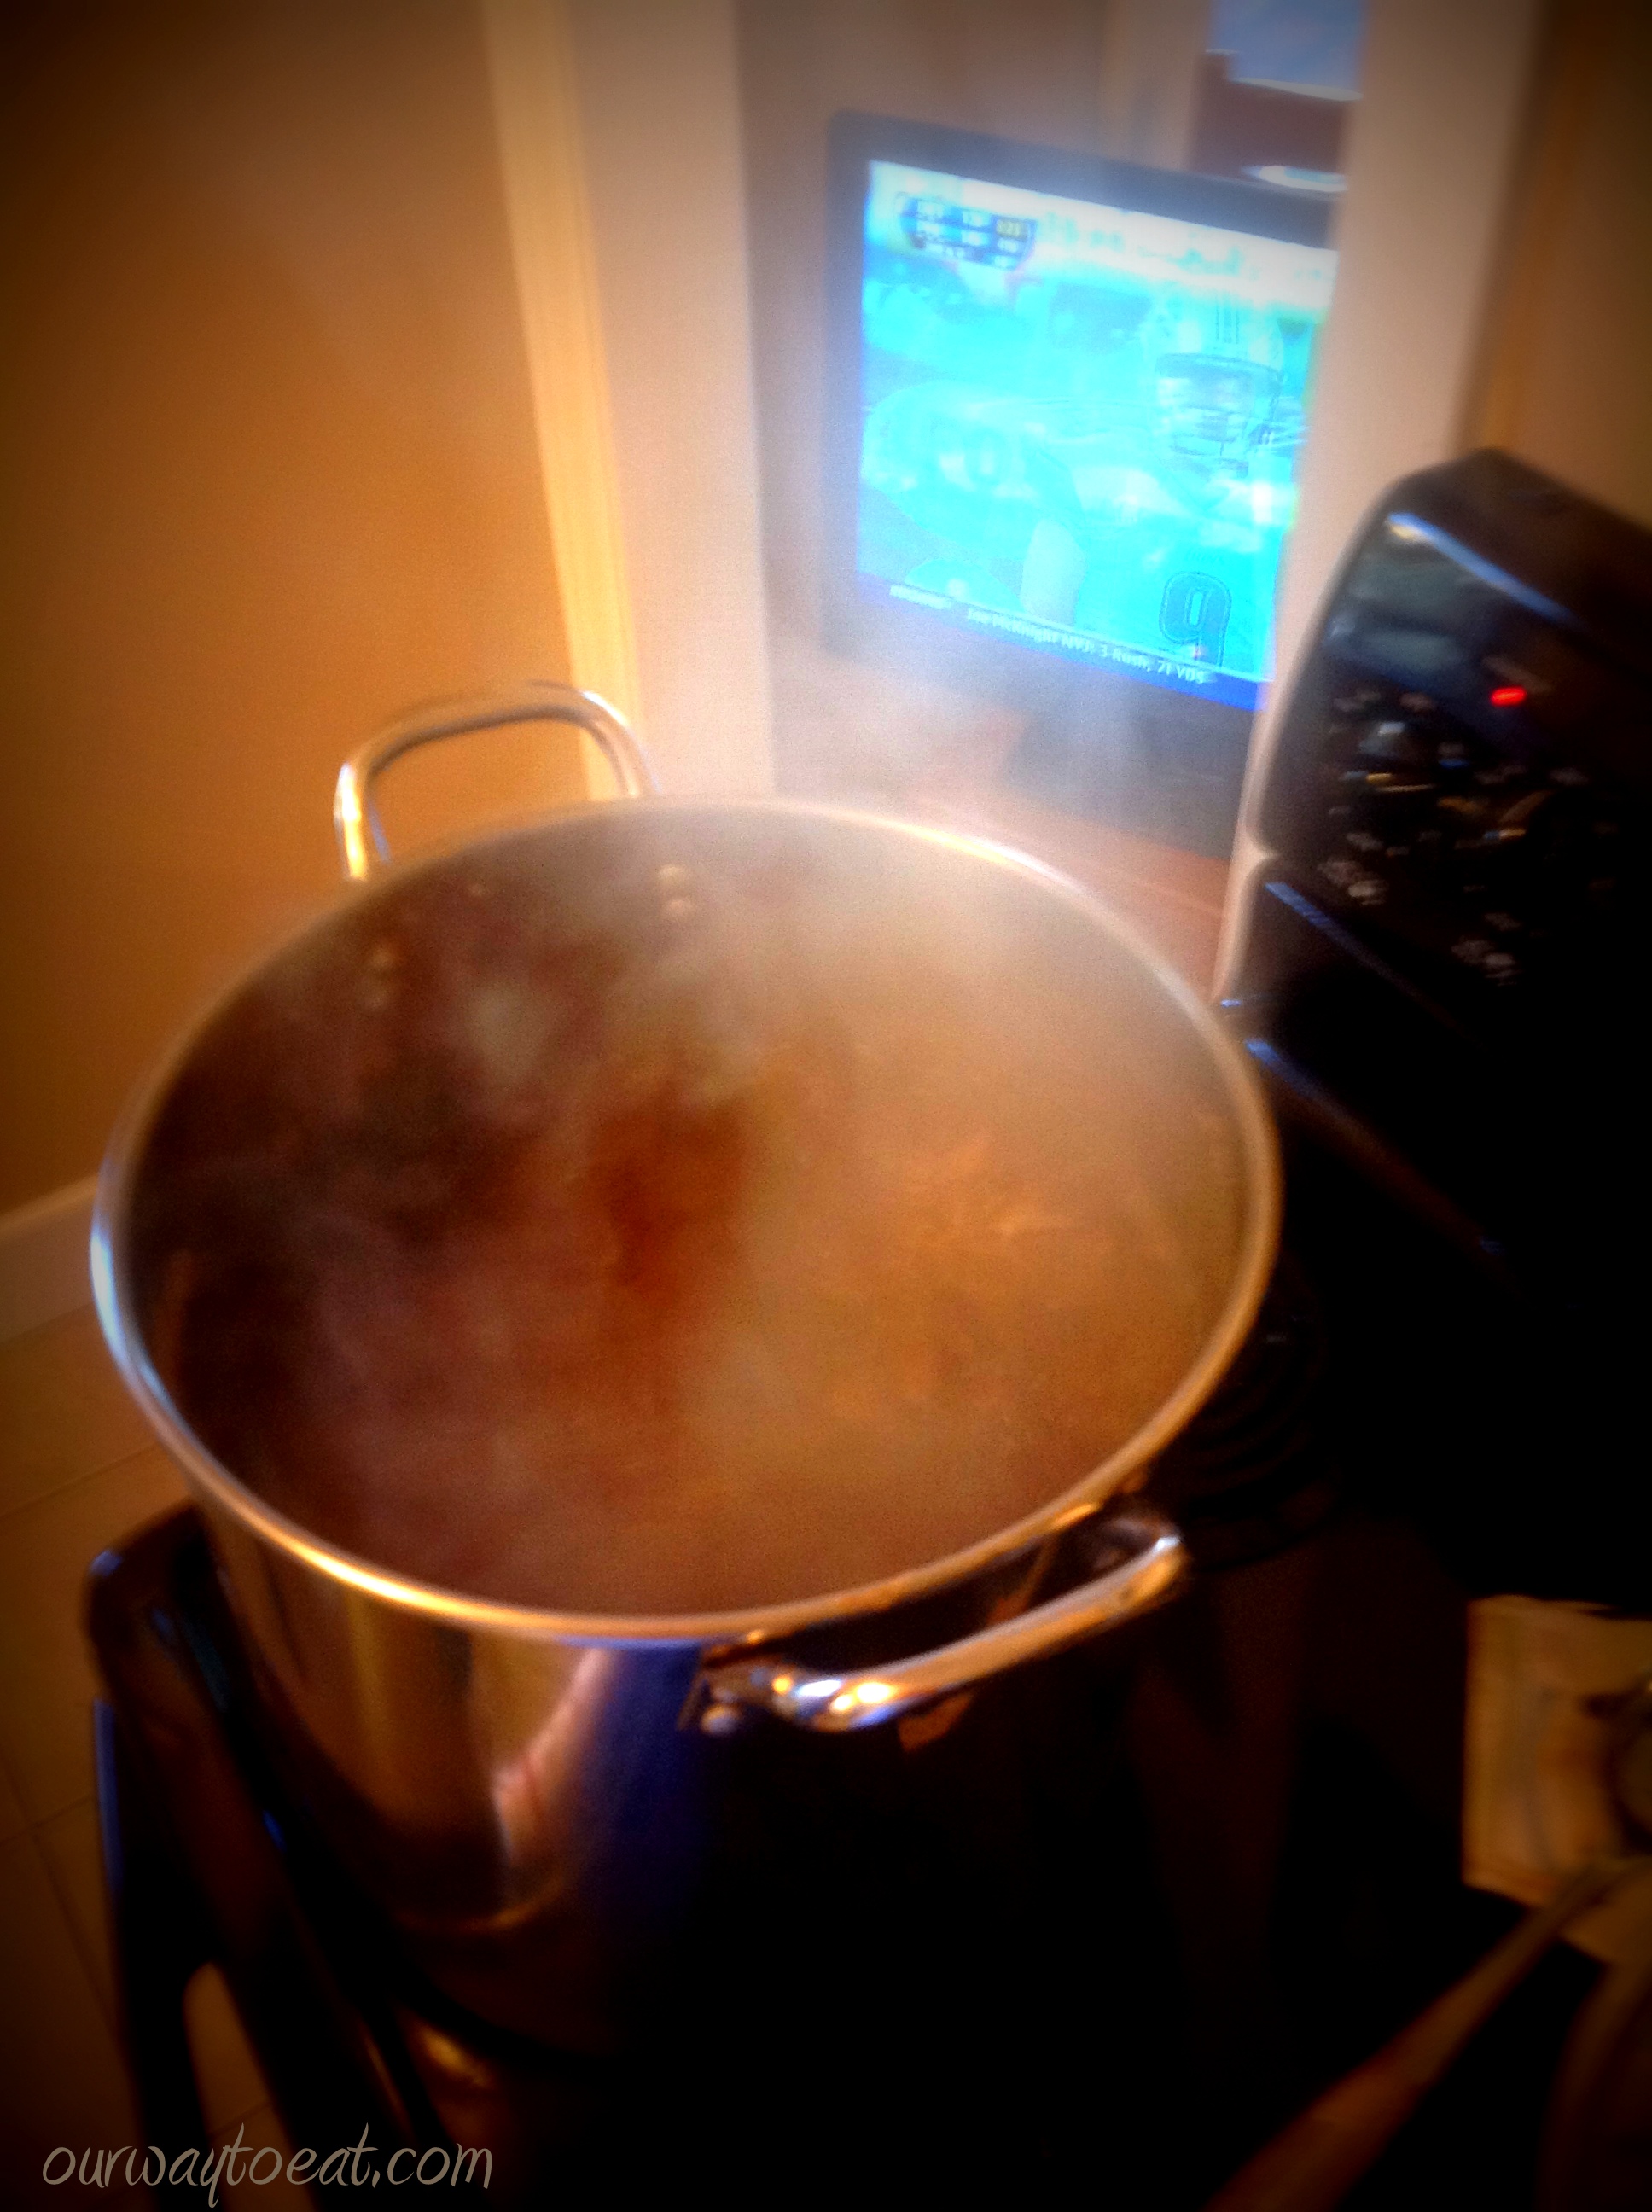
The brew master is starting the wort boil, avoiding boil over (read: mess) and anticipating hot break. He is also anticipating a Minnesota Vikings victory.
Boiling the wort after the second hop addition.
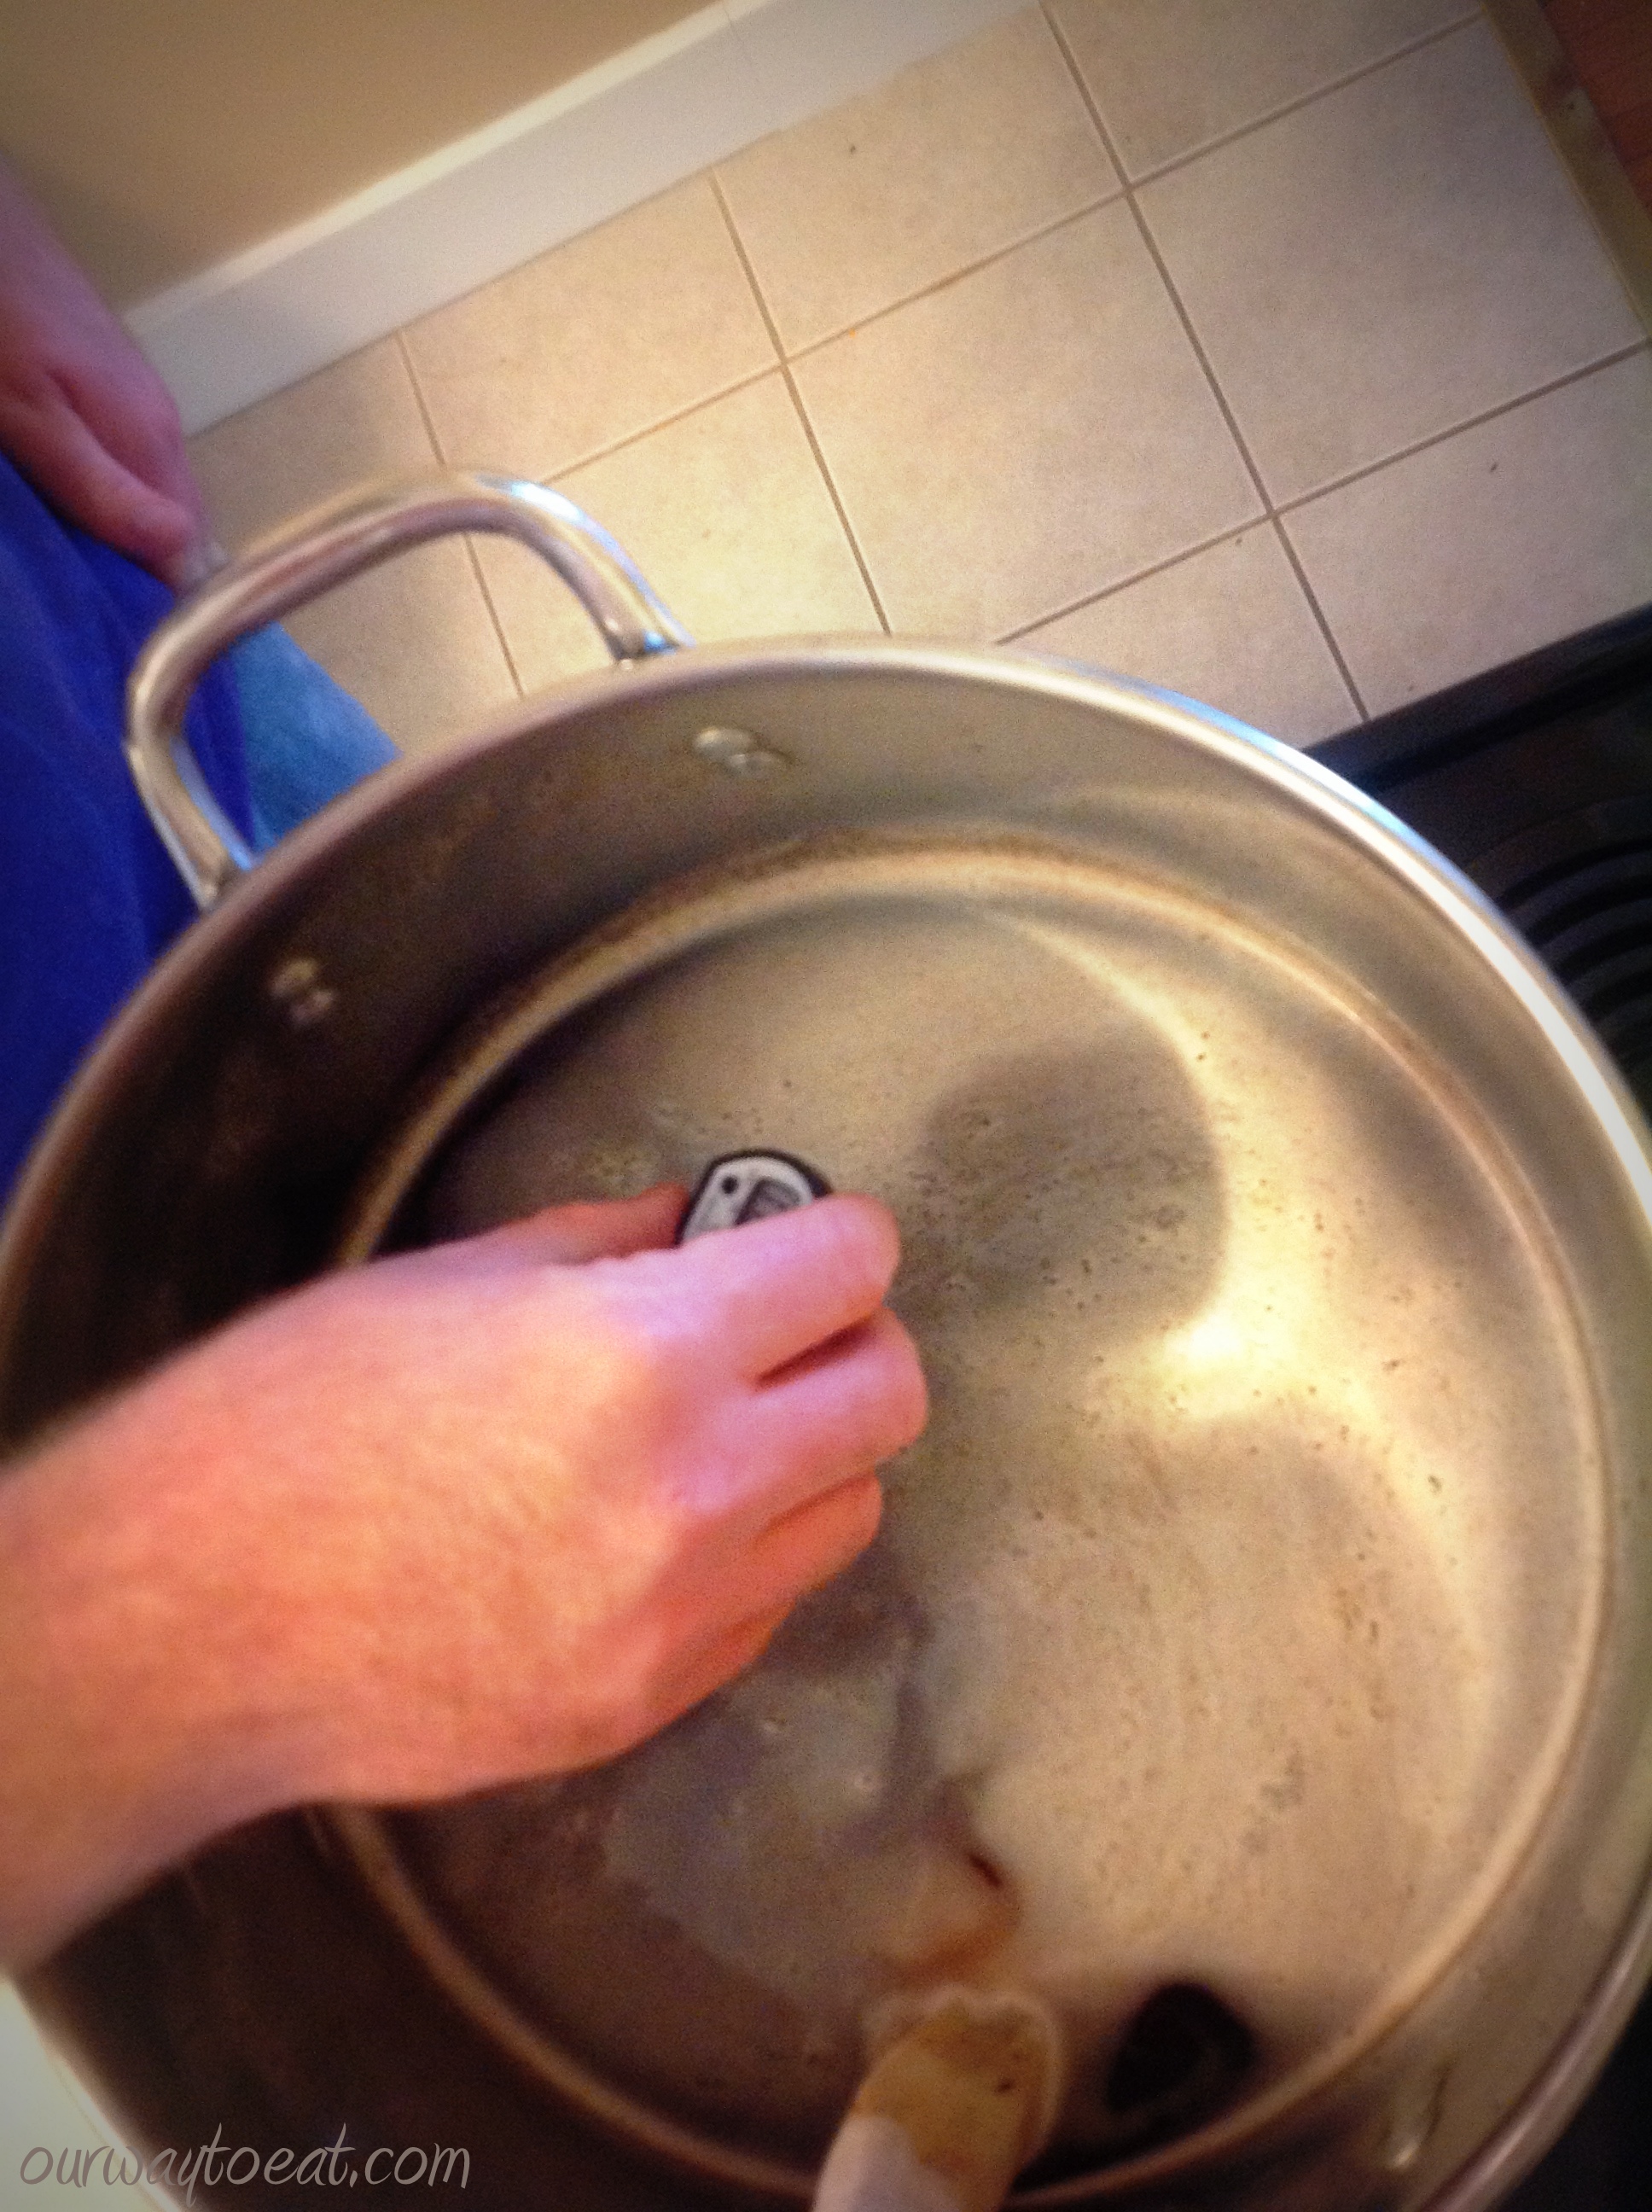
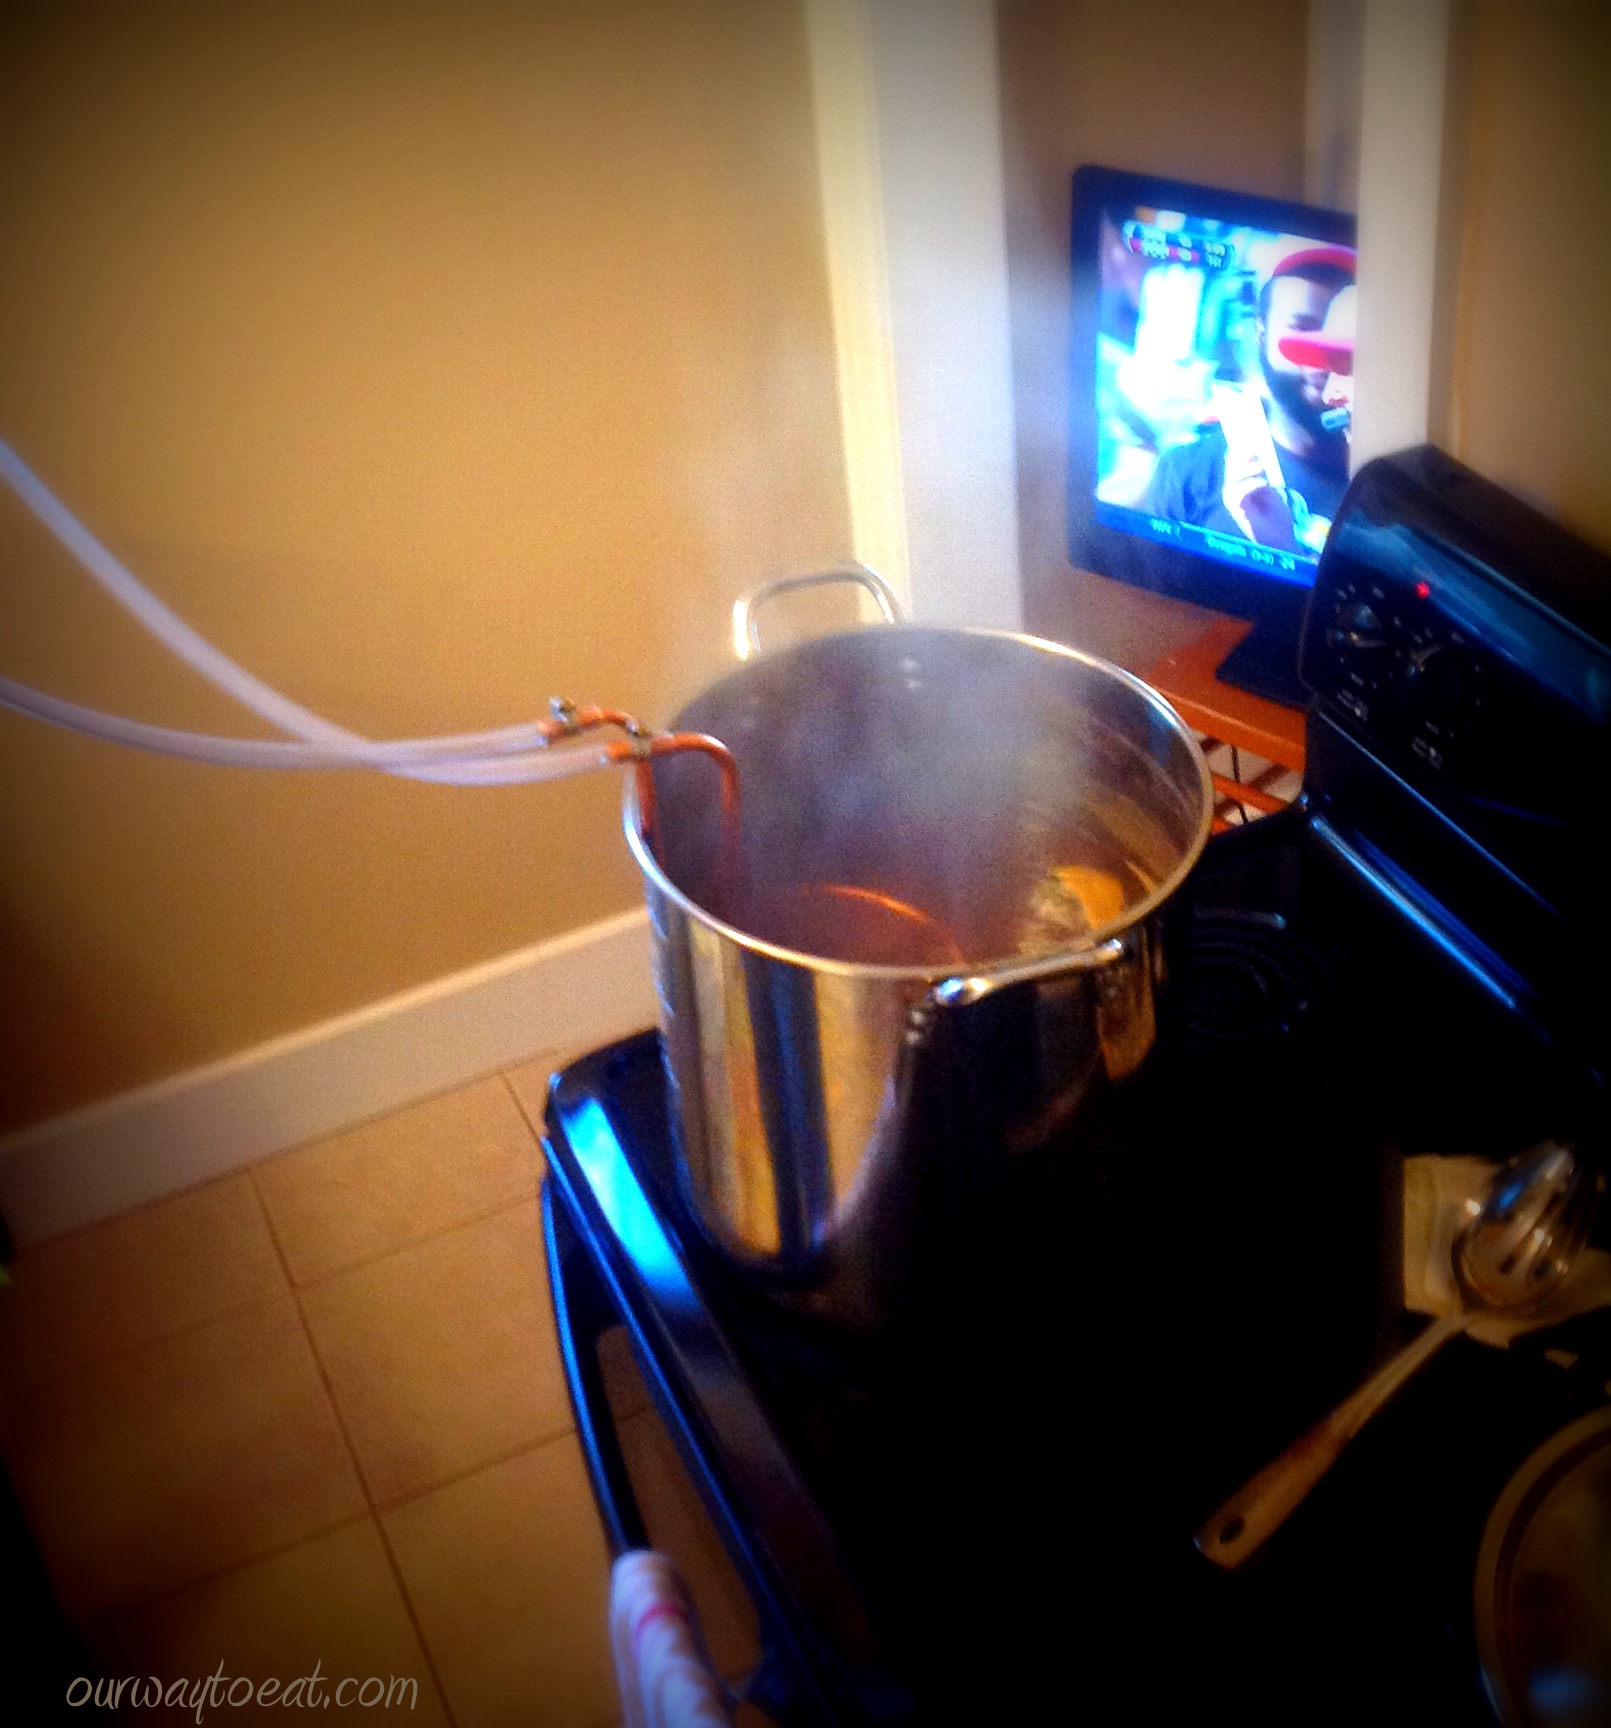
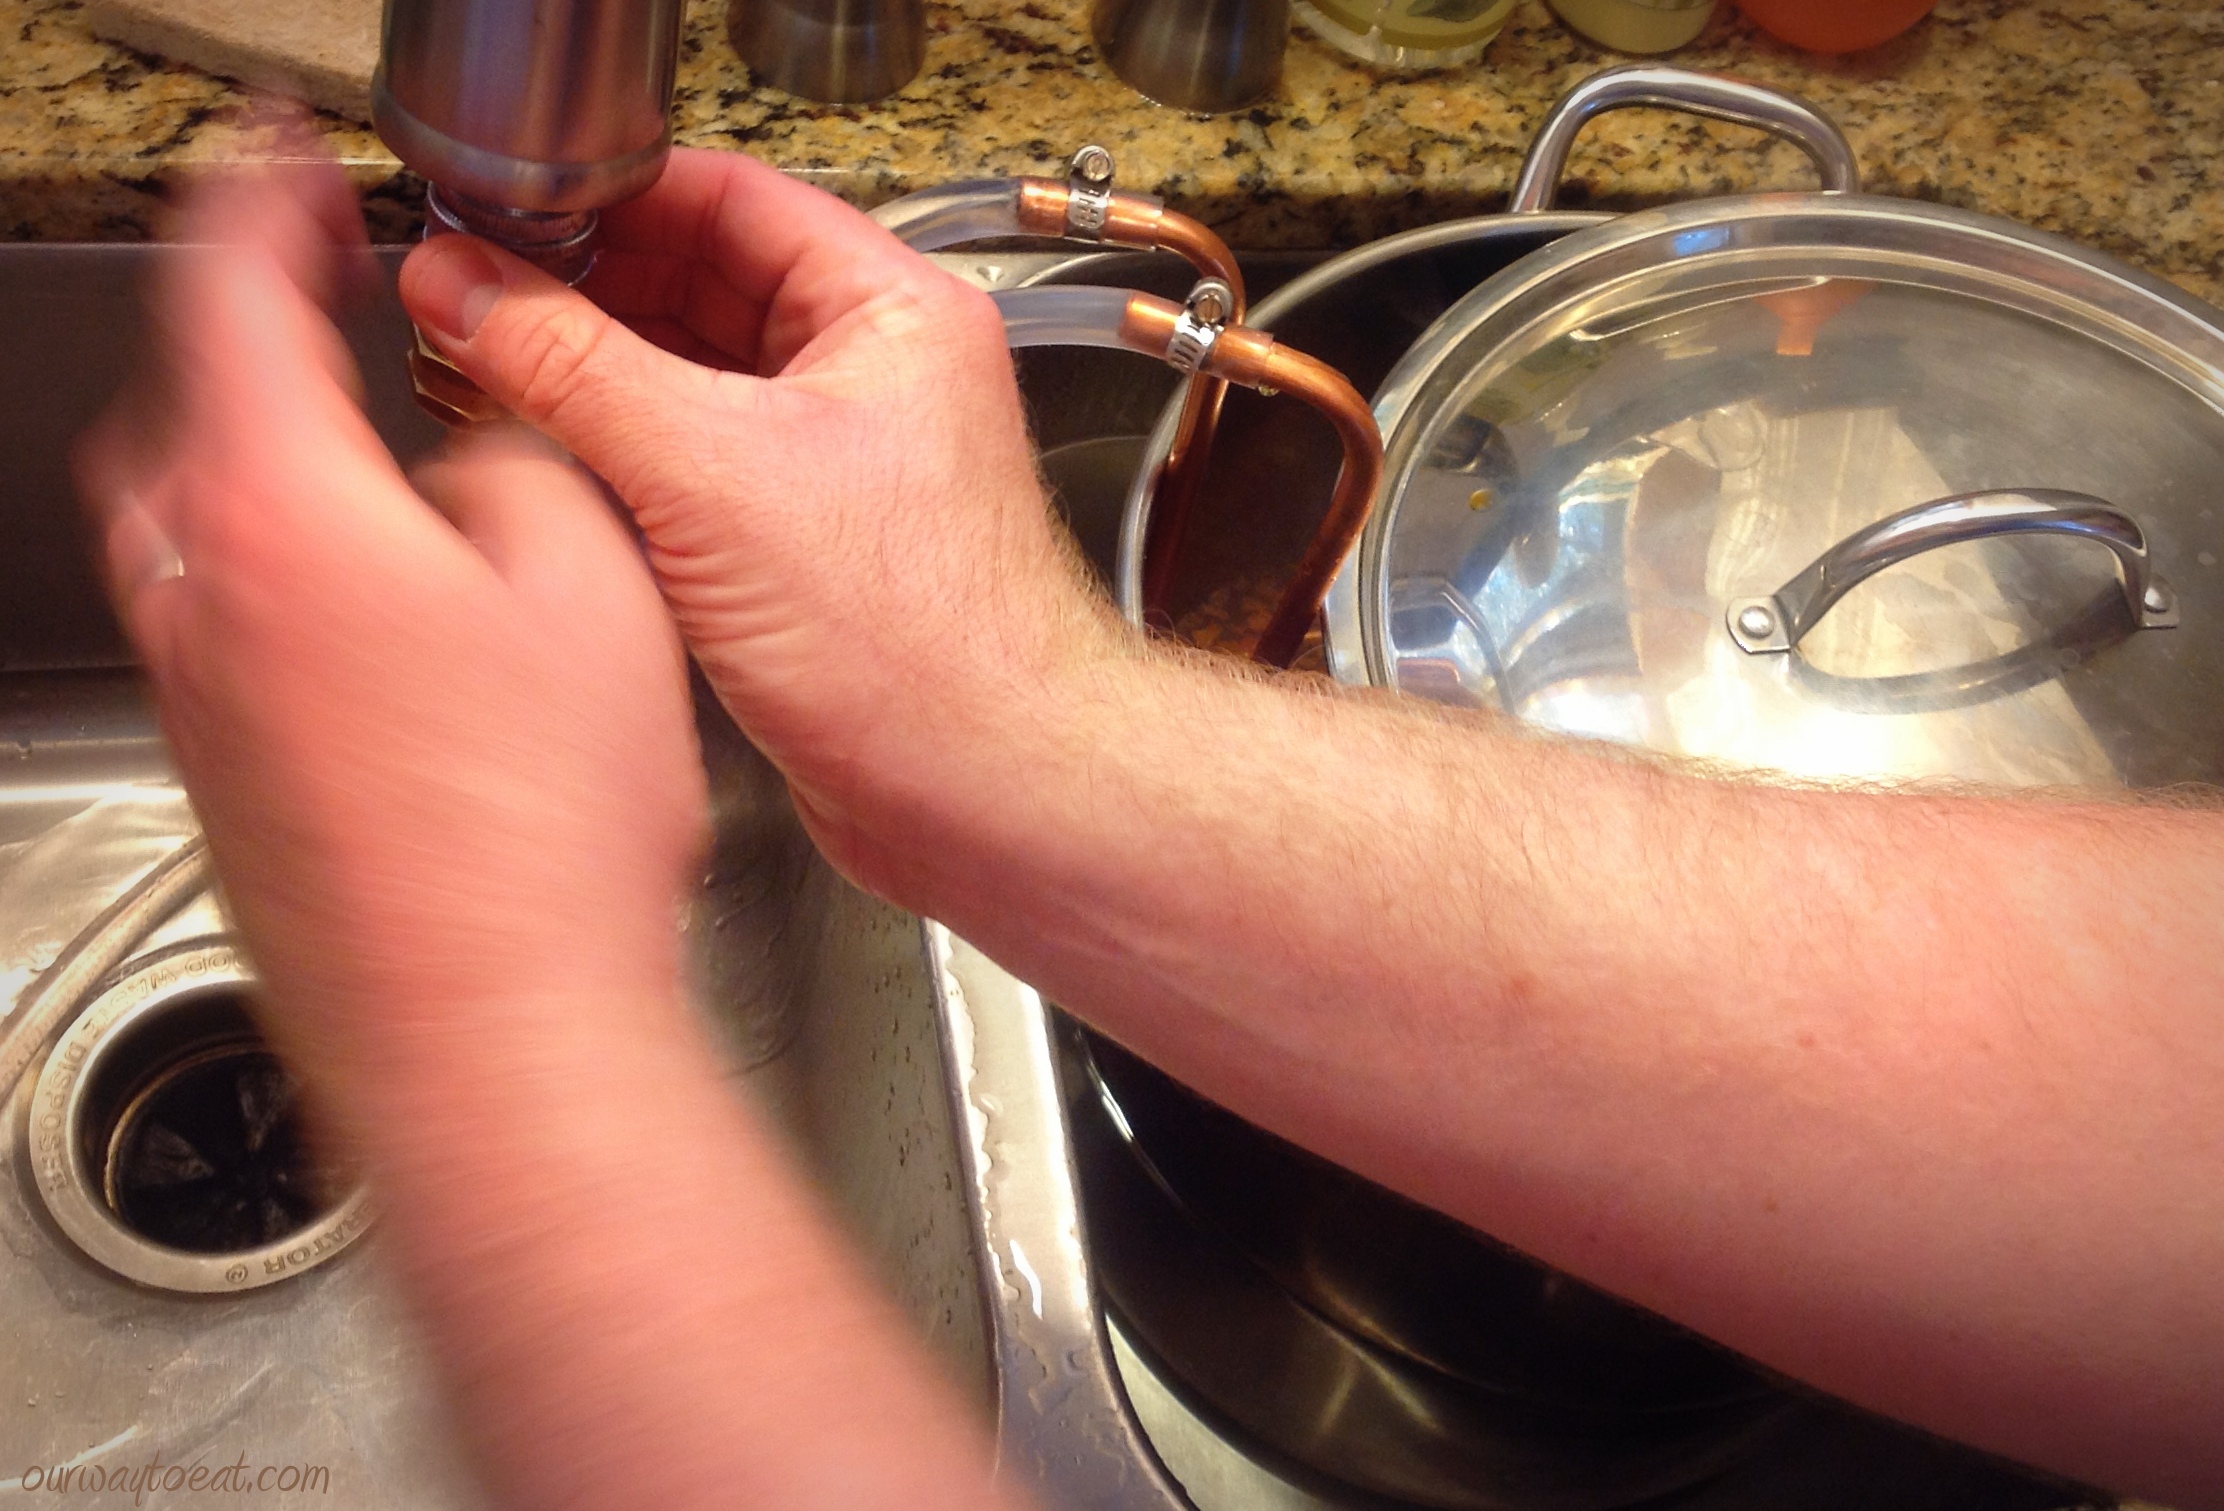
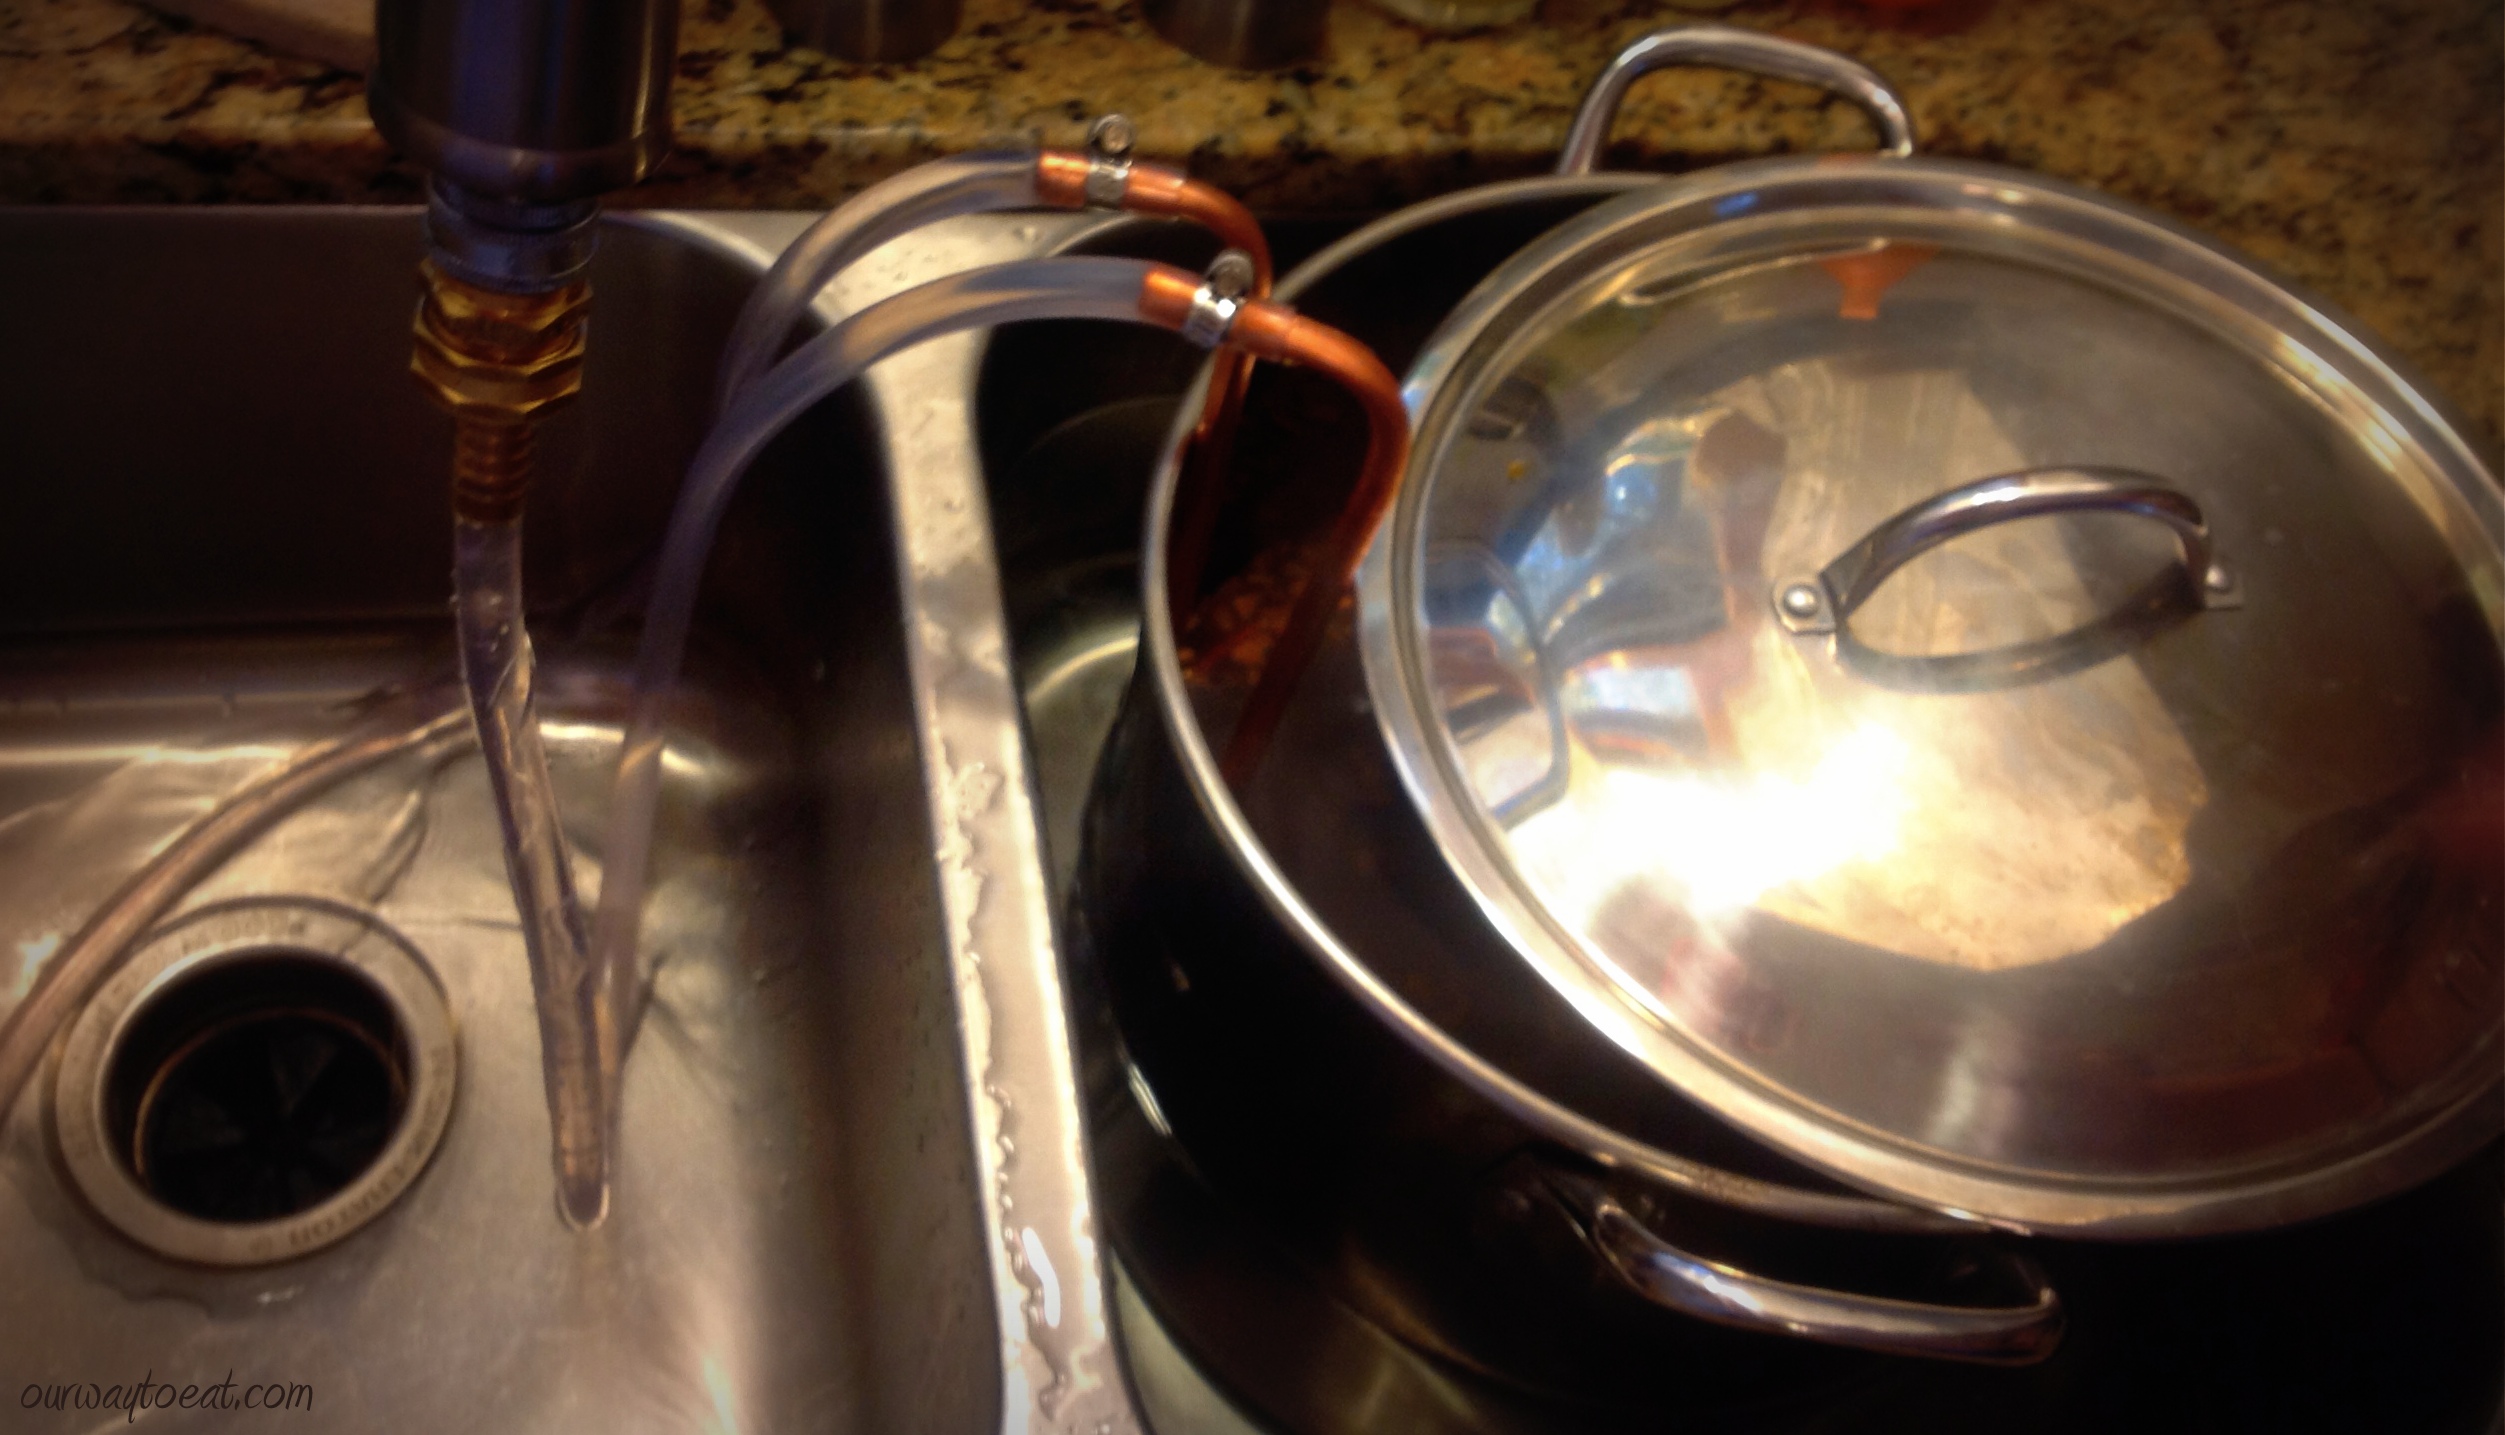
Once the boiling and adding of malt and grain is completed, the wort has to be cooled before you can pitch the yeast. Last year, Bjorn used an ice bath in the sink to cool the wort in the kettle. He found that an ice bath wasn’t efficient, so this year he bought a wort chiller. A wort chiller is attached to the sink, and circulates cold water through copper tubes inside the kettle which chills the wort quickly, leading to better beer. First, the wort chiller is sanitized in the boiling kettle of wort.
It took Bjorn some quality time sitting on the floor with a Menards employee searching out a series of sink and garden hose connectors and adapters that allow the wort chiller to connect to our sink. 3 garden hose and sink connectors later, we were in business.
Using the wort chiller, Bjorn reduced the wort temperature from boiling to the mid-seventies in 13 minutes.
 Several steamy hours later, the wort is aerated, the yeast pitched, and the carboy of beer is topped with an airlock to allow bubbles to escape while the beer ferments in a cool, dark closet in our basement. I’m looking forward to tasting this beer at Thanksgiving!


